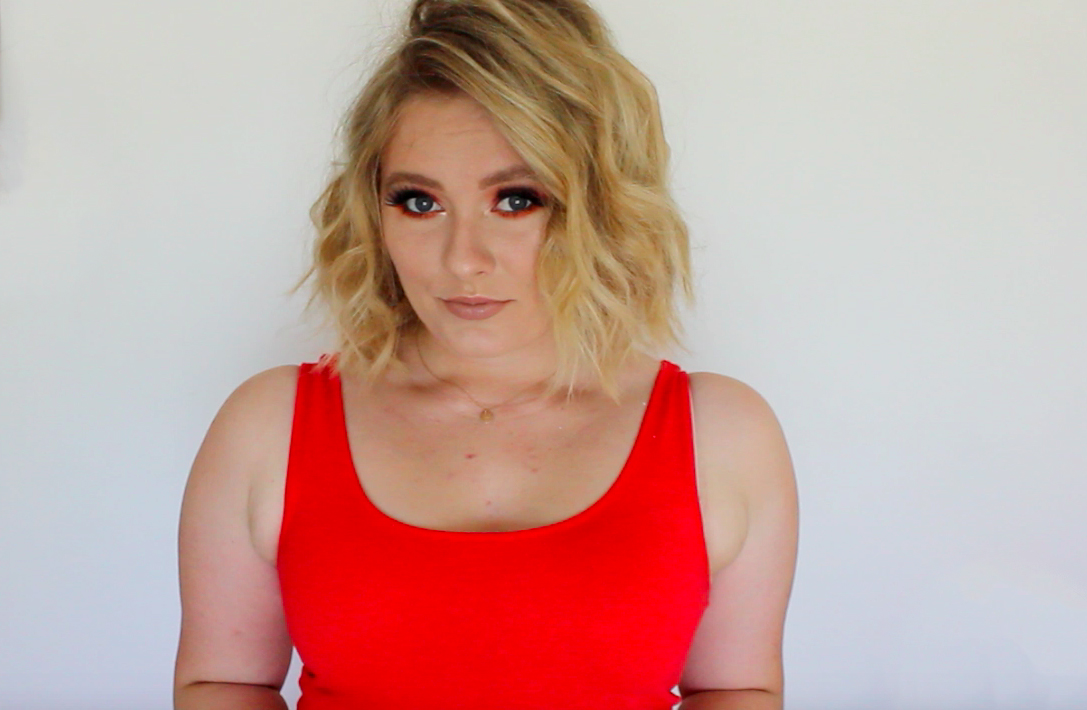
The humble ‘smokey eye’ seems to be the most widely appreciated, yet heavily feared makeup look in the history of makeup looks.
They look (and kind of are) a little complicated, but the outcome always adds a huge amount of drama and edge to your look.
If you’re not a fan of the classic festive red lip look, a smokey eye is a great alternative. But if you’ve never attempted one before- have no fear!
Today, I’ll be showing you a method that will compliment pretty much every eye shape and outfit (not to mention, it’s super simple).
Products
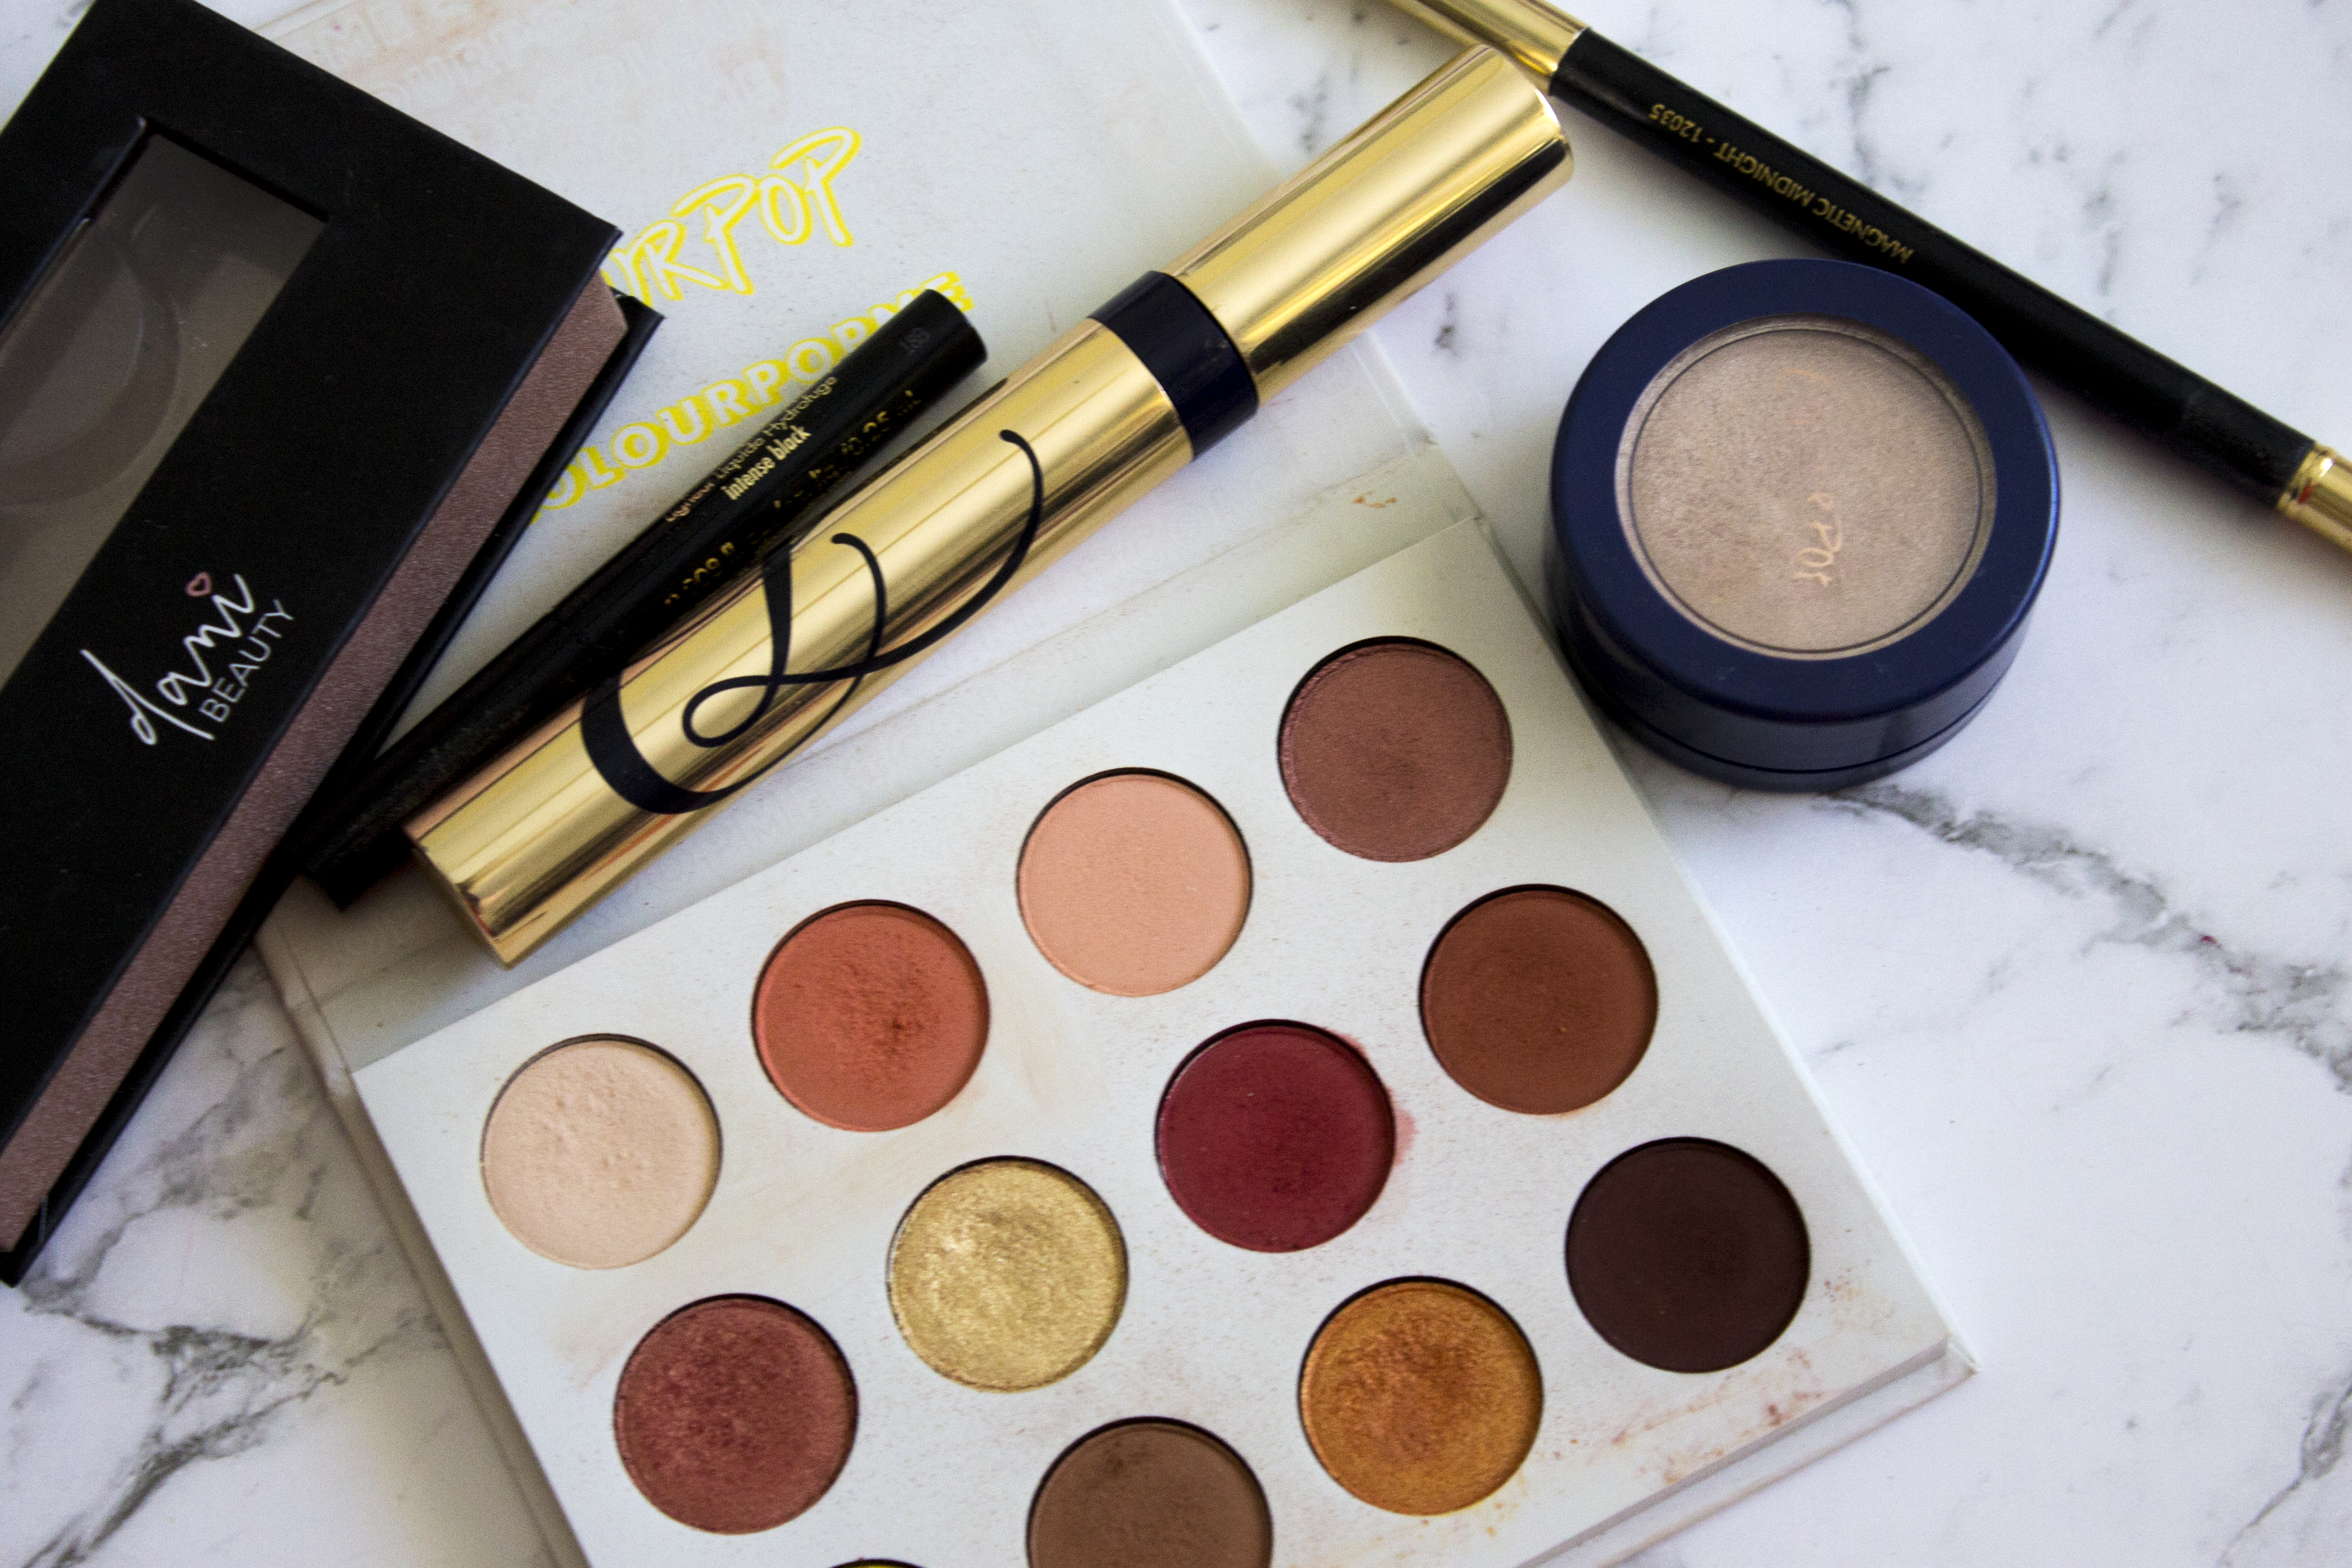
To create this look, you will need:
- A collection of eyeshadows in a colour story of your choice (more on this in a second). I’ve used the Colourpop ‘Yes, Please!’ Palette ($16 USD)
- A black liquid and/or pencil eyeliner. I’ve used the Stila Stay All Day Waterproof Liquid Eyeliner in ‘Intense Black’ ($32) and a random black pencil liner.
- A heavy mascara. I’ve used the Estee Lauder Sumptuous Extreme Mascara ($50)
- False lashes (optional). I’ve used the Dani Beauty ‘Shook’ Lashes ($24.95)
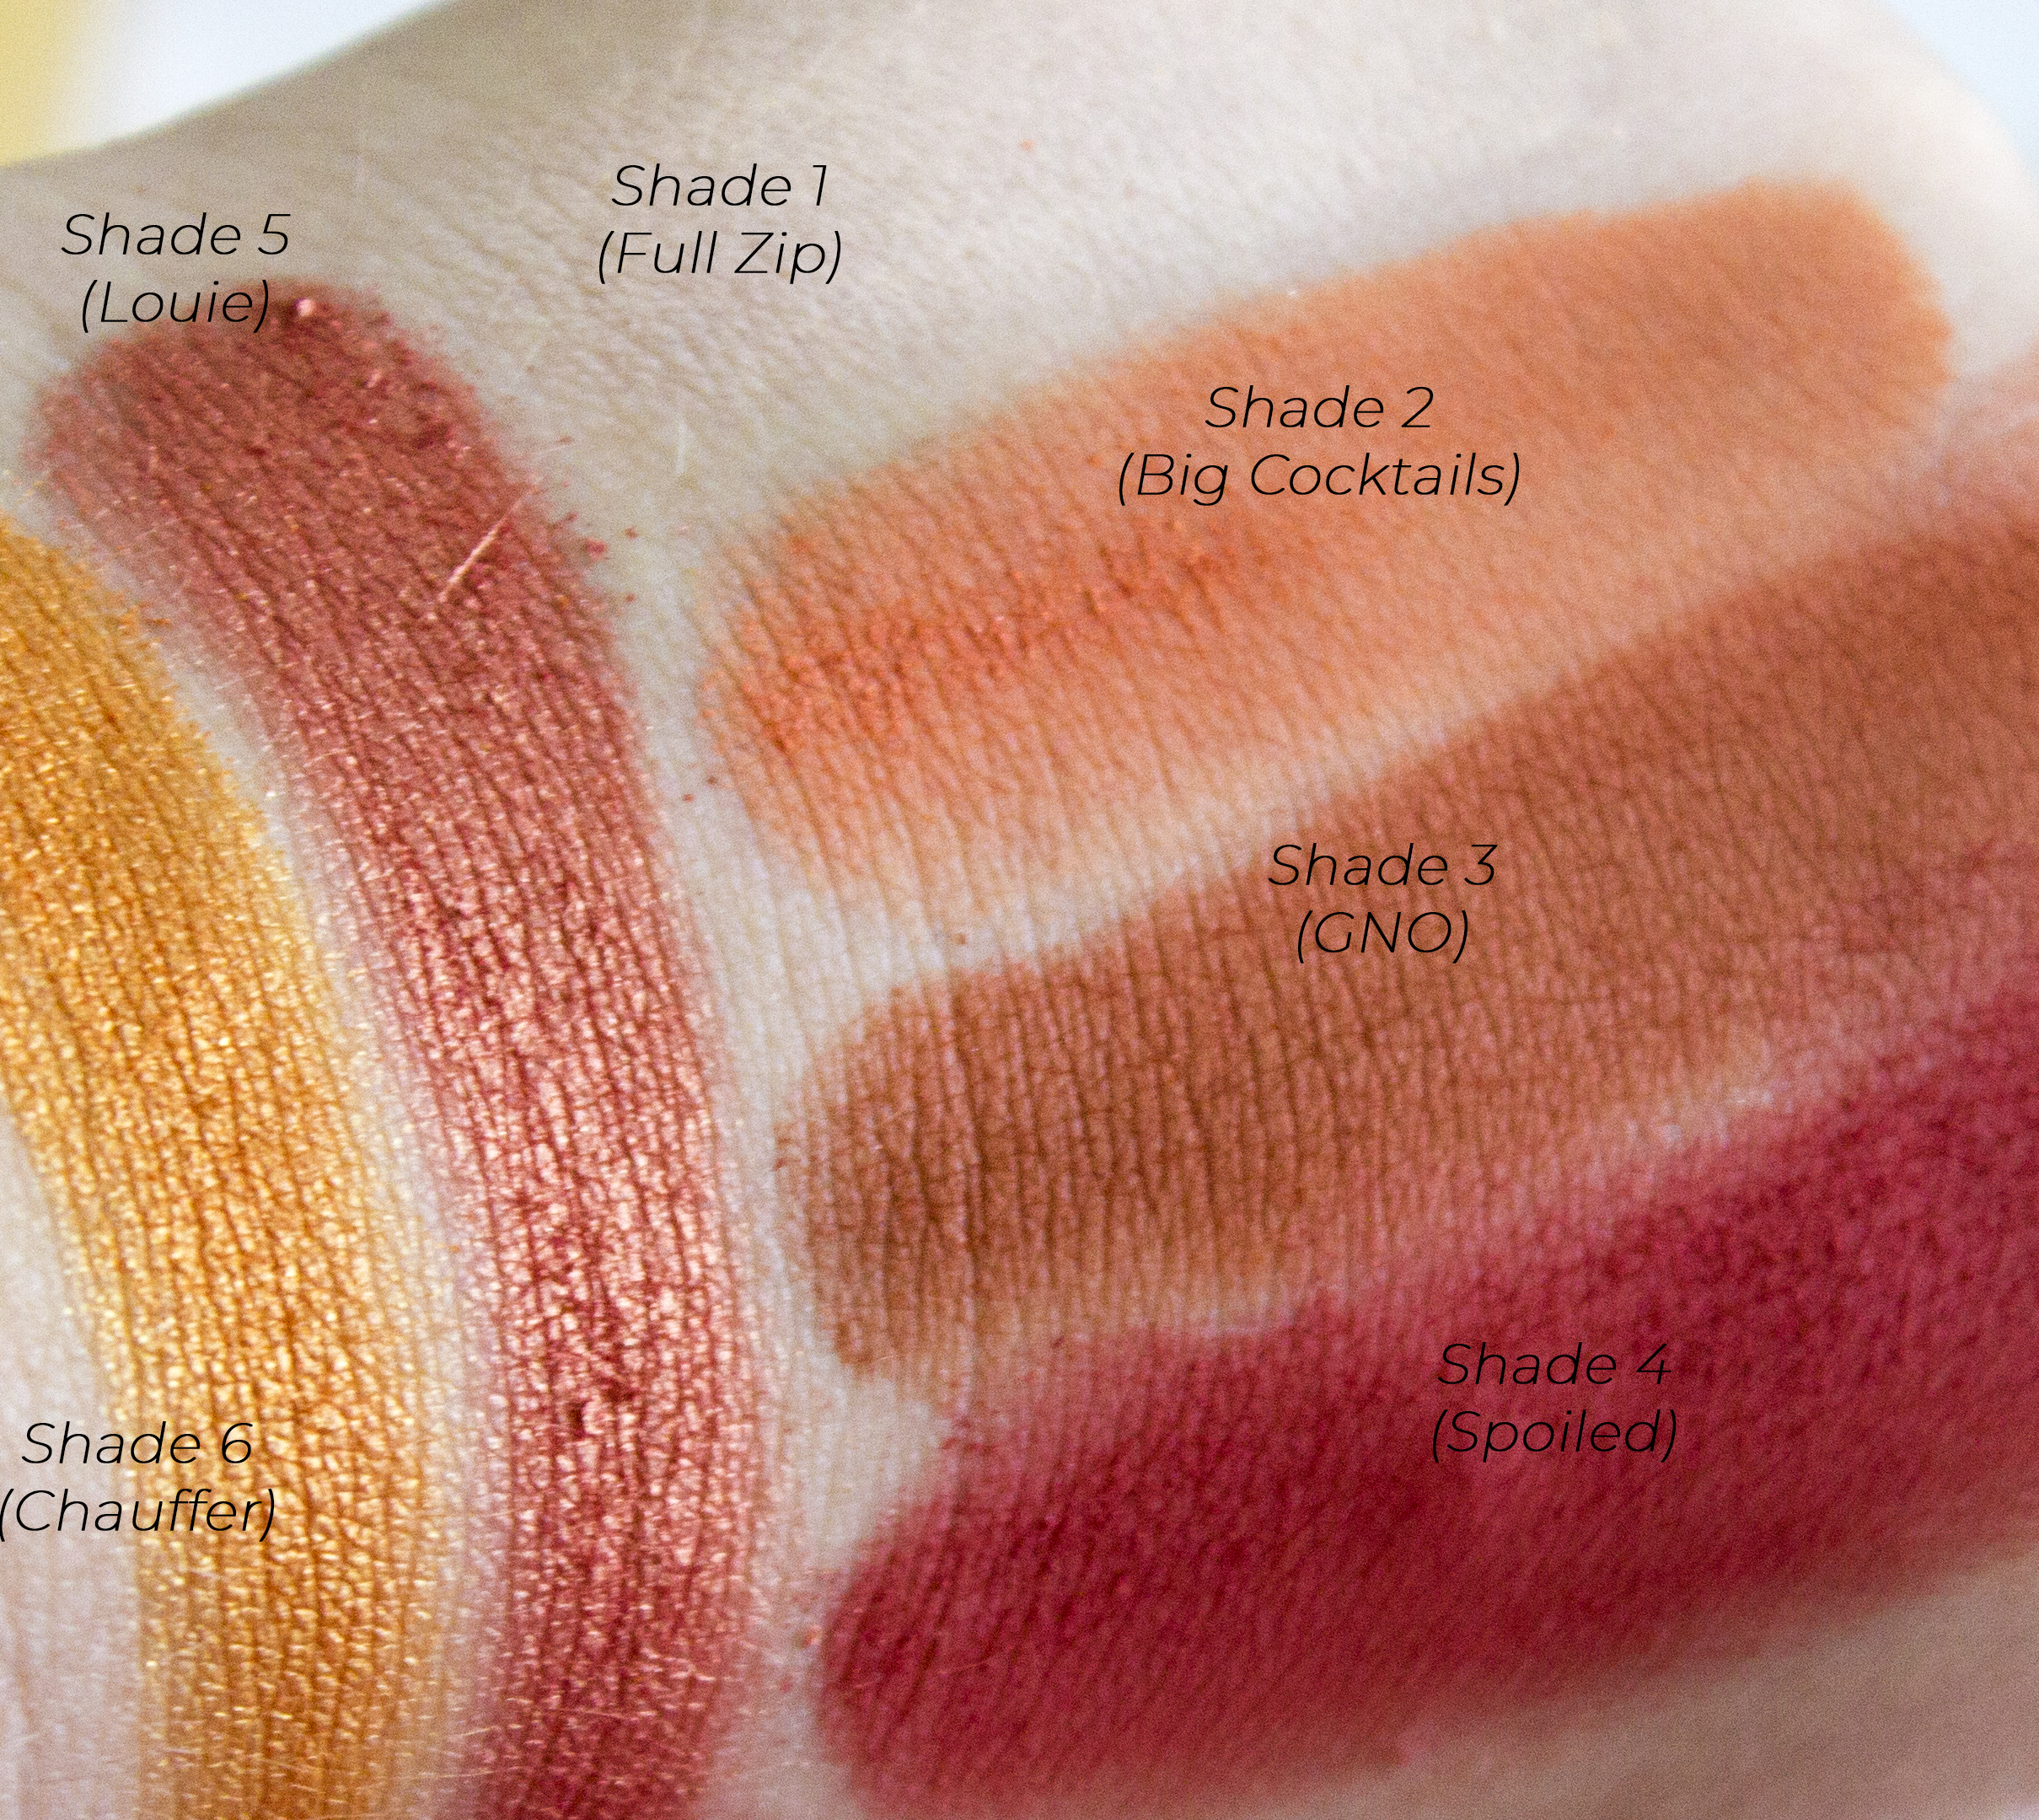
For this particular method, you will need to select roughly six eyeshadows.
Shade 1: This should be matte, and pretty close to your skin tone
Shade 2: Should be matte, and 2-3 shades deeper than your skin tone
Shade 3: Should be matte, and 4-6 shades deeper than your skin tone
Shade 4: Similar in depth to shade 3, but should be richer in tone and preferably matte
Shade 5: Should be shimmery/foiled/metallic, and 2-3 shades lighter than Shade 4
Shade 6 (optional): Should be shimmery/foiled/metallic, and 2-3 shades lighter than Shade 5
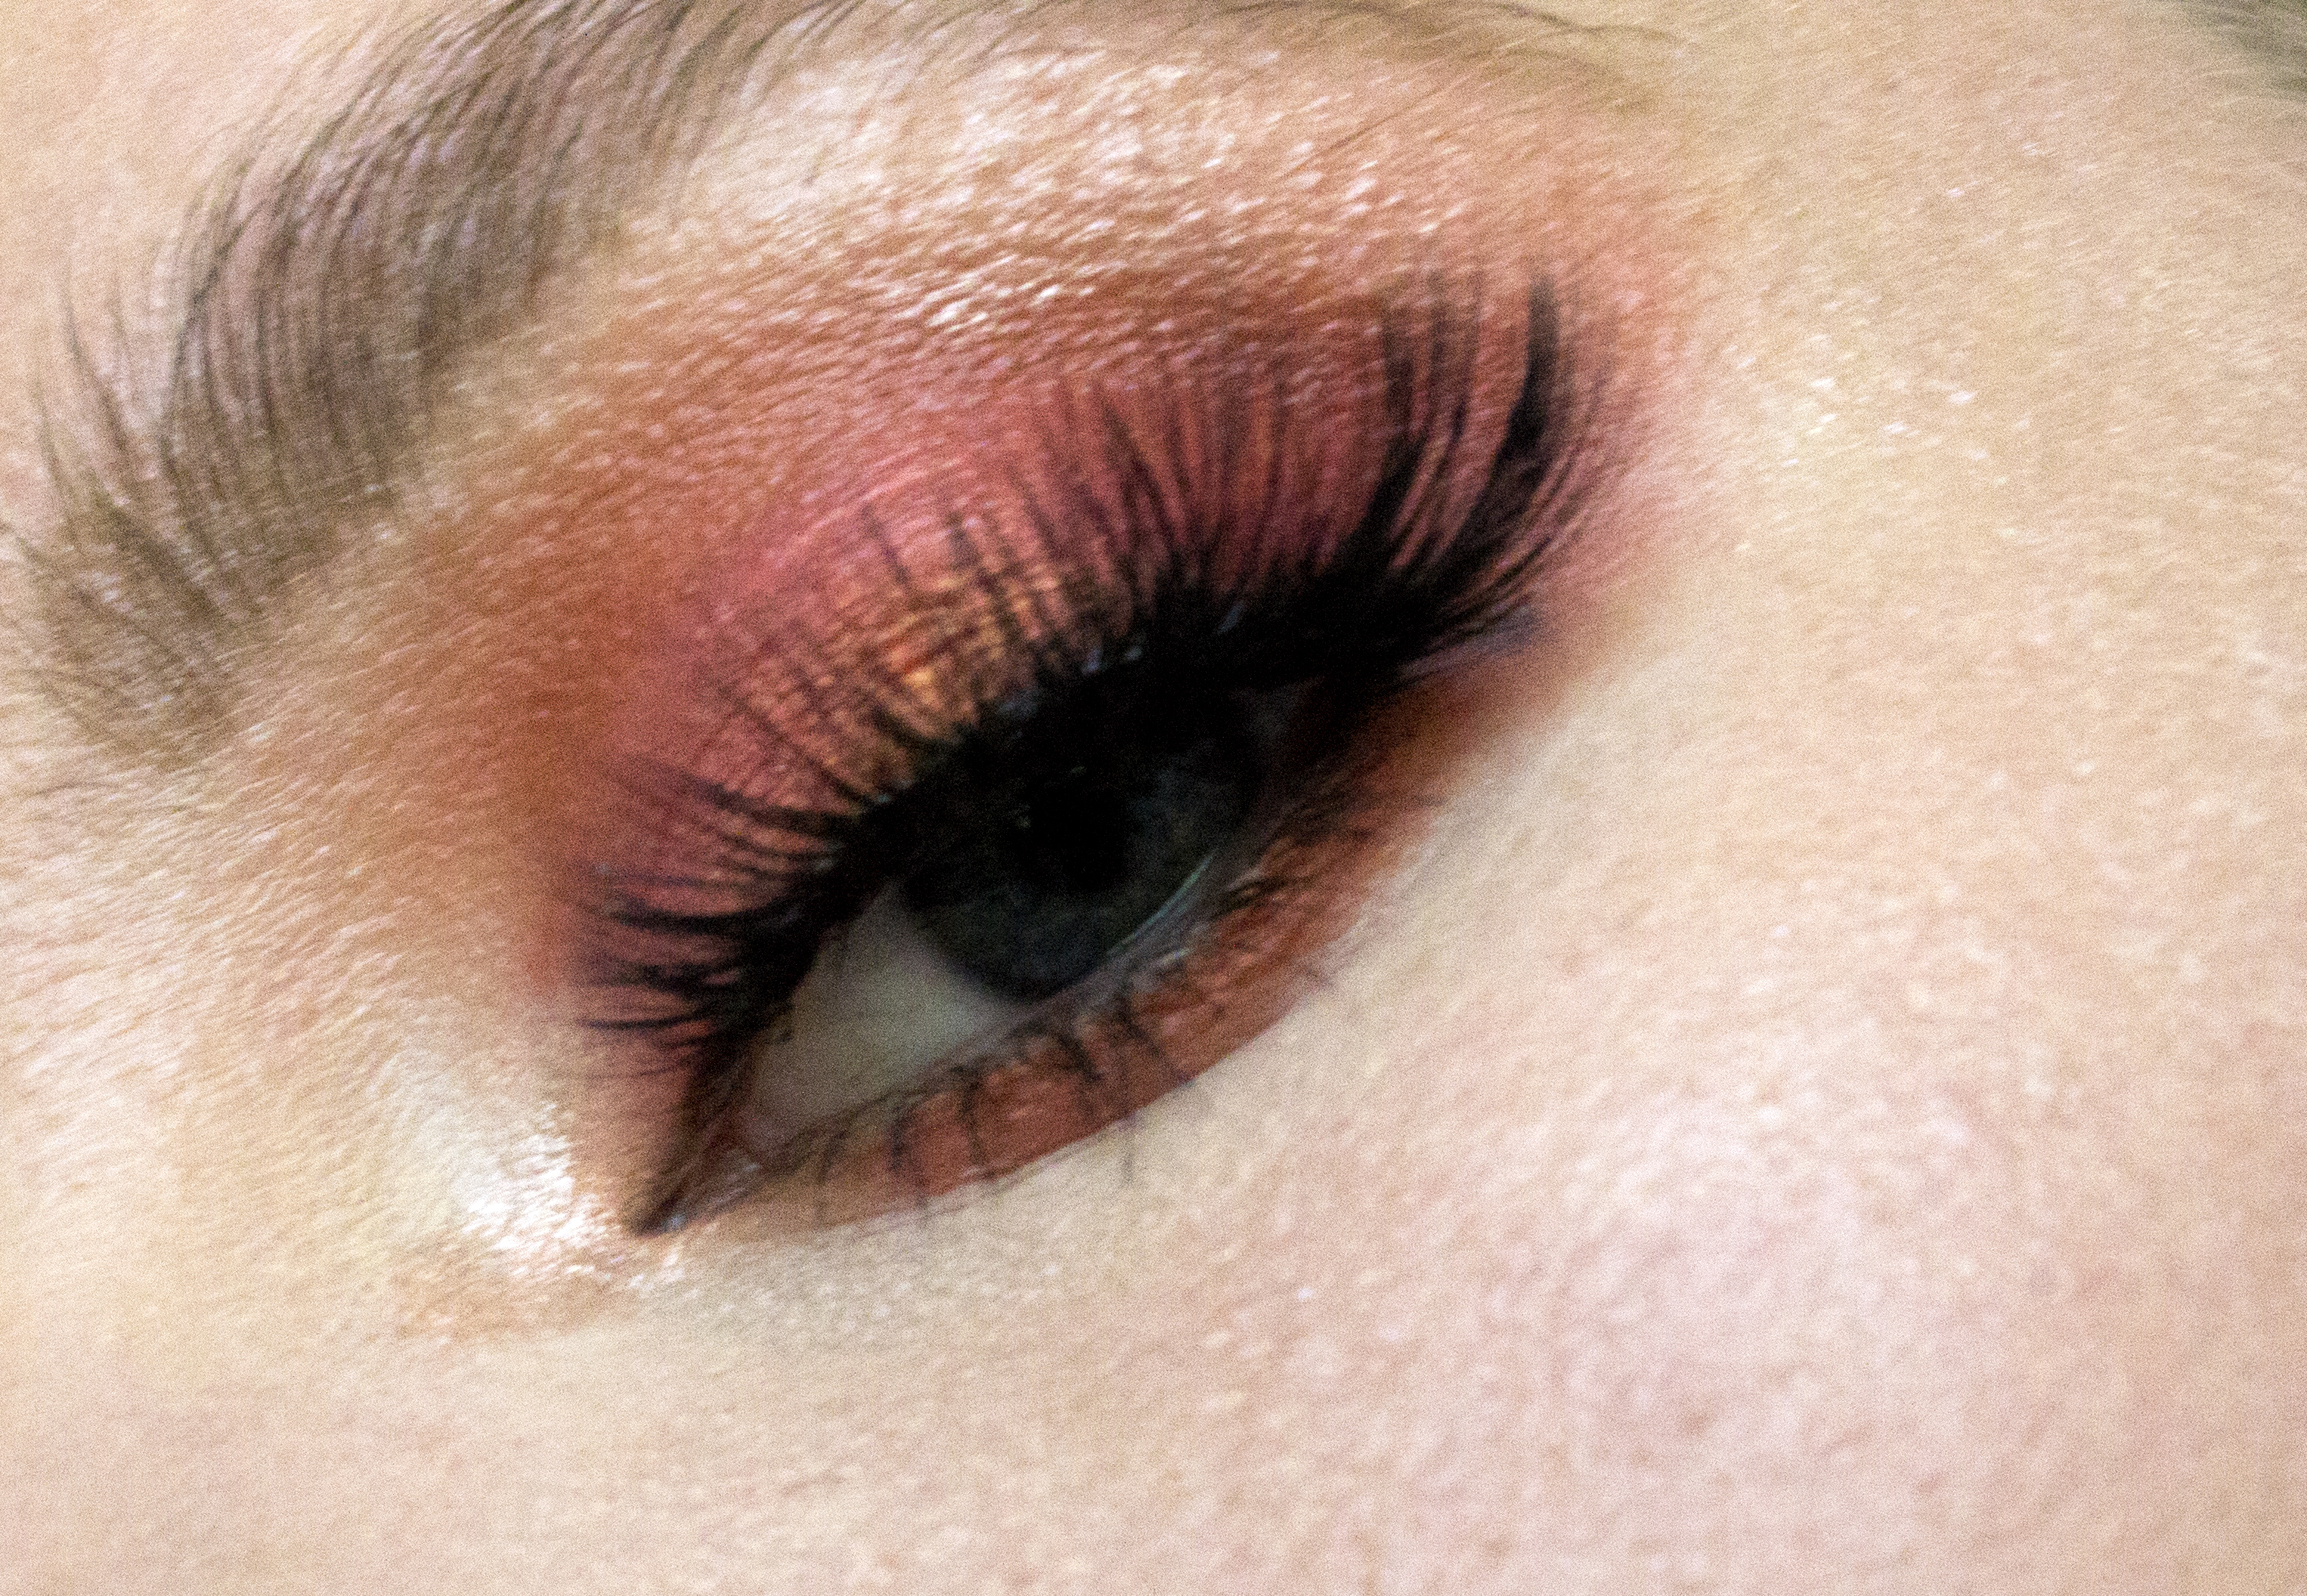
I have opted to use rich oranges and reds for this look, but you can really select any colours you wish. If you want to bring out your eye colour a little more, I do have a few recommendations:
Blue Eyes: Orange, Red, Gold, or Copper
Green Eyes: Red, Bronze, Warm Grey, or Silver
Brown Eyes: Purple, Warm Brown, Gold, or Blue
Hazel Eyes: Green, Purple, Gunmetal, or Bronze
Tools
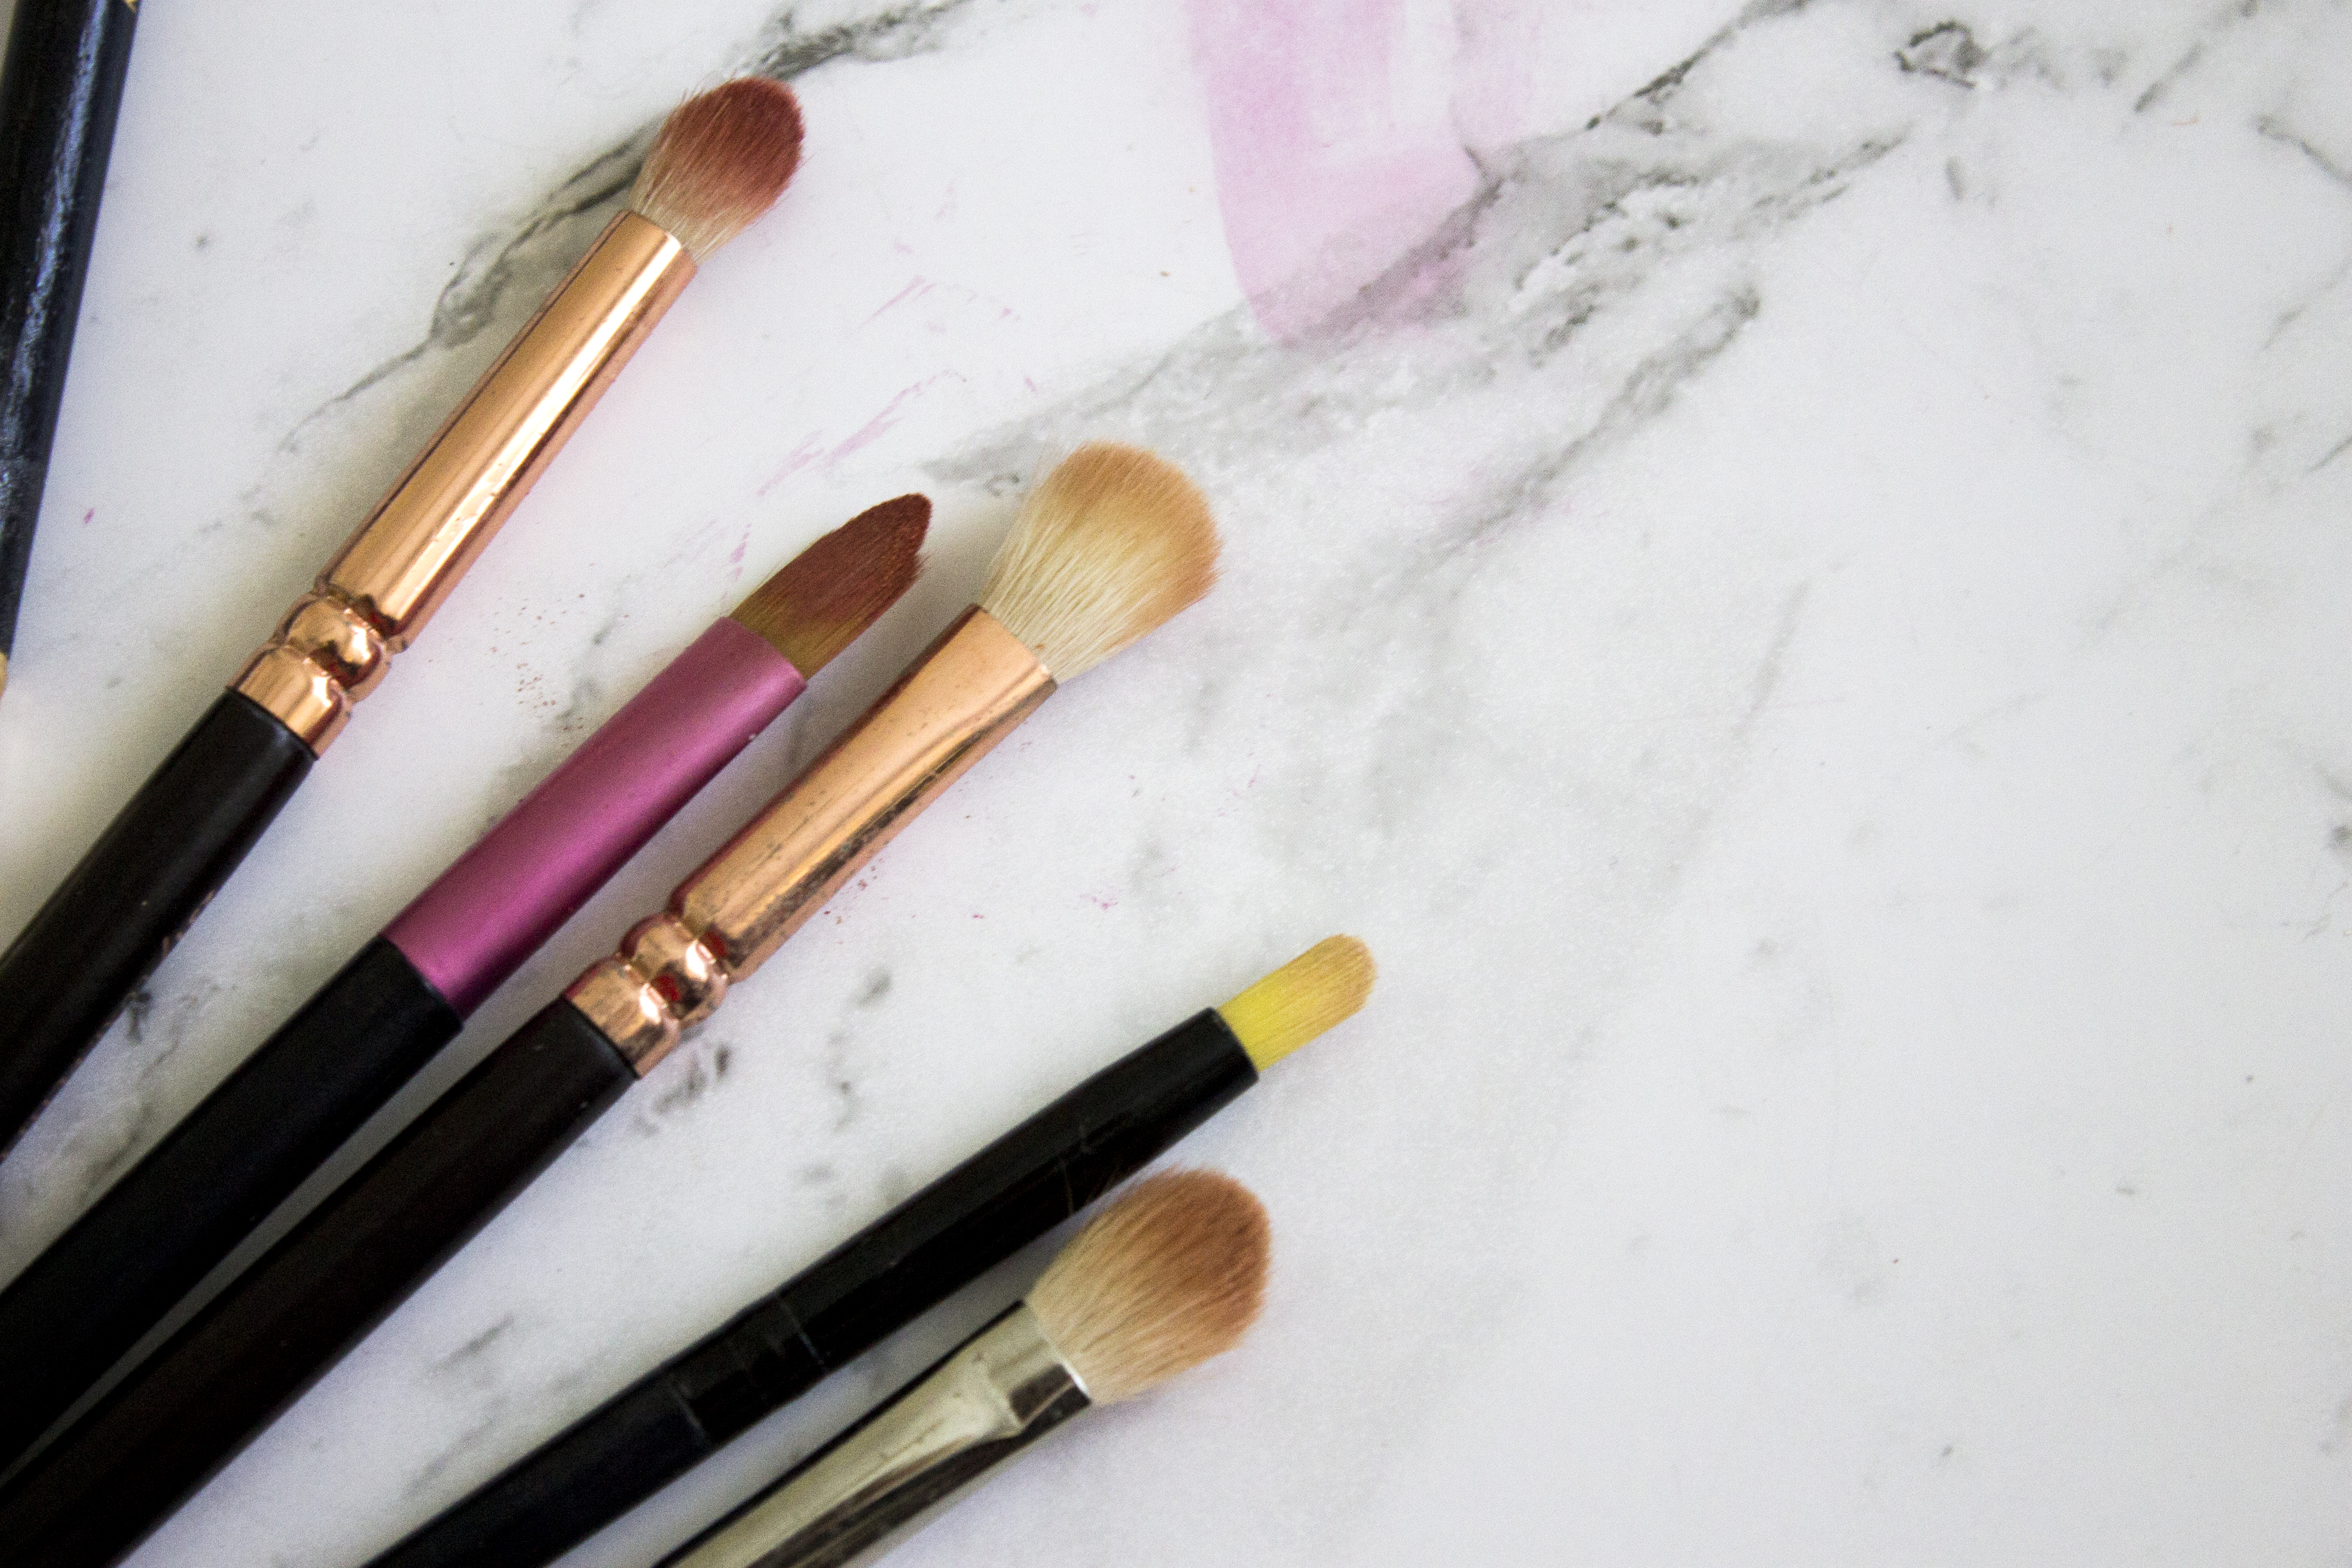
You will also need a selection of five makeup brushes:
- A pointed crease brush. I used the Zoeva 231 Luxe Petit Crease Brush ($18)
- A flat eyeshadow brush. I used an Australis Cosmetics Brush which is no longer available, but any will do.
- A fluffy blending brush. I used the Zoeva 227 Luxe Soft Definer Brush ($18)
- A tiny detail brush of some description.
- A fluffier crease brush. I used a MAC 217 brush ($42)
1. Base
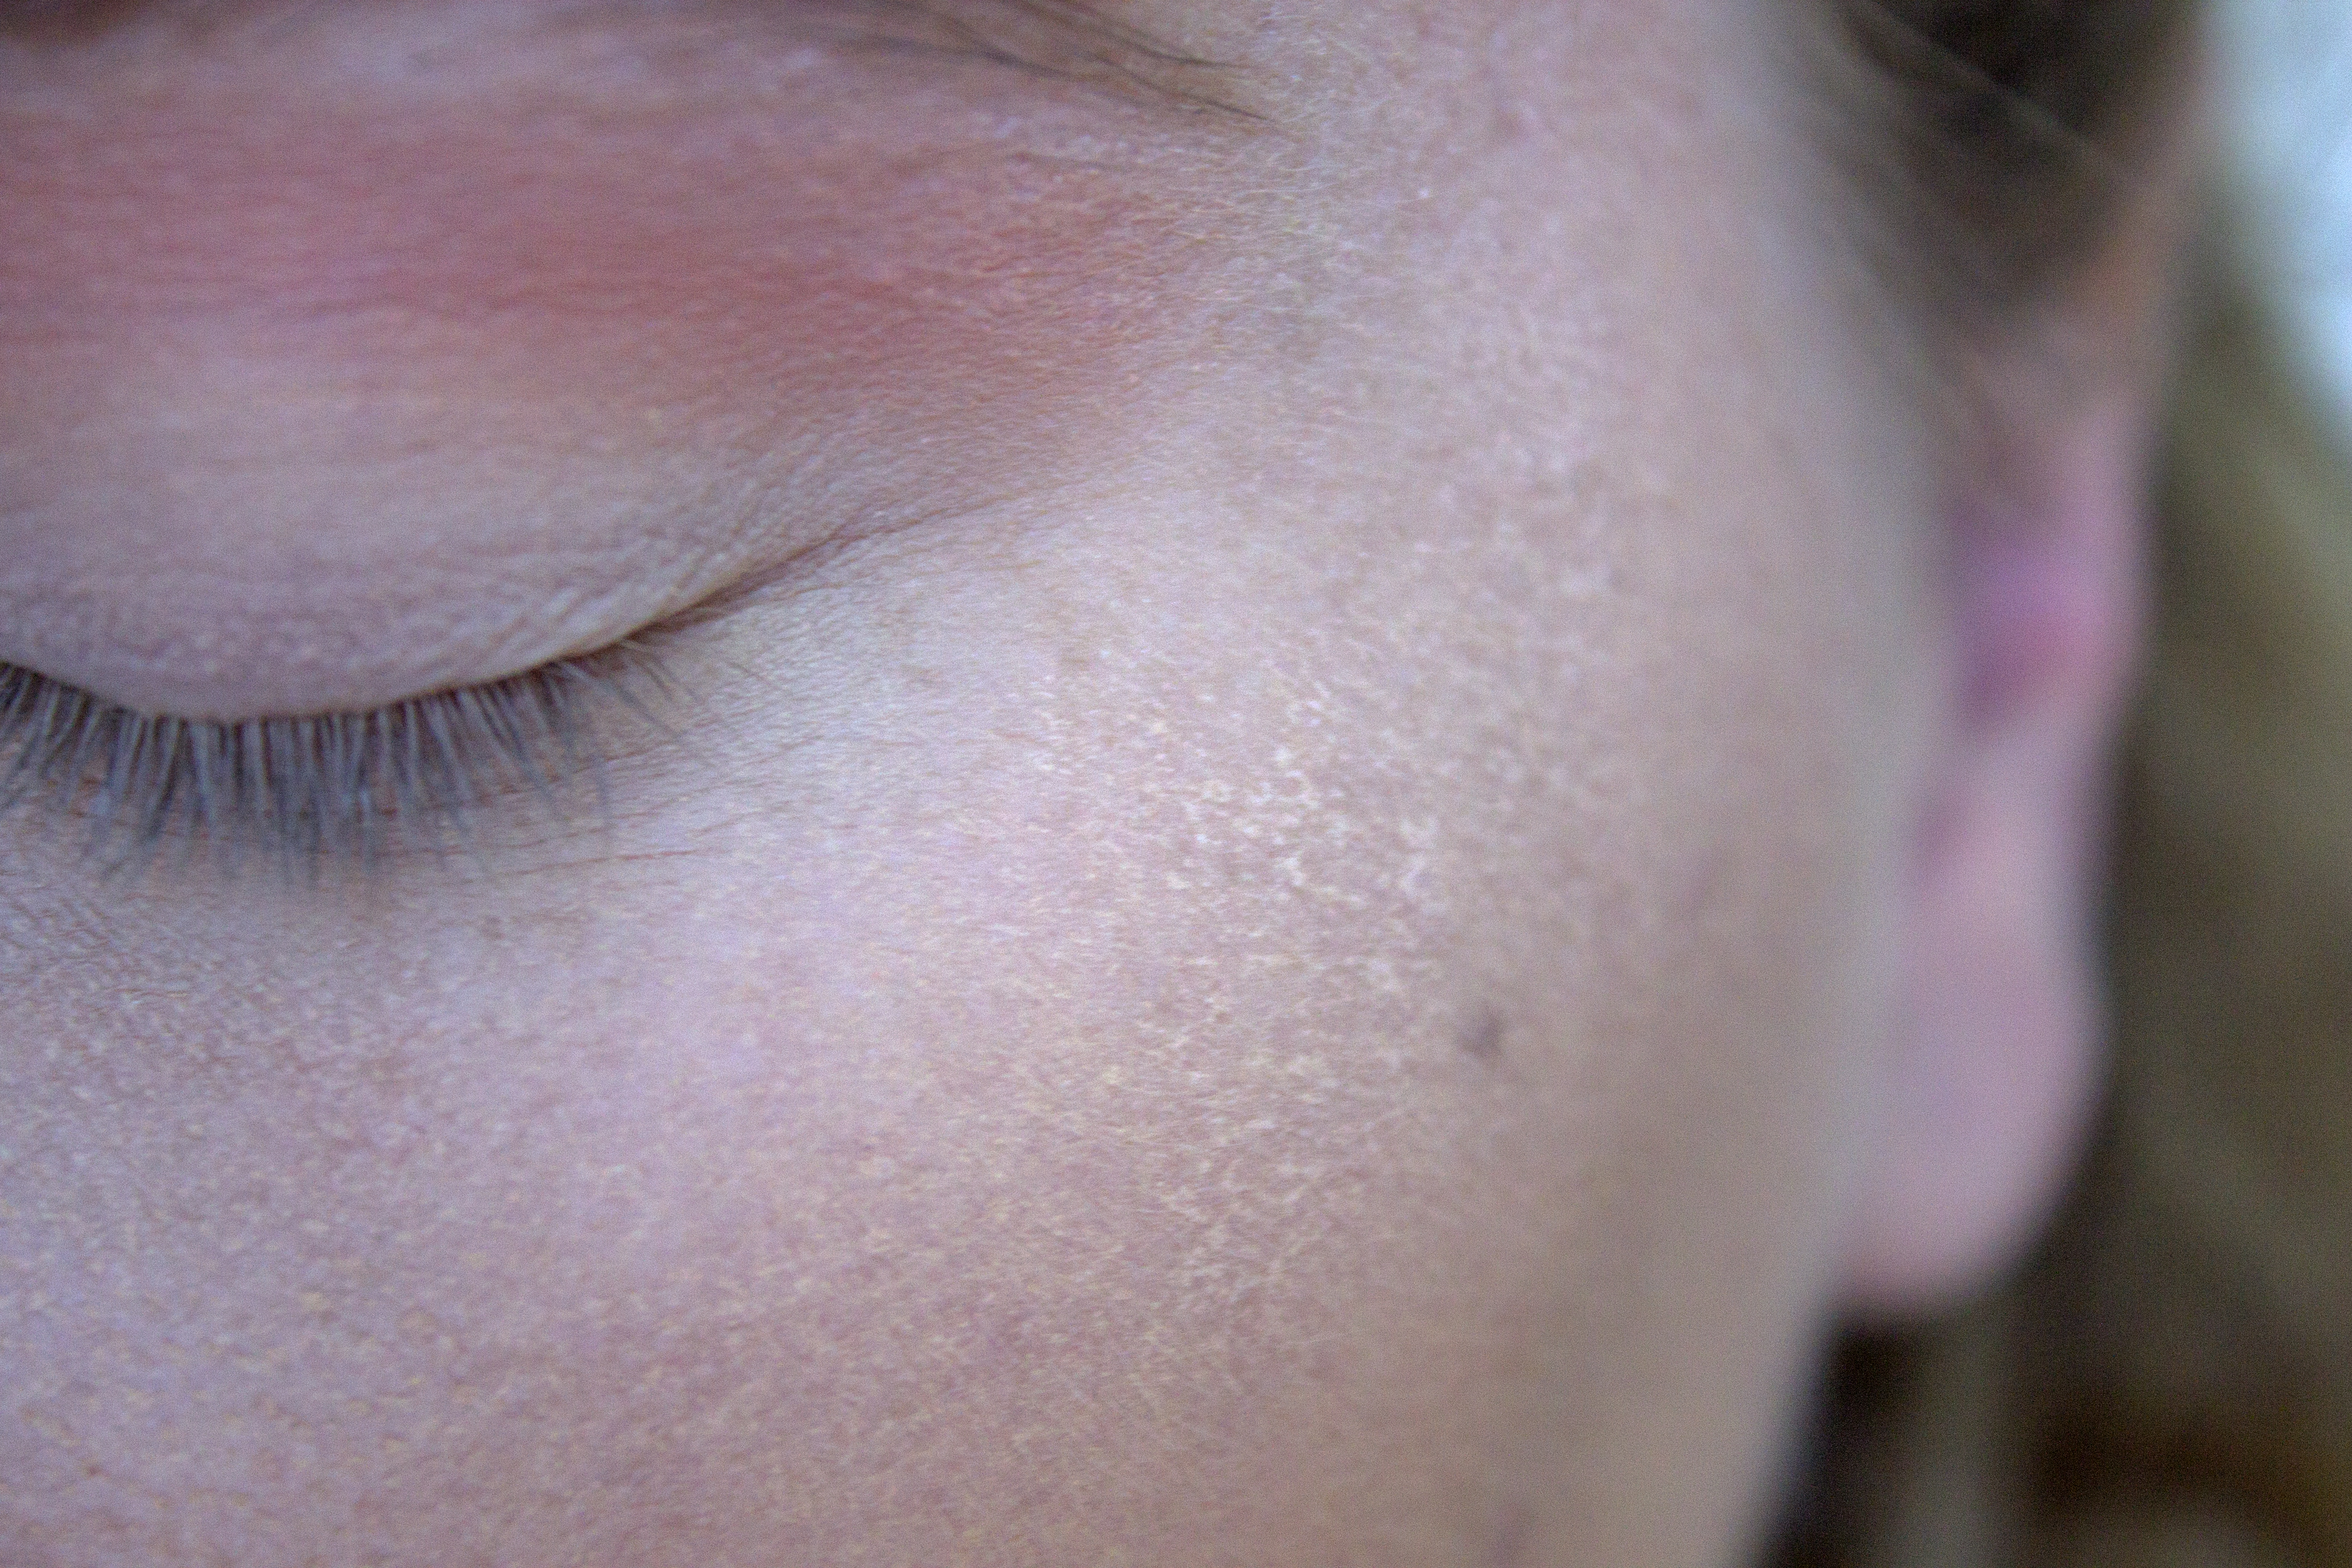
To begin, blend your concealer over your eyes and powder.
Next, blend a small amount of shade 1 over your entire eye area to provide a soft base and aid in blending.
Then take a small amount of shade 1 on your soft crease brush and blend it through your crease. Keep this quite soft and diffused, as it’s simply providing a ‘transition’ from the eyeshadow to your bare skin.
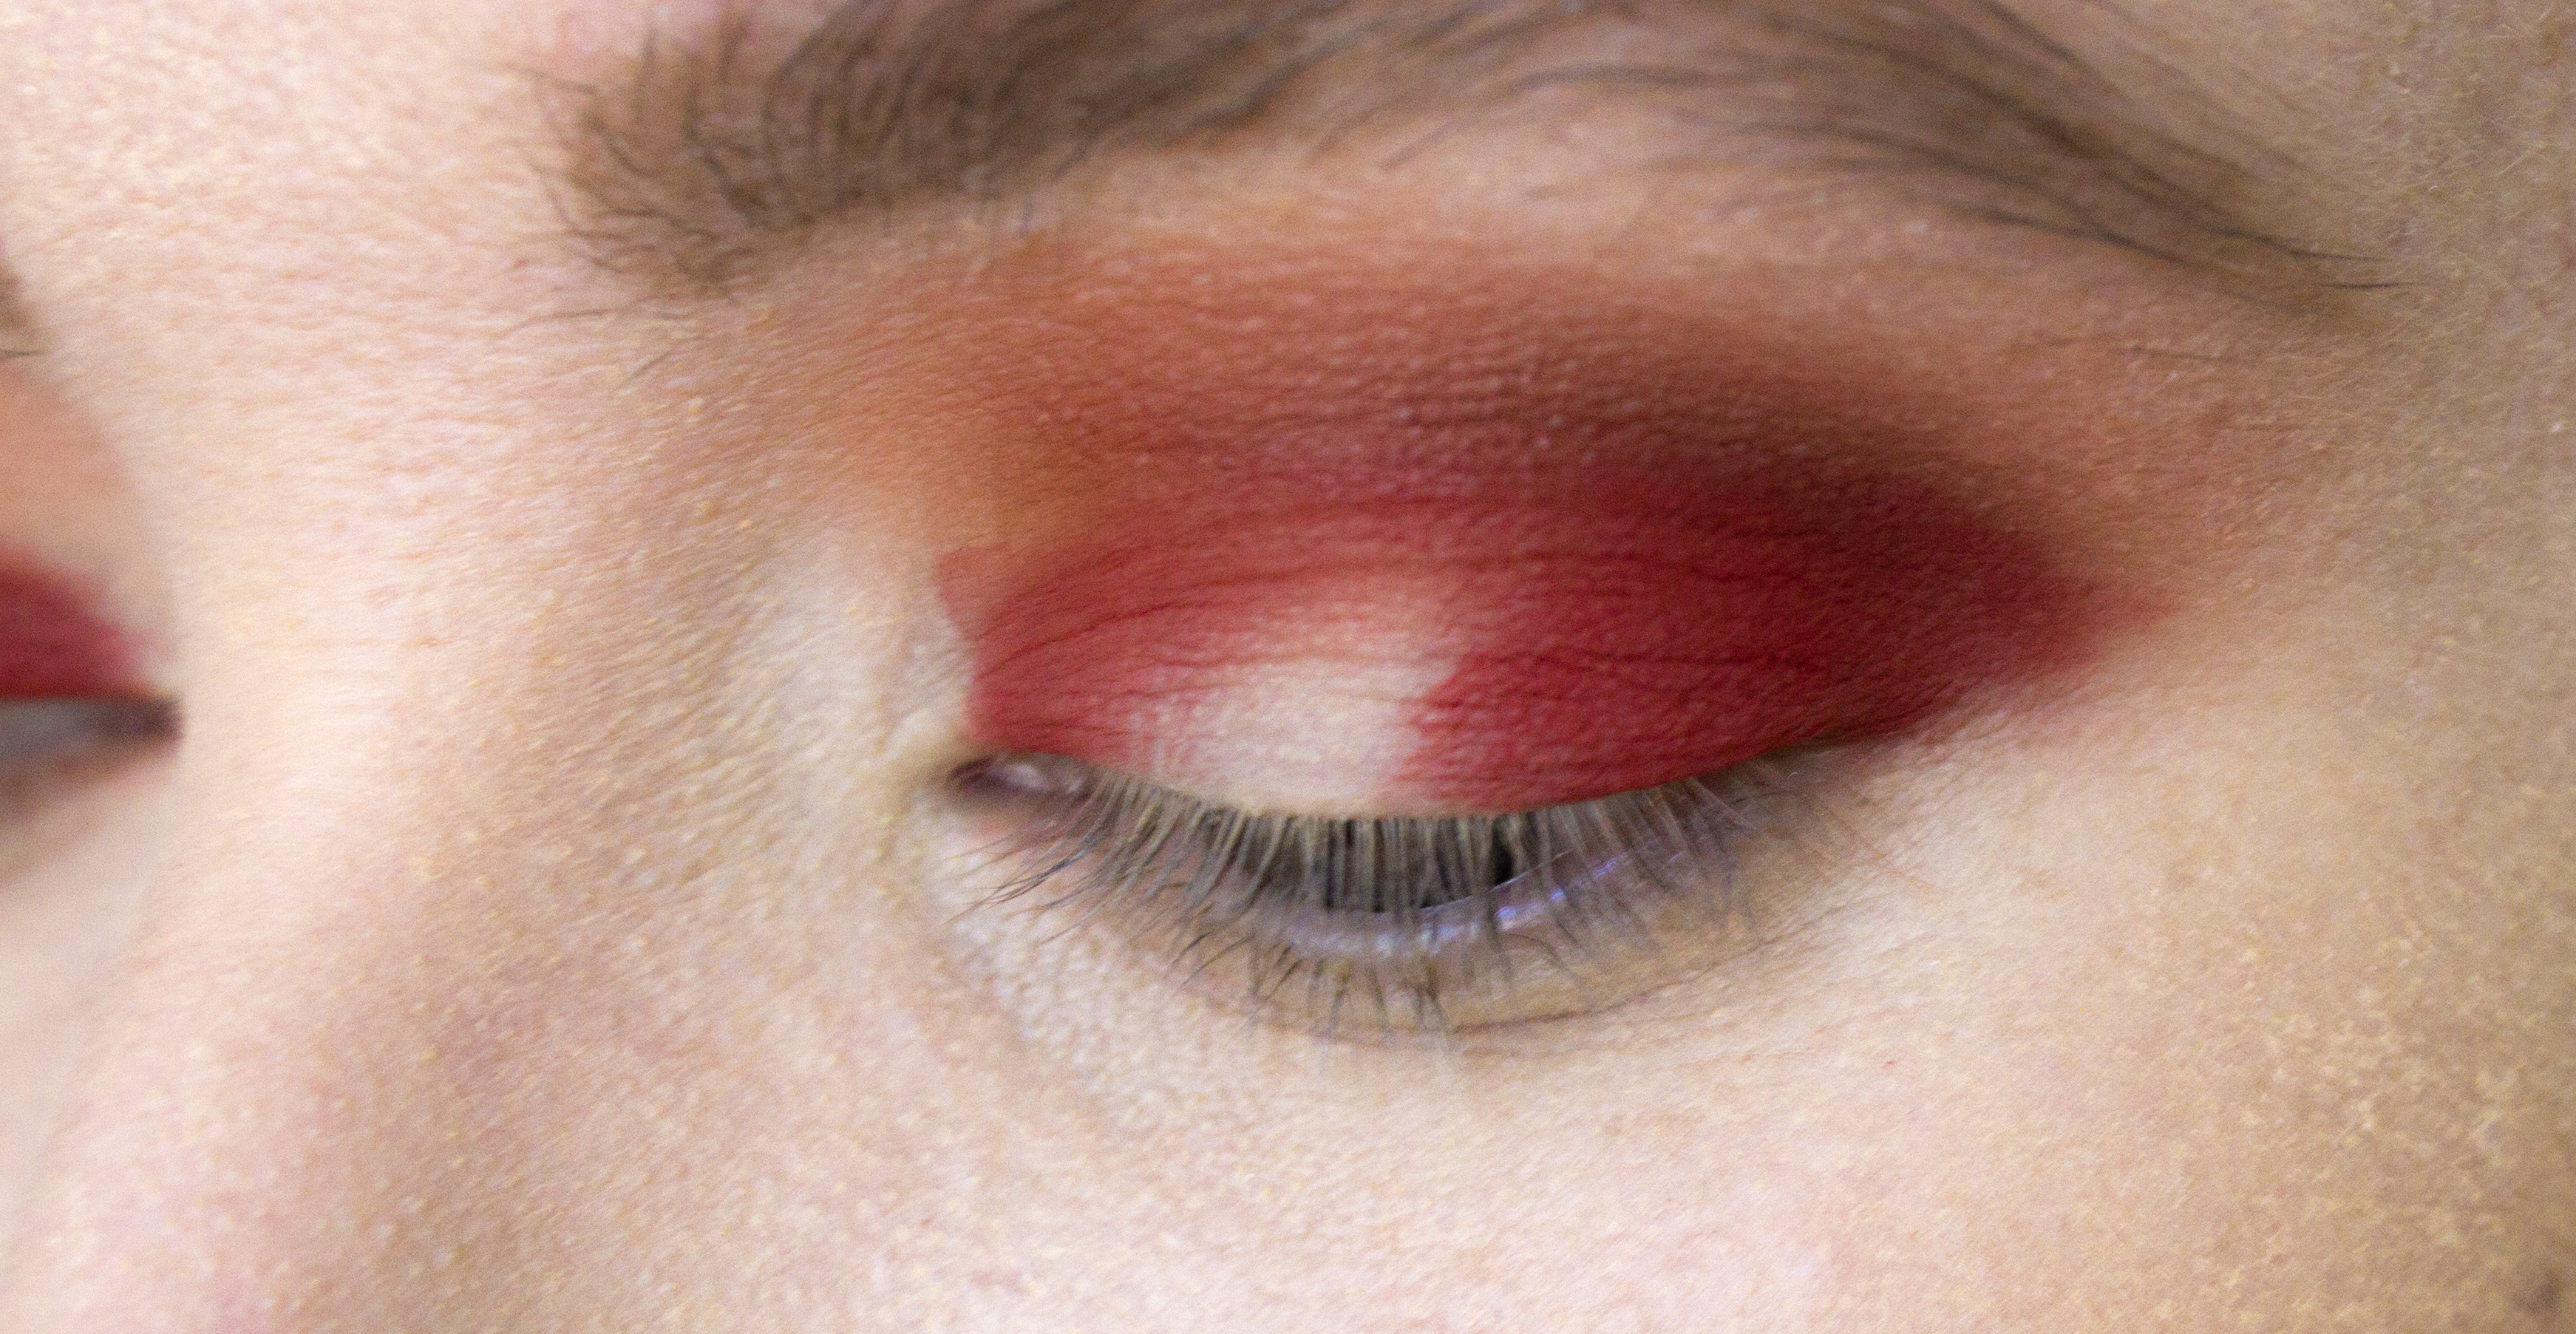
2. Define and Build

Next, blend shade 3 through your crease, keeping it slightly more concentrated and less diffused than shade 2. Bring this shade slightly past the outer edge of your eye and connect it to the corner of your upper lash line.
Repeat this step a couple of times to build up the colour, and blend the edges with your clean fluffy blending brush.
3. Halo
Next, create a ‘halo’ effect using shade 4.
To do this, pick up a generous amount on your flat brush, lightly tap off the excess, and pack it onto the outer and inner third of your eyelid, leaving the centre and tear duct area bare.
Lightly blend the edges.
4. Enhance
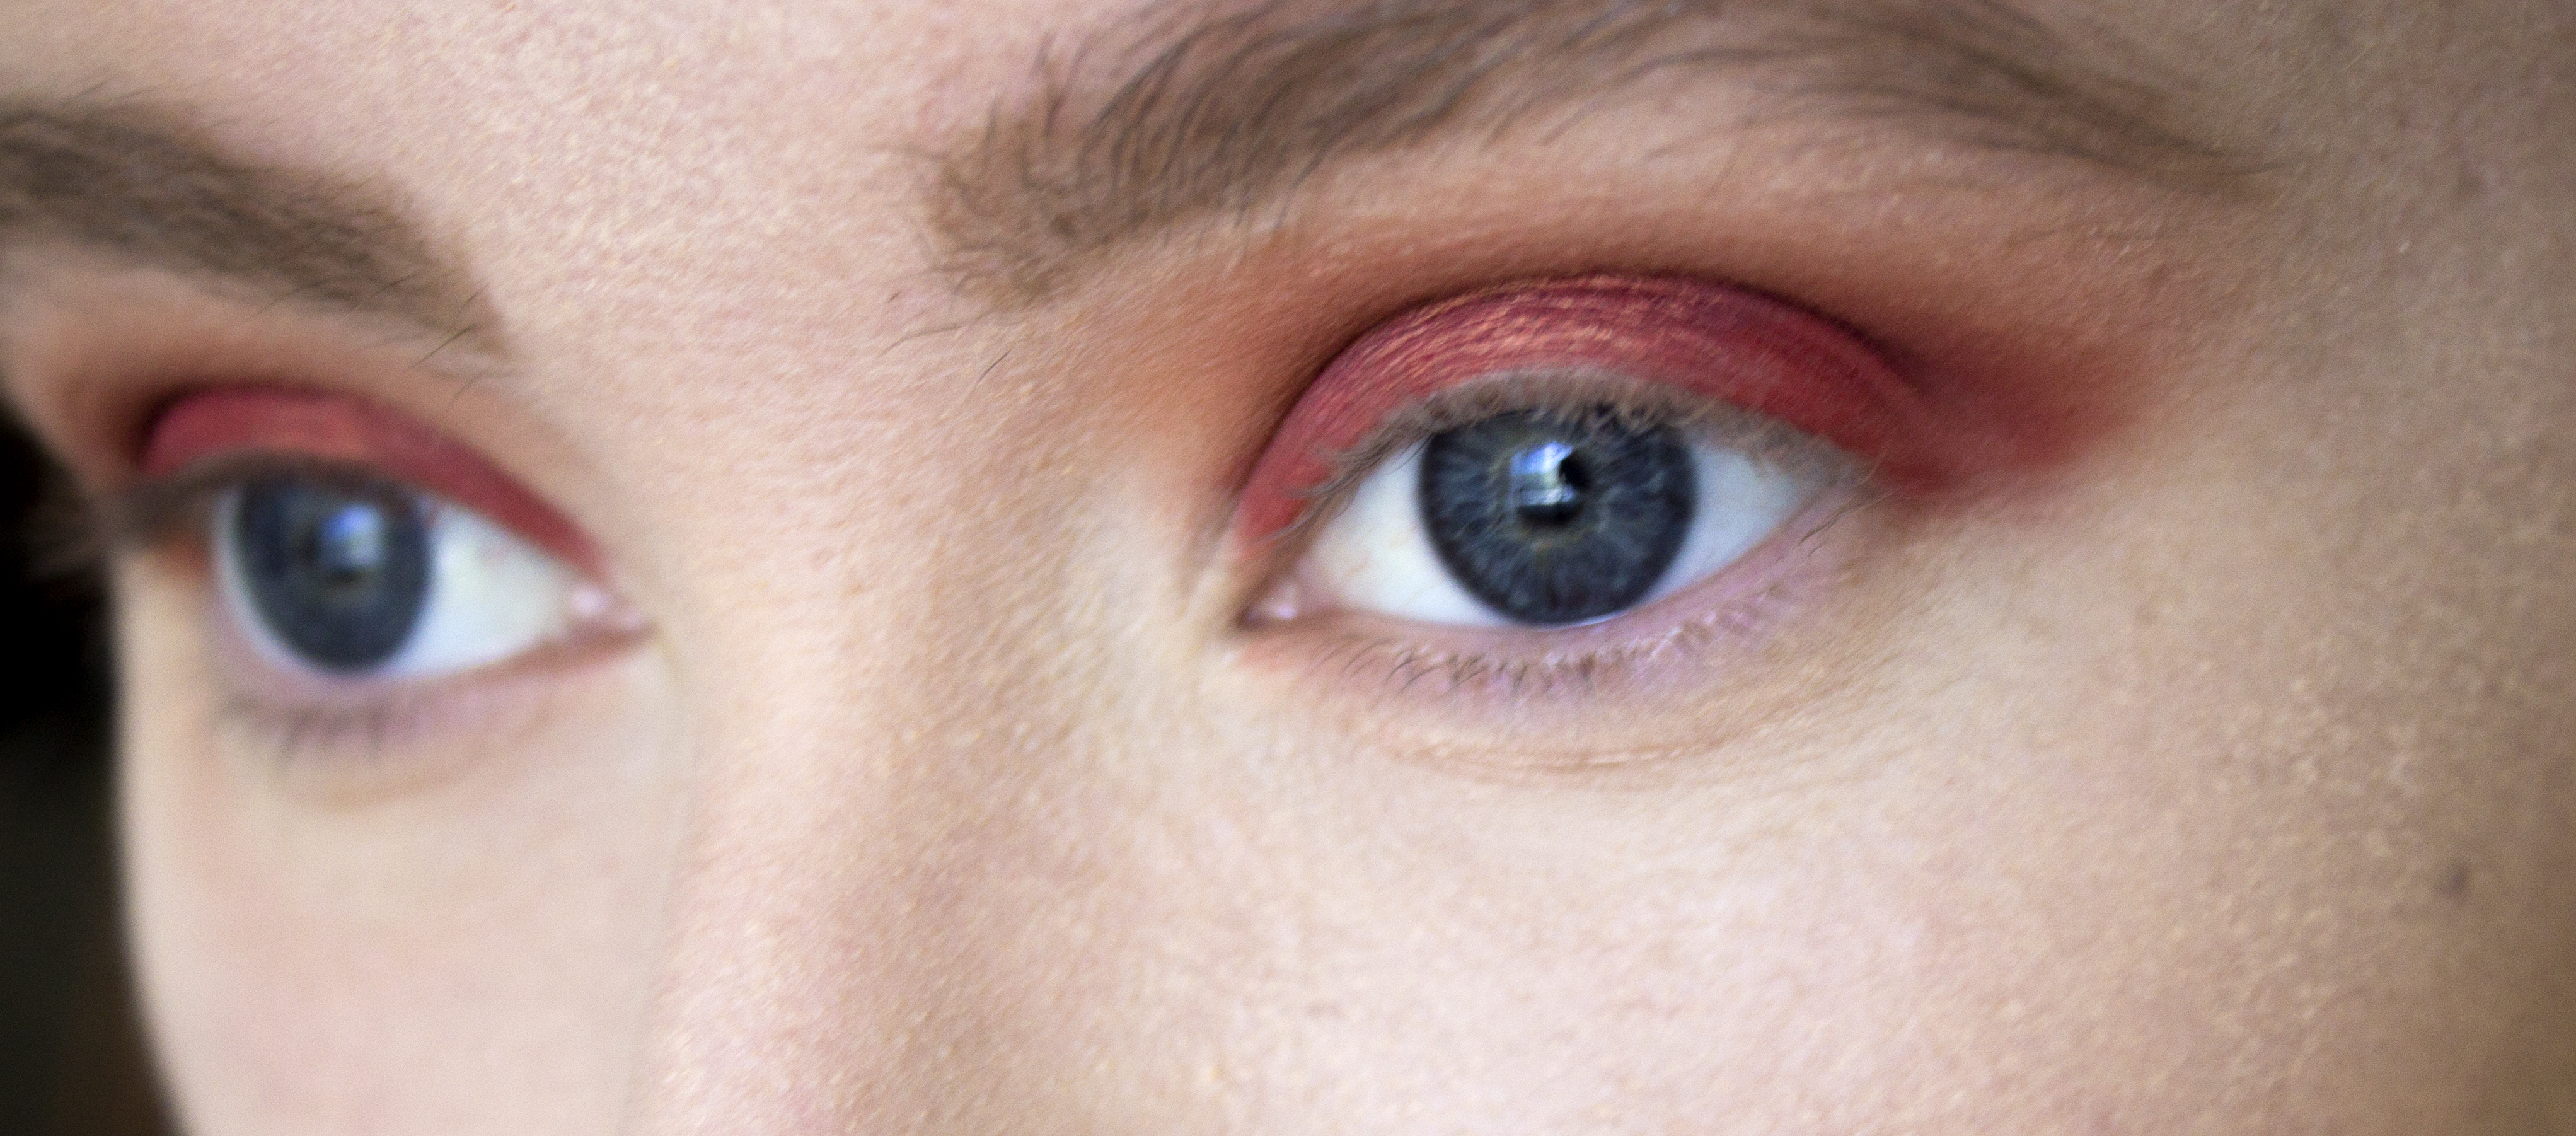
Next, fill in the gap using your flat brush and shade 5.
If you’d like a more intense finish, try spritzing the brush with some water or setting spray first.
5. Pop

Repeat this step with shade 6, but keep it a little more concentrated to the very centre.
This will help to pick up the ‘sparkle’ in your eyes and create a rounder effect.
6. Connect
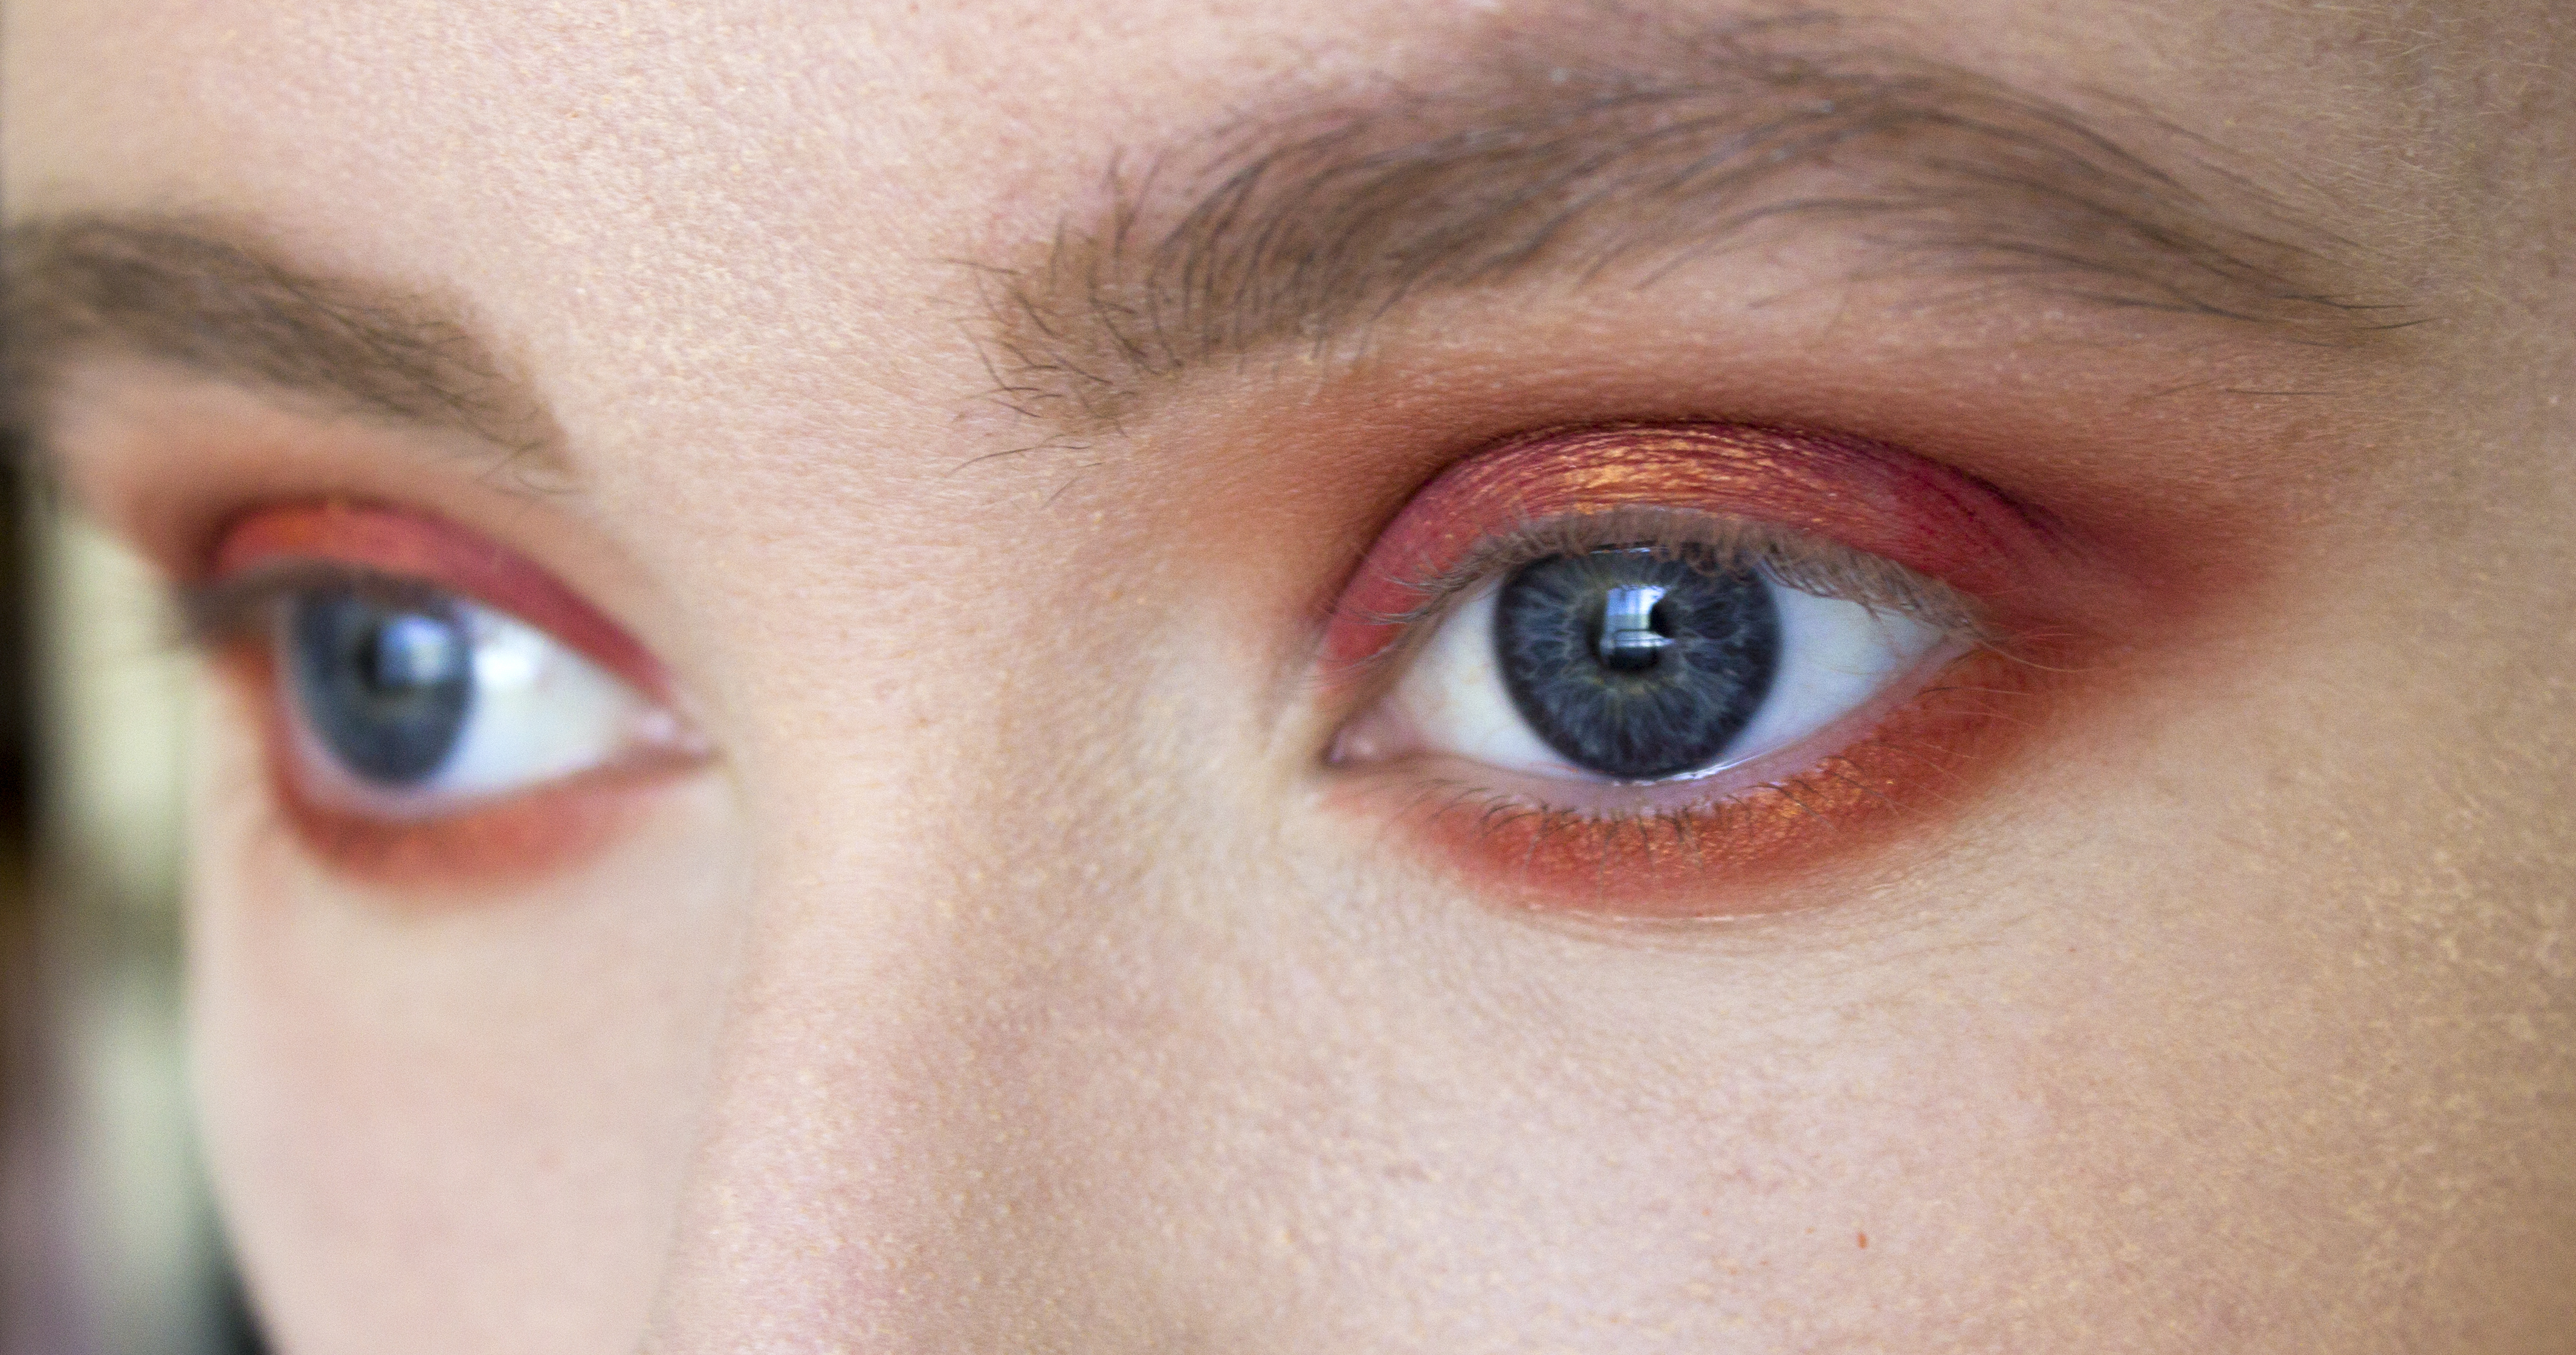
Roughly repeat the same steps on your lower lash line, and connect it to the outer corner of your upper lid.
If you’d like to open up your eyes, add some highlighter to your inner corners using the tiny detail brush.
7. Line

Next, lightly line your upper lash line.
It’s up to you whether you keep this ‘perfect’ or smudge it out.
Smudging gives a slightly more ‘grungy’ effect, and a more perfect line gives more of a ‘glam’ feel.
It’s also a good idea to line your lower waterline with a black pencil (especially if you’re using red, pink, green, or blue as it will stop you from looking ill or bruised).
8. Lashes
To complete the look, slather your lashes in as much mascara as you possibly can, and if you wish, add some falsies for a little extra drama.
I also added some additional highlighter to my inner corners and on my brow bone to amp up the glam factor.
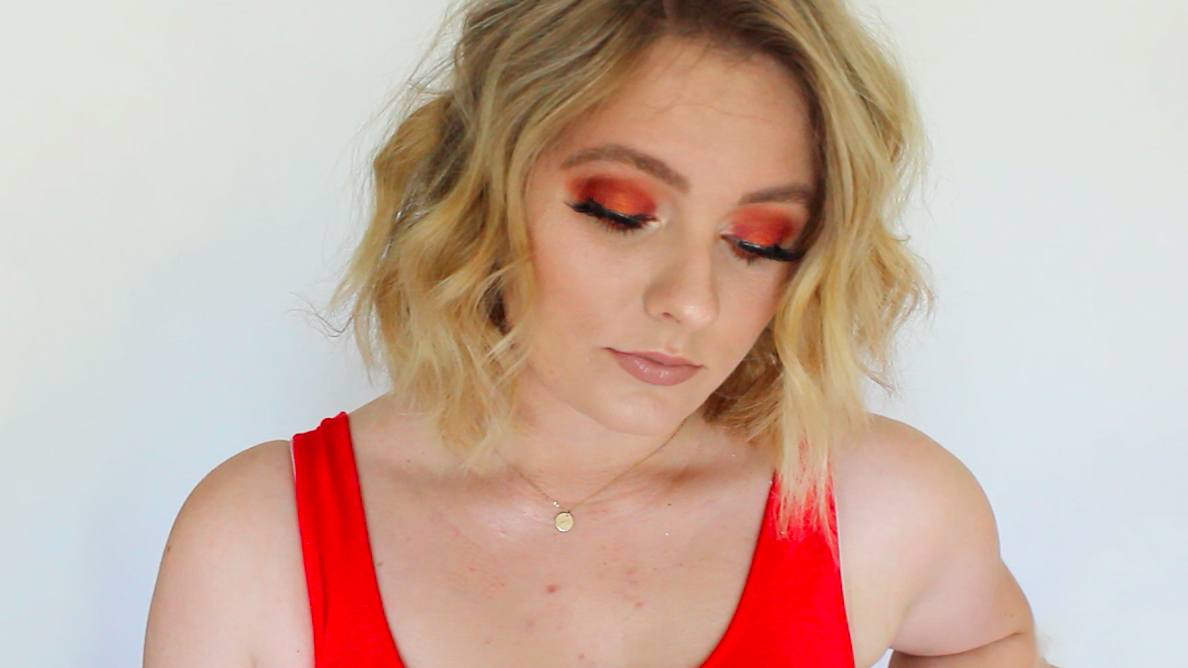
And there you have it! It’s really that easy.
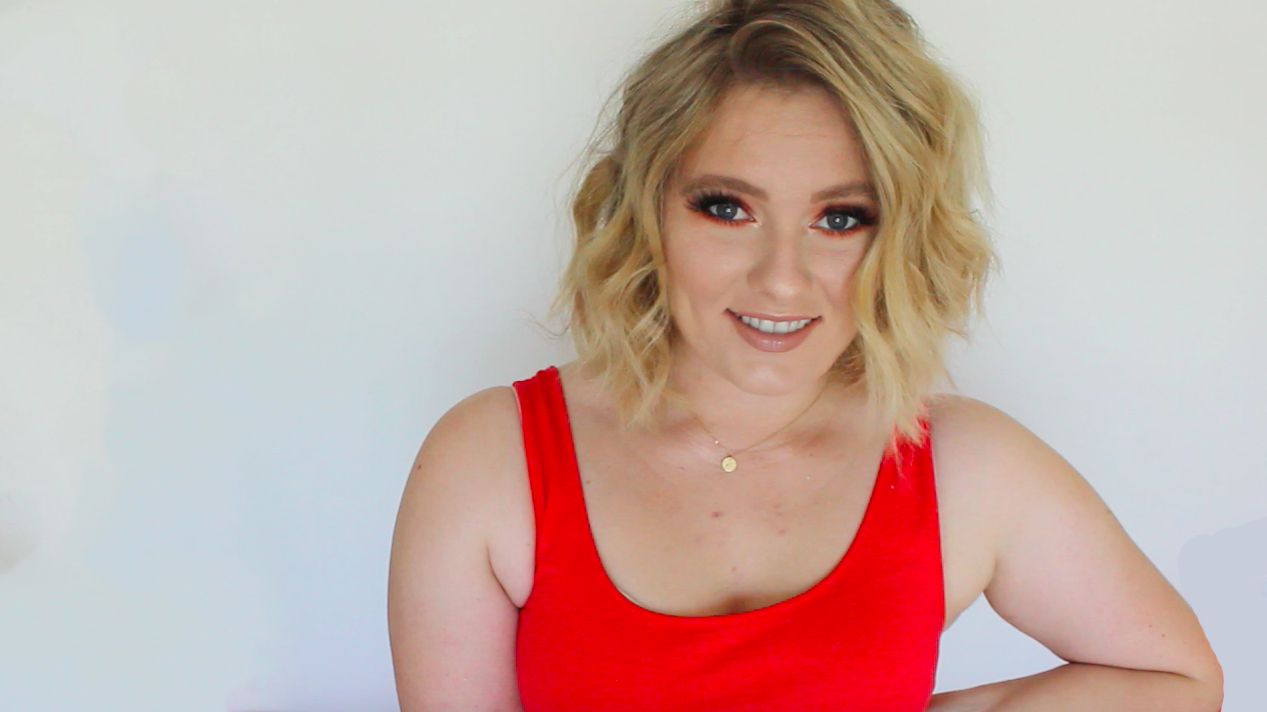
If you recreate this look, make sure you tag me in any pictures that you share so I can shower you with compliments.
Until Tuesday, 😉
