
When it comes to Christmas parties, updos seem to be the classic go-to ‘do. However, if you have short hair like me, it can be a little tricky to create one that:
- Doesn’t fall out
- Doesn’t look like a wimpy little bun
- Doesn’t make you look like a colonial man (unless that’s what you’re going for)
But don’t worry boo, I’ve got you.
After many months of trial and error, I have finally perfected an updo method that takes approximately 5 minutes or less (with some prep work), and gives you the Princess Mia look you’ve been dreaming of since 2001.
Note: This method will also work for long hair, but the updo I showed you last year is definitely a better-suited method.
TOOLS
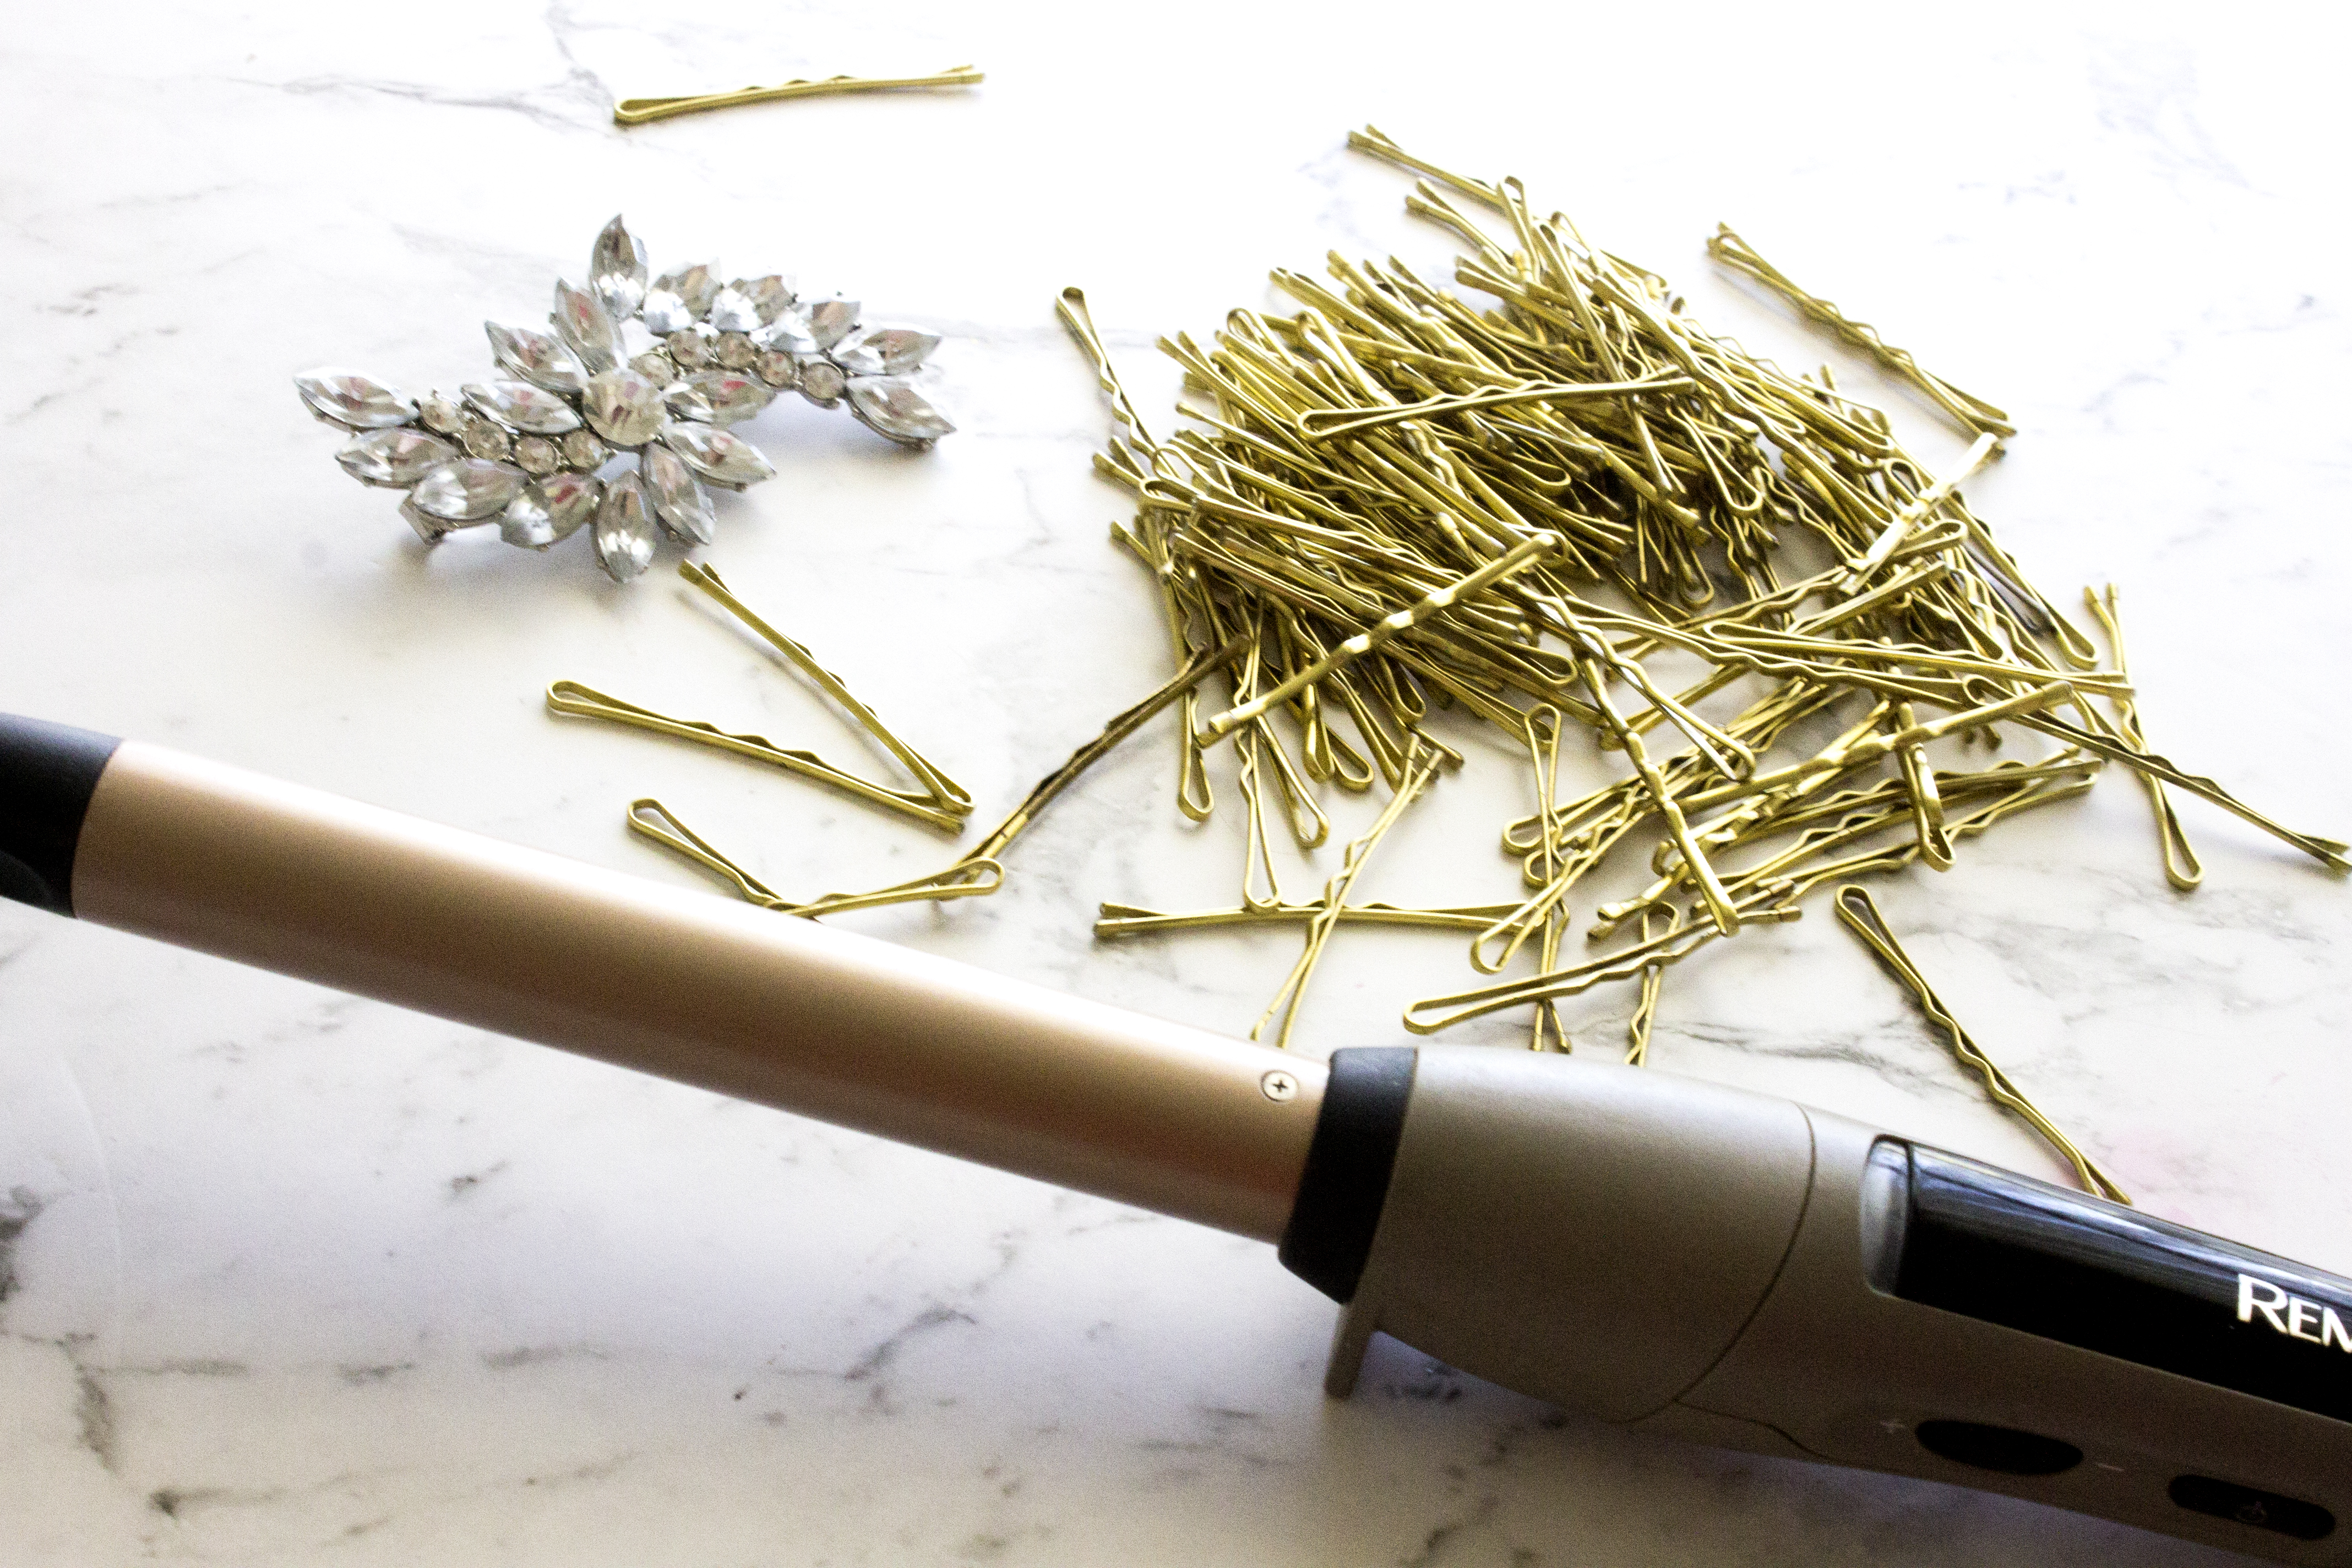
This look takes next to nothing to create. All you’ll need is:
- Patience
- Approximately 572 bobby pins
- A curling iron (if applicable)
- An accessory (optional)
PREP
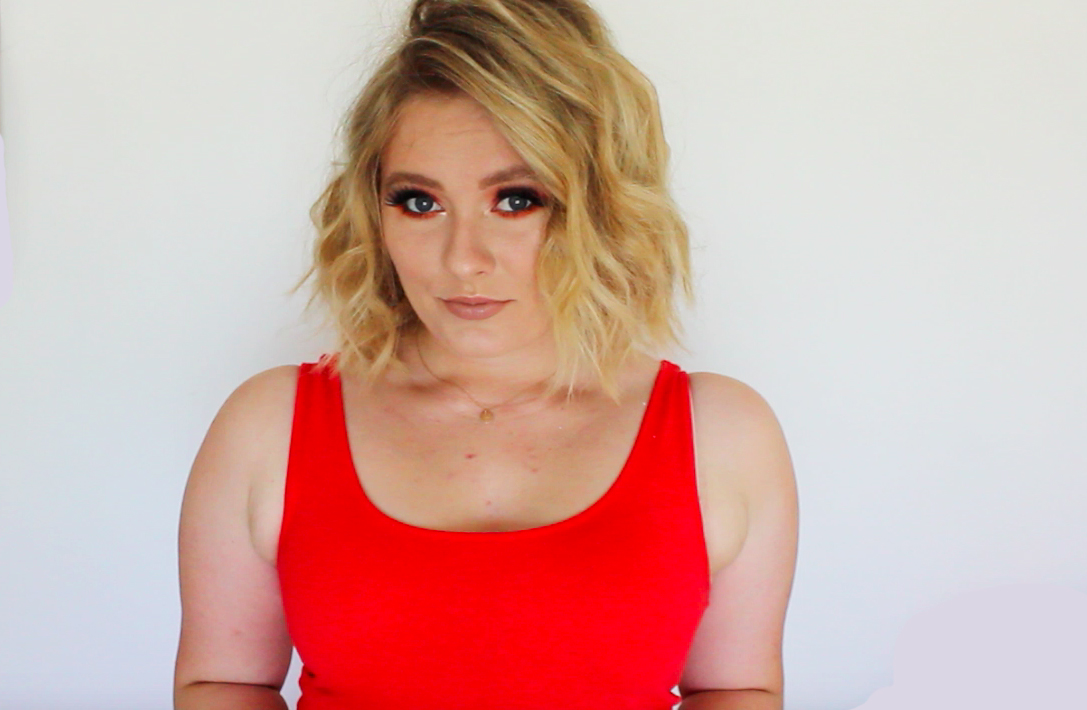
When creating an updo, the texture of your hair can really make or break the style.
If you want yours to be on the polished side, I recommend straightening your hair first.
If you want yours to be more ‘undone’, ‘whimsical’ and ‘effortless’, curls will be your best friend.
If you already have curly/wavy hair, you’re in luck!
If you need to add curls, I recommend trying out the curling method I showed you during last years blogmas, but instead of alternating the direction, keep every curl going away from your face.
I also don’t like to add any product before creating this updo, as I prefer for it too look quite soft- but if you want some beachy texture, go ahead and use a texturising spray or pomade.
TOP HALF
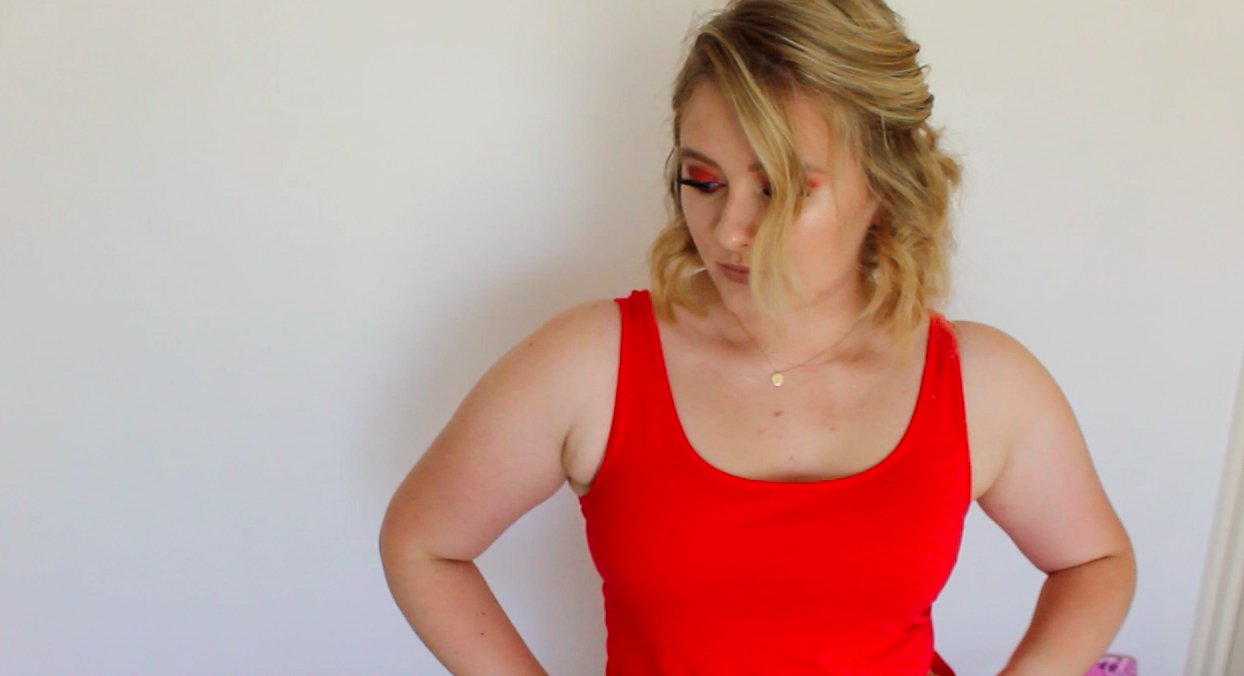
Start by simply pinning up the top half of your hair. You can do this in absolutely any way you like- it really just depends on your preference.
I personally like to leave out a couple of pieces to frame my face (otherwise I look like a hard boiled egg), gently sweep back the sides, ever so slightly twist them, and connect them at the back.
You could also slick it straight back, tease it for extra volume, or even do a half French twist.
BOTTOM HALF
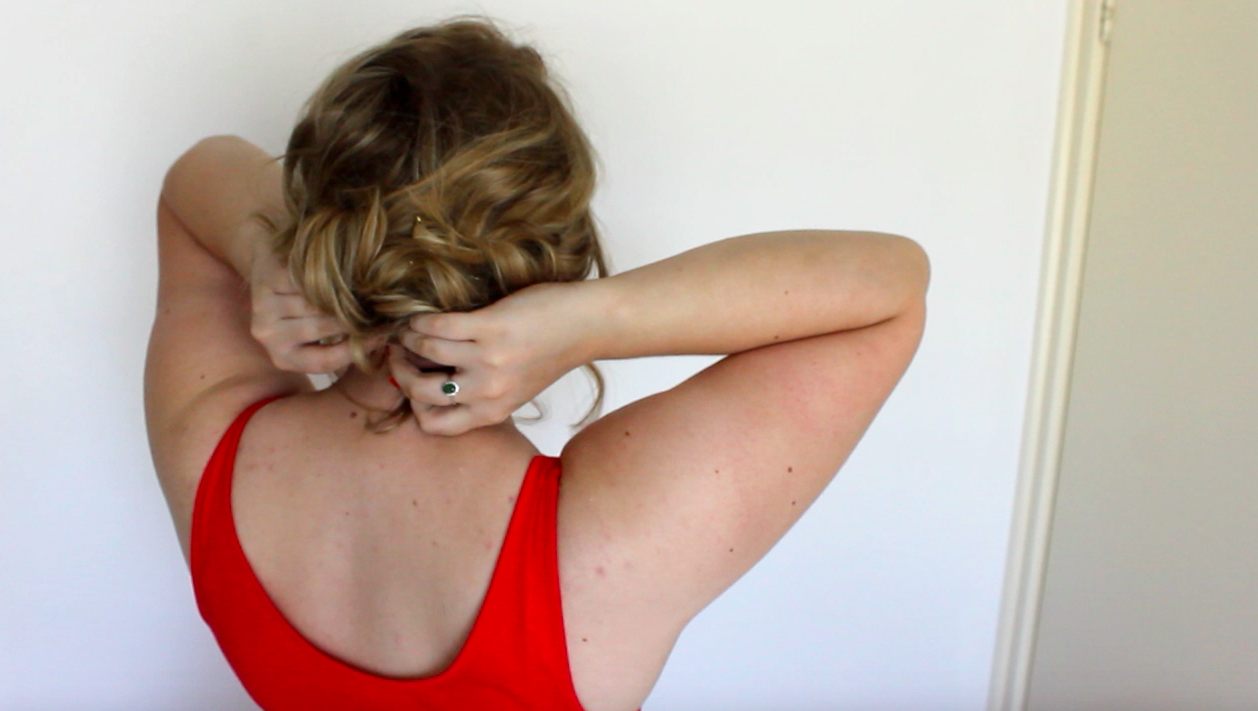
For the bottom half, all you have to do is grab a random small section, flip it around to create a loop, and pin it in place. You’ll then just do this over and over again until you run out of hair.
I highly recommend randomly switching up the direction and placement of your loops to give it more texture and volume. If you’re after a more polished look, try to keep them all the same size and work in larger sections.
ACCESSORISE
You’ll then want to grab a handheld mirror to check out the back and adjust anything that doesn’t look quite right- and then you’re done.
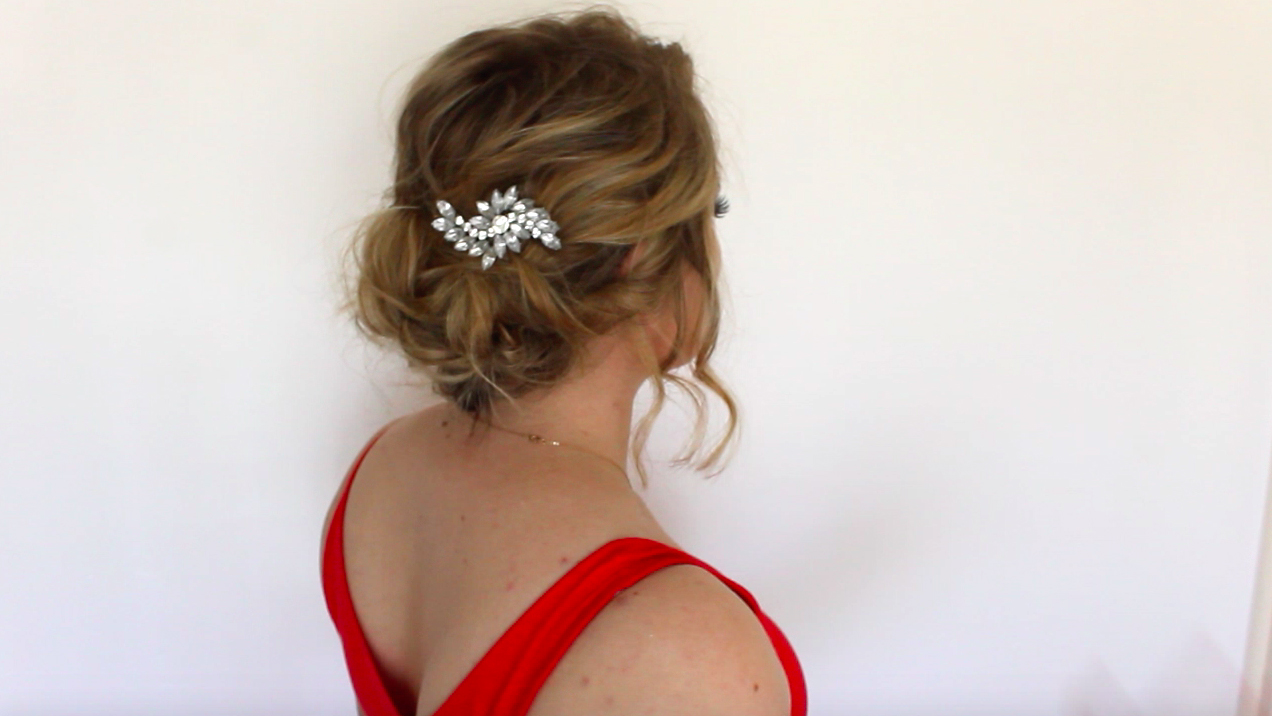
If you want a little pizazz, you could also add an accessory (think bandanas, ribbons, flowers, pearls- anything you’re heart desires). I’ve slapped on this clip that I wore to my year 10 formal (aka, the day people realised I was not a hard boiled egg) which really kicked the look up a notch.
And hey presto- you’re done!
It’s literally THAT easy.
If you recreate this look, I’d absolutely LOVE to see, so be sure to tag me in any pictures you share (my social media links are below).
Until Monday 😉
