
Have an event to go to?
Have no makeup inspiration?
Want to GLOW?
Well don’t worry boo, I’ve got you.
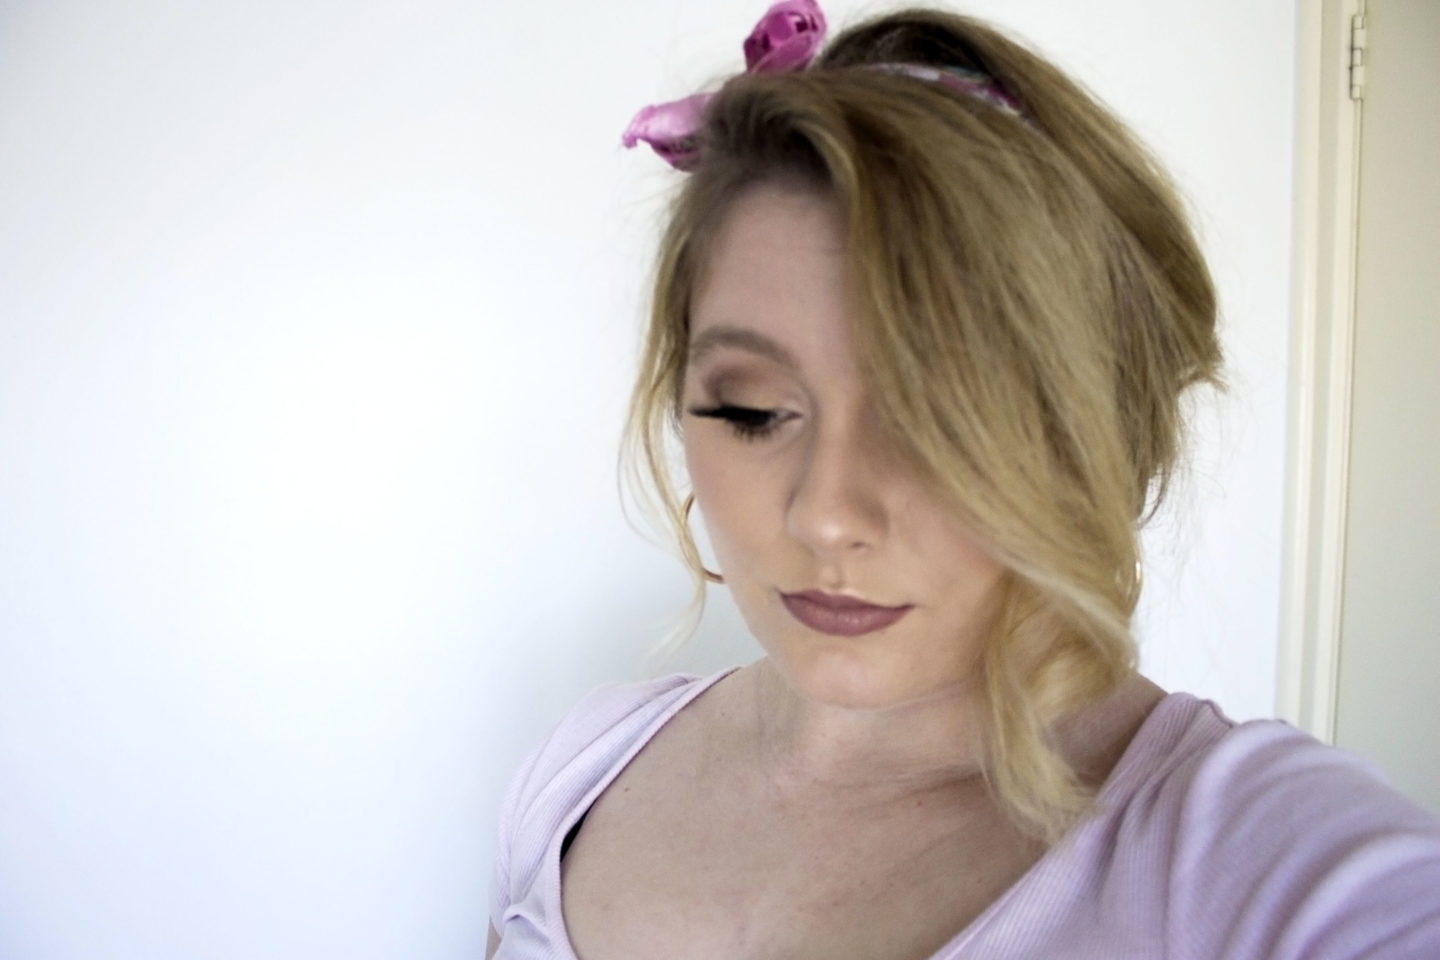
The look I’m about to teach you is incredibly easy to do, and will have you serving looks for any event. Truly, from a humble Maccas run to your wedding day- I’ve got you covered.
I’ve chosen to use semi-luxurious products for this look for those of you who want something ‘fancy’, but feel free to check out any of my other tutorials for cheaper alternatives. At the end of the day, this look is so simple that you can pretty much use anything you already have.
Today, you’ll learn my secret to a flawless foundation application, pro tips for uber quick eyeshadow, and how to GLOOOOOOOOOOOOOOOW.
Lets begin.
Skin Prep
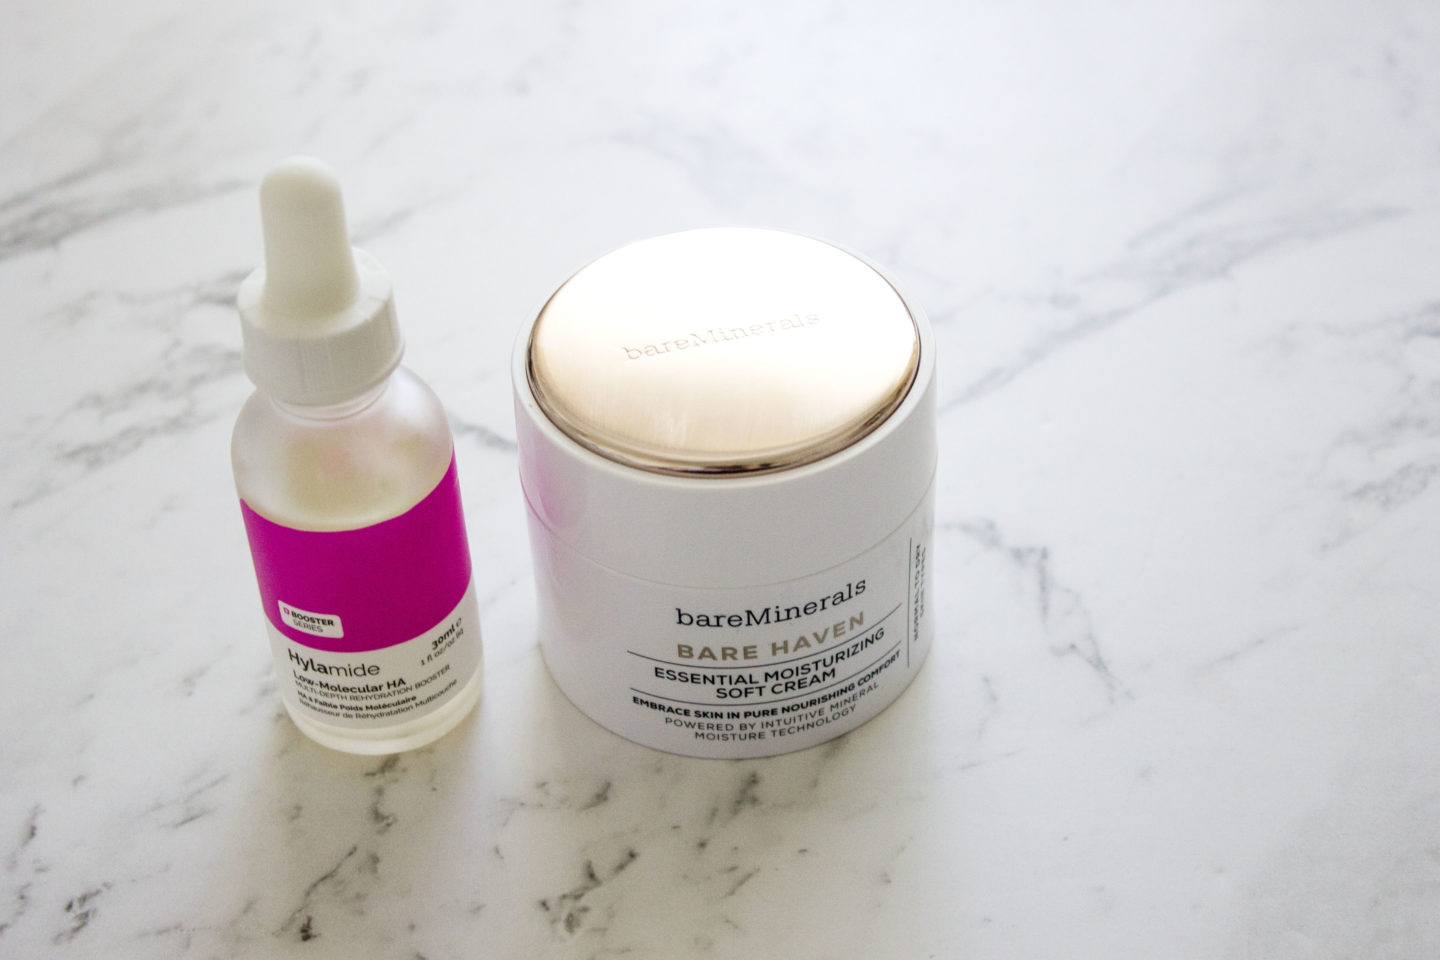
Skin prep is absolutely not negotiable if you want your foundation to look like perfect skin rather than crusty foundation on top of skin.
Exfoliation is absolutely key to ensure that you have a smooth canvas, so be sure to do this the night before.
The morning of, apply a lightweight hydrating serum like the Hylamide Low Molecular HA to give your skin as much hydration as possible without turning it into a greasy mess. Follow up with your favourite moisturiser (currently, mine is the bareMinerals Bare Haven Essential Moisturising Soft Cream) to lock in the hydration, and wait a minimum of 30 minutes before proceeding to allow it to soak in properly.
When it comes to wearing SPF, ask yourself two questions.
- Am I going out during the day? If not, obviously skip it.
- Am I going to be photographed indoors with flash? If yes, skip it.
Any other scenario: don’t forget to wear it.
The Base of Dreams
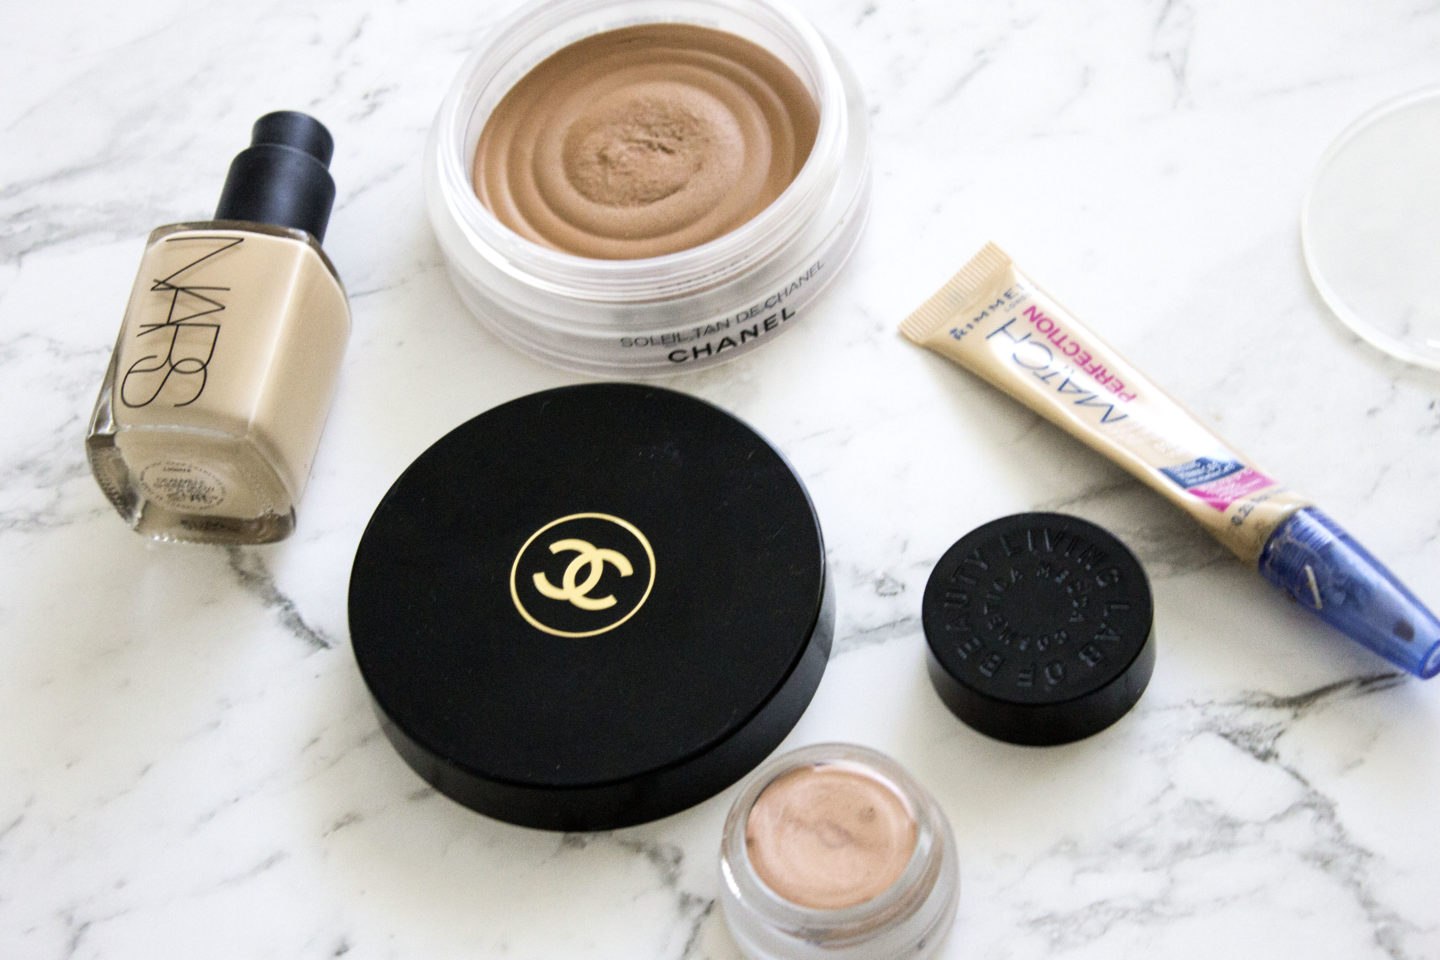
Your base can truly make or break your look, and thankfully, this method has absolutely NEVER failed me.
Firstly, whether or not a foundation works well isn’t only down to the formula- it depends on the base, how much is applied, and with what tools. Unfortunately there is no magic combination that will work for every foundation on the market, but if you feel like the finish of your foundation doesn’t seem right, I highly suggest trying out another application method.
Ever since my year 12 formal, my favourite combination has been the Nars Sheer Glow foundation (I use the shade Deauville for reference), applied with a damp Real Techniques Miracle Complexion Sponge. For me, this gives a super natural ‘skin-like’ finish and never looks cakey or dry.
When it comes to looking sun-kissed and glowing, my favourite technique is building in light layers. Before I powder my skin, I like to apply my concealer (Rimmel Match Perfection Concealer in Ivory), cream bronzer (Chanel Soleil Tan De Chanel Bronzing Makeup Base), and a cream or liquid highlighter (Mecca Cosmetica Enlightened Lit From Within Illuminating Balm) to the high points of my face.
Set and Brows
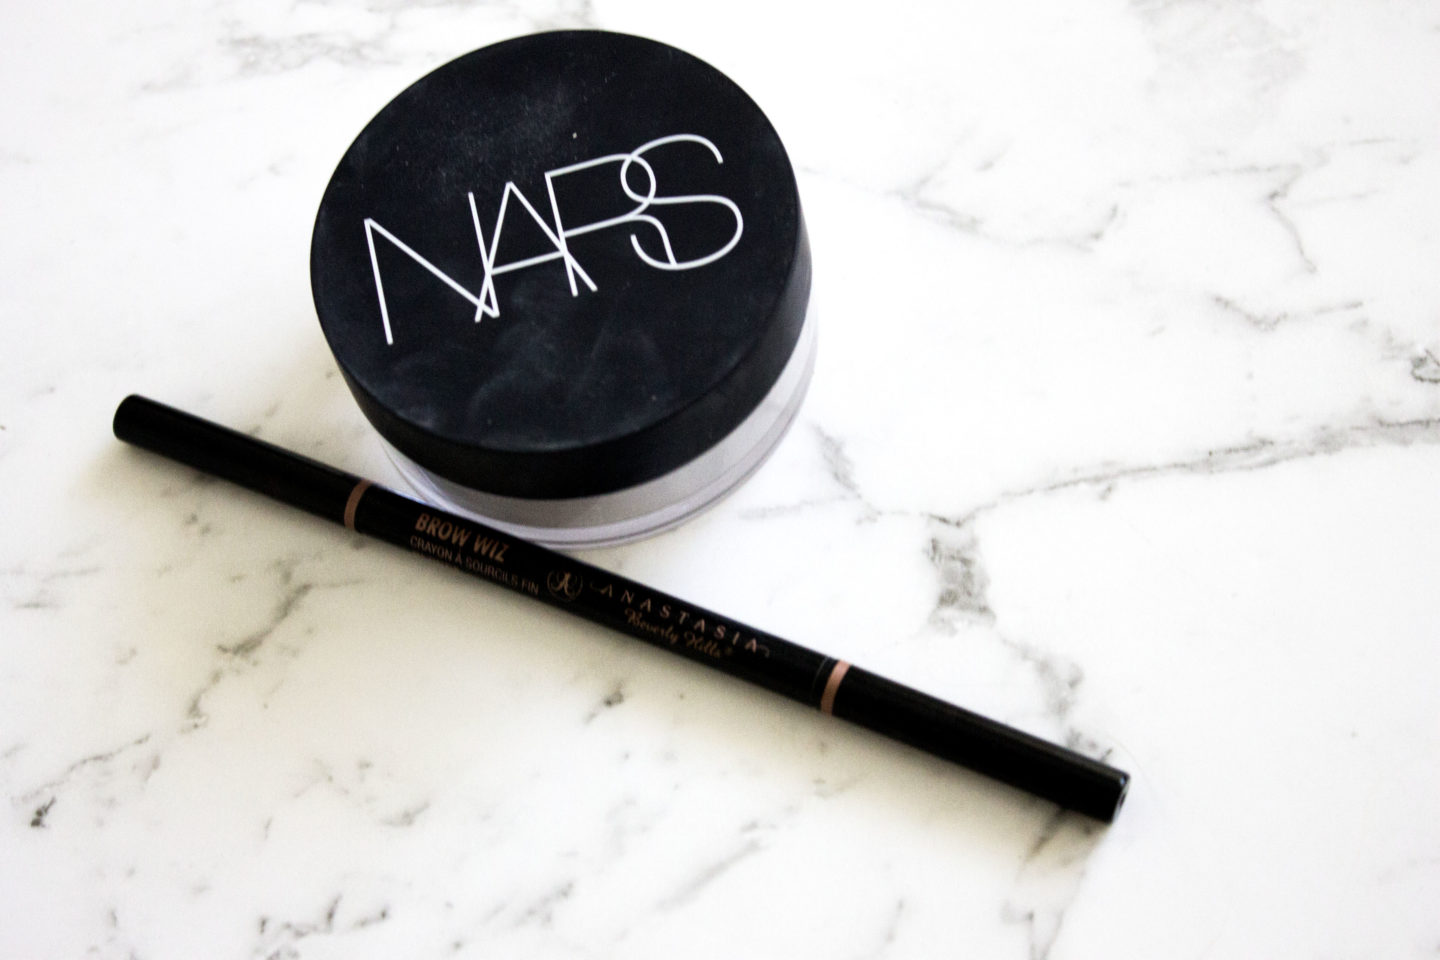
Next I like to set my entire face with translucent powder (Nars Light Reflecting Loose Setting Powder) on a gigantic fluffy brush. Doing this step now will ensure that nothing will crease while you work on the rest of your face, and somehow helps the cream products to melt into your skin.
I then lightly fill in and shape my eyebrows with the Anastasia Brow Wiz in Blonde. This step is totally optional, but it helps to frame your face and add some shape.
EYES
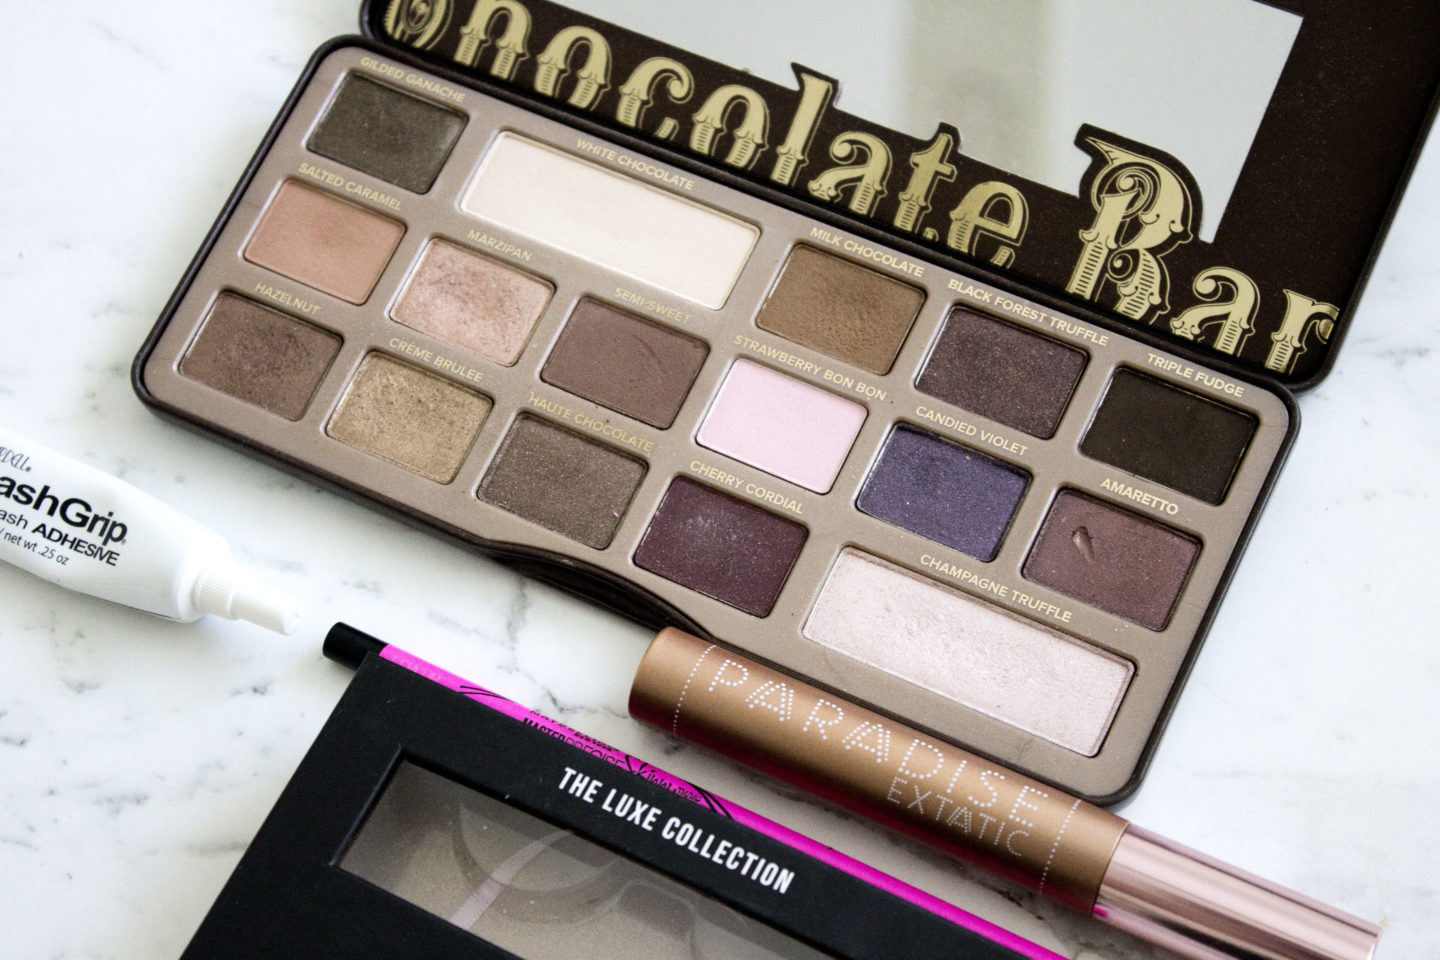
You can pretty much do anything you like with your eye makeup, but one technique that never fails me is the blended wing shape.
I’ve use the Too Faced Chocolate Bar palette to create this look, but any eyeshadow you have will work. You’ll basically need four different matte shades of brown (graduating from light to dark), and ideally two metallic or shimmery shades.
- Blend the lightest brown shade (I used Salted Caramel) through the crease of your eye and slightly past the outer corner, and drag it down to your lash line from the outer edge. This shade should be HEAVILY blended.
- Next, blend the second brown shade (I used Milk Chocolate) in the same areas, but don’t blend it out as far.
- Using a smaller brush, place the third brown shade (I used Semi-Sweet) in the outer third of your crease, and down to the lash line. Blend this lightly, but try to keep this colour concentrated.
- On a winged liner brush, line your top lash line with the darkest brown (I used Triple Fudge) and wing it out ever so slightly to elongate the eye.
- Using the small brush you used in step 3, run the second brown shade (Milk Chocolate) along your lower lash line, and connect it to your upper lid.
- Pop your darker shimmery shade (I used Creme Brulee) onto your eyelids using your ring finger.
- Using a tiny brush, place a lighter shimmery shade (I used Champagne Truffle) onto the inner corners of your eyes, and on your brow bone.
If you’d like to add some more dimension, line your lower waterline with a black or brown eyeliner (I used the Maybelline Precise Skinny Gel Liner in Defining Black).
My philosophy is that the bigger your eyelashes the better when it comes to event makeup, so I decided to use my favourite falsies of all time. I started by drenching my upper and lower lashes in the L’Oreal Paradise Mascara, before popping on the Dani Beauty Shook Lashes with the Ardell LashGrip Adhesive.
I’ve never had an issue applying lashes (in fact, I use my left hand to apply them on my left eye), but I know that most people do find it quite tricky. My best tip is to look down into a handheld mirror, and place them on using your fingers rather than bothering to fiddle around with tweezers, and always wait until the glue is tacky before attempting to apply or they’ll slip and slide all over the place.
GLOW
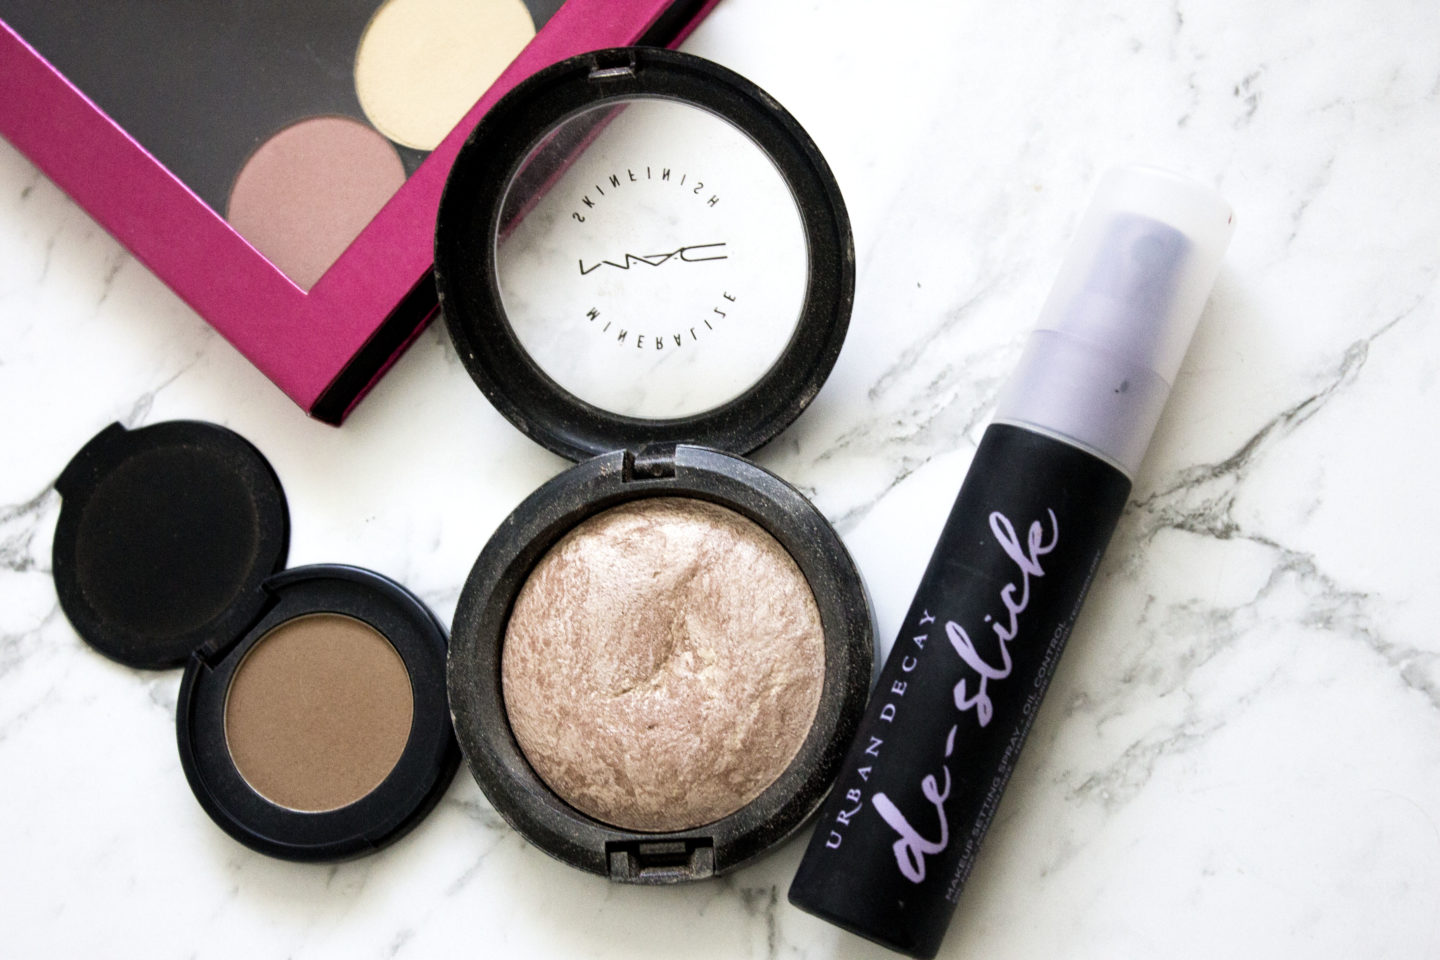
Once the eyes are finished, I go in with my powder face products to add dimension and GLOW.
I start by applying a very small amount of the Too Faced Chocolate Soleil Bronzer over the cream bronzer, and a tiny amount of the Australis Customise Powder Blush in Dreamy to the apples of my cheeks. I then douse my cheeks, nose bridge and cupid’s bow with the Mac Mineralize Skinfinish in Soft & Gentle.
To lock everything in, I then spritz a generous amount of the Urban Decay De-Slick setting spray all over my face. This helps to control oil throughout the day, keep everything in place, and most importantly, helps the powder highlighter to melt into the skin and combine with the cream one I applied earlier.
Lips
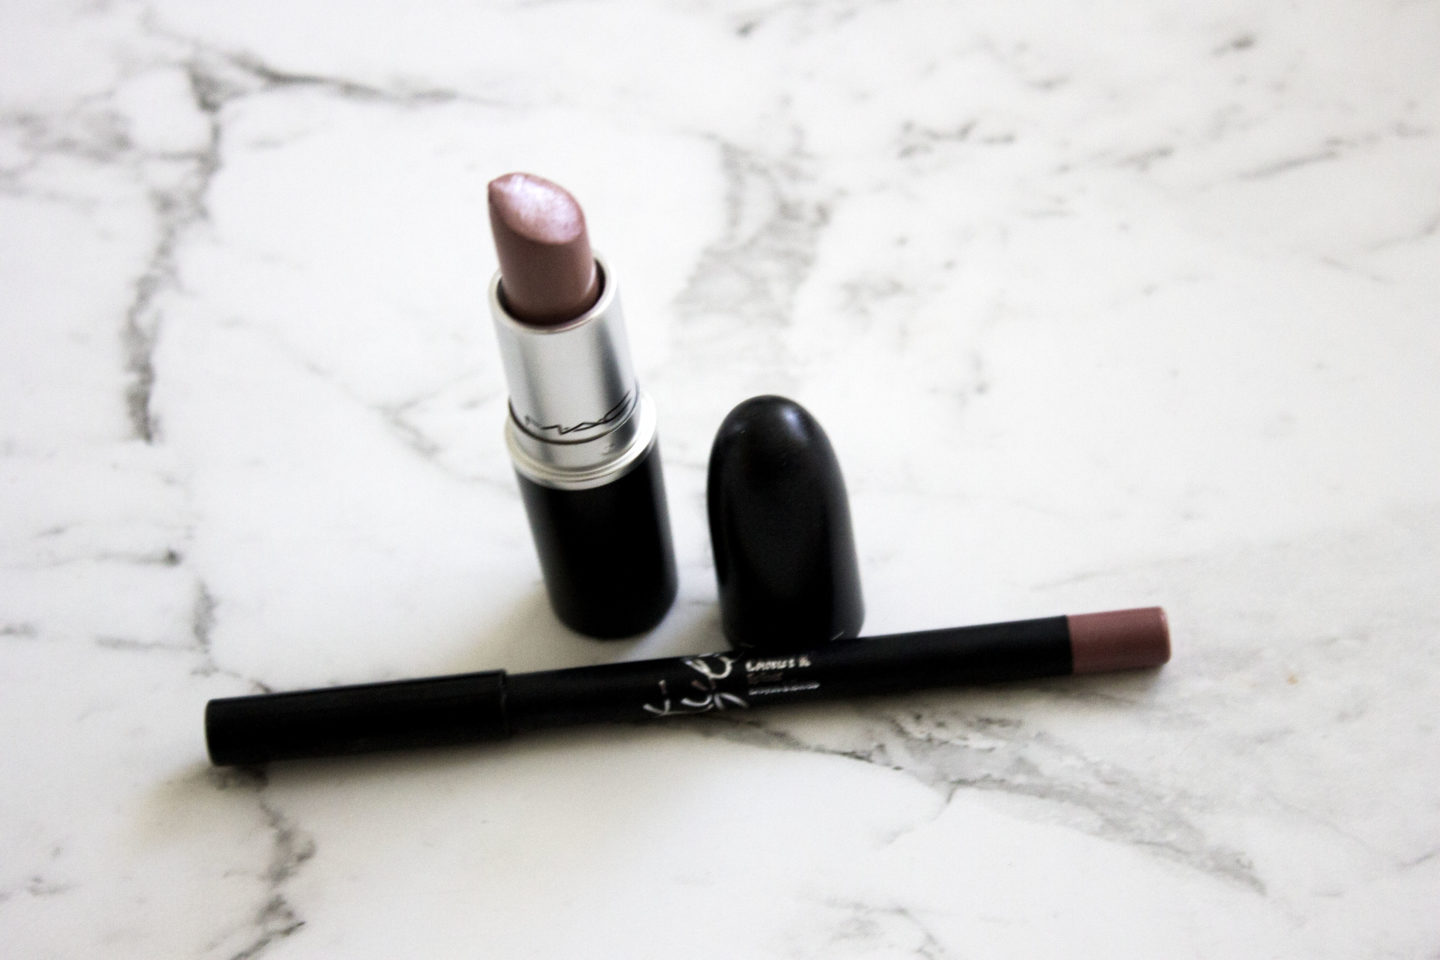
Like the eyes, you can wear pretty much anything you want on your lips. Today, I decided to go with a classic pinky-nude.
I started by lining them with the Kylie Cosmetics Candy K lip liner, and followed up with my trusty Mac Lipstick in Blankety.
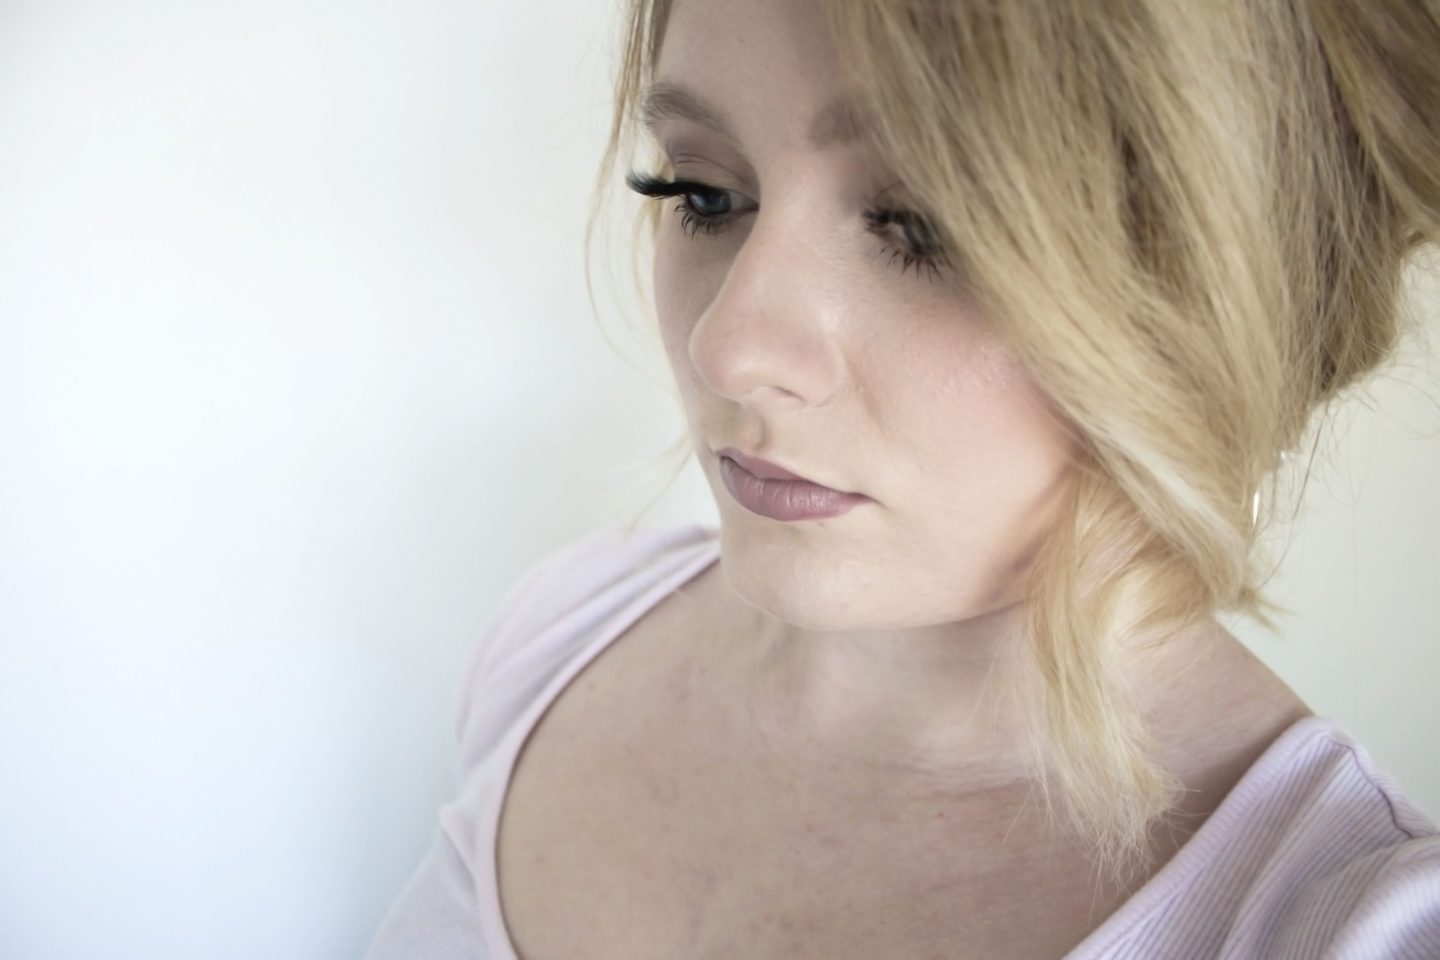
And there we have it!
If you recreate this look, don’t forget to tag me on Instagram (@claire_ince) so I can shower you with compliments.
Until next time, 😉
