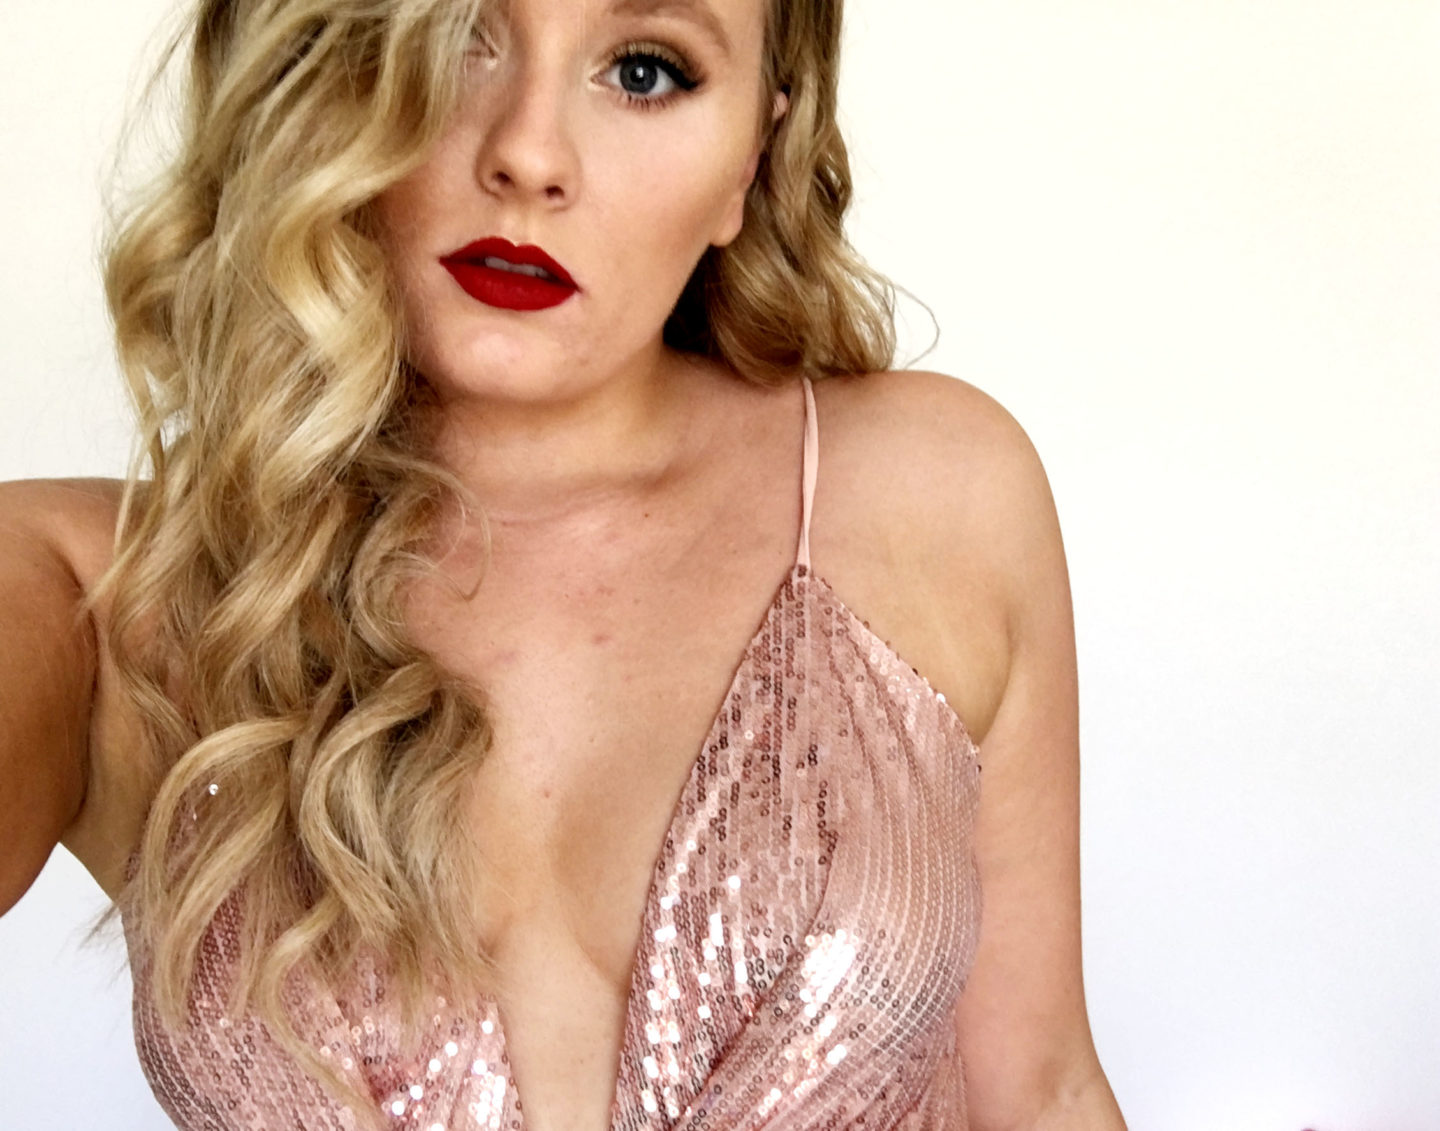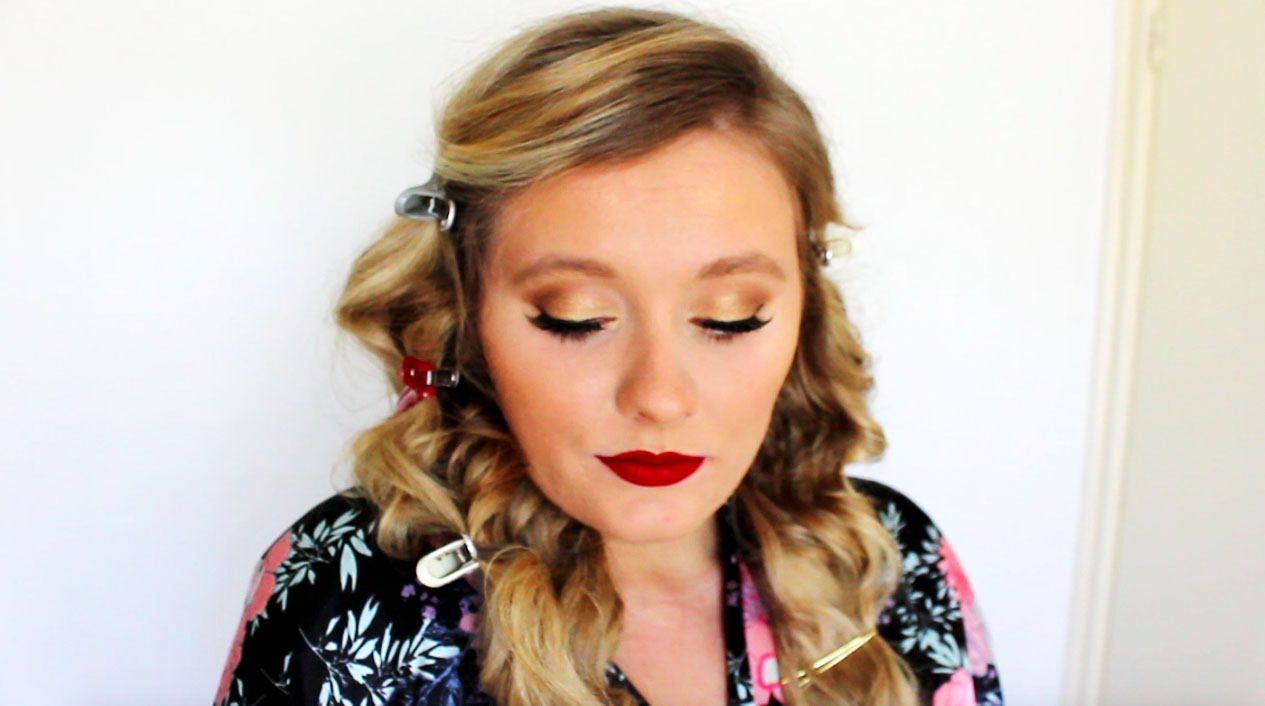
I’m never usually one to play favourites, but gold eyes and red lips will always be my go to makeup choice- casual or glam, rain or shine.
At first glance, it looks rather complicated, but in actual fact, this is the easiest of all the tutorials I’ve brought you this blogmas.
It suits literally everyone, is really quick to do, and you probably already own everything you need.
Lets begin!
Step 1: Prep
Skin prep is absolutely essential, no matter what type of look you’re doing.
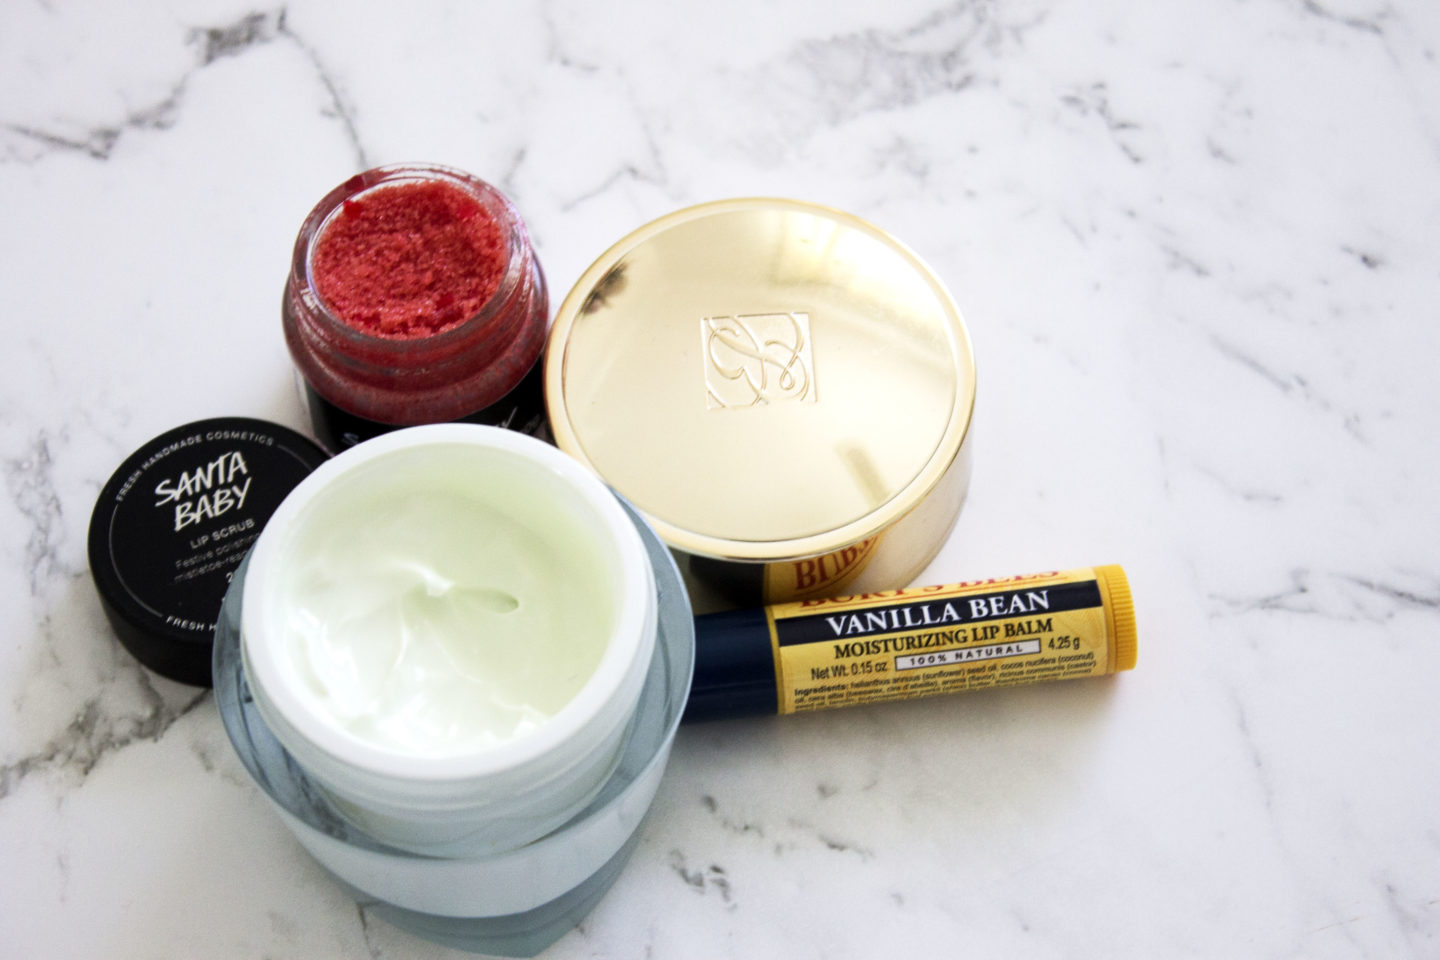
I always like to start with a bit of the Estee Lauder Daywear Creme to add moisture, plumpness, and sun protection. Any moisturiser will do, but if you’re going to be photographed with flash, always avoid SPF.
When it comes to wearing a bold lip, it’s always good to do a little lip prep as well. I start with a Lush lip scrub (the Christmas one, of course!), and follow up with the Burt’s Bees Vanilla Bean Moisturising Lip Balm. If you don’t have a lip scrub on hand, they’re super easy to make- simply mix a little sugar with a tiny bit of olive or coconut oil. But if all else fails, just use an old toothbrush.
Step 2: Base

You can pretty much use anything you have for a base for this look. From matte to disco ball; it all works. 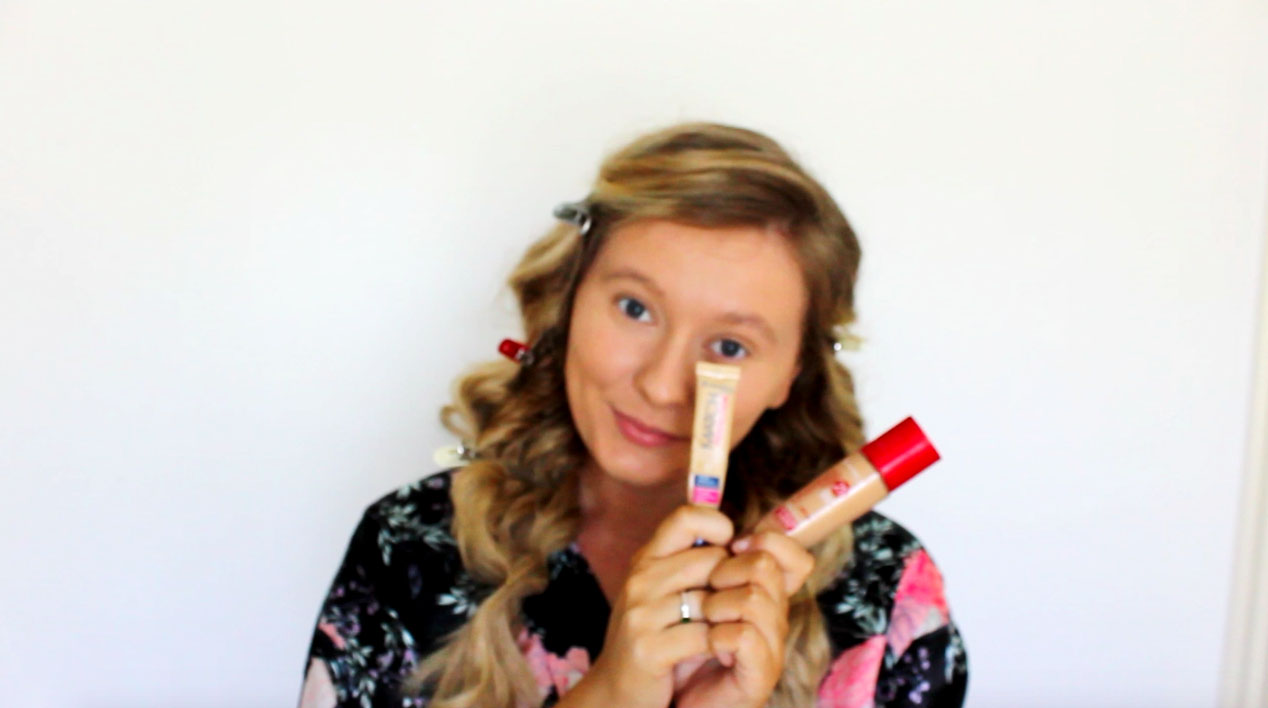
I wanted a long lasting radiant finish today, so I used the Rimmel Lasting Finish 25hr foundation (shade 203 True Beige for reference) and dabbed it in with a Real Techniques miracle complexion sponge.
I then blended a little of the Rimmel Match Perfection concealer (Shade 010 Ivory) under my eyes and around my nose to highlight and add coverage.
Step 3: Bake
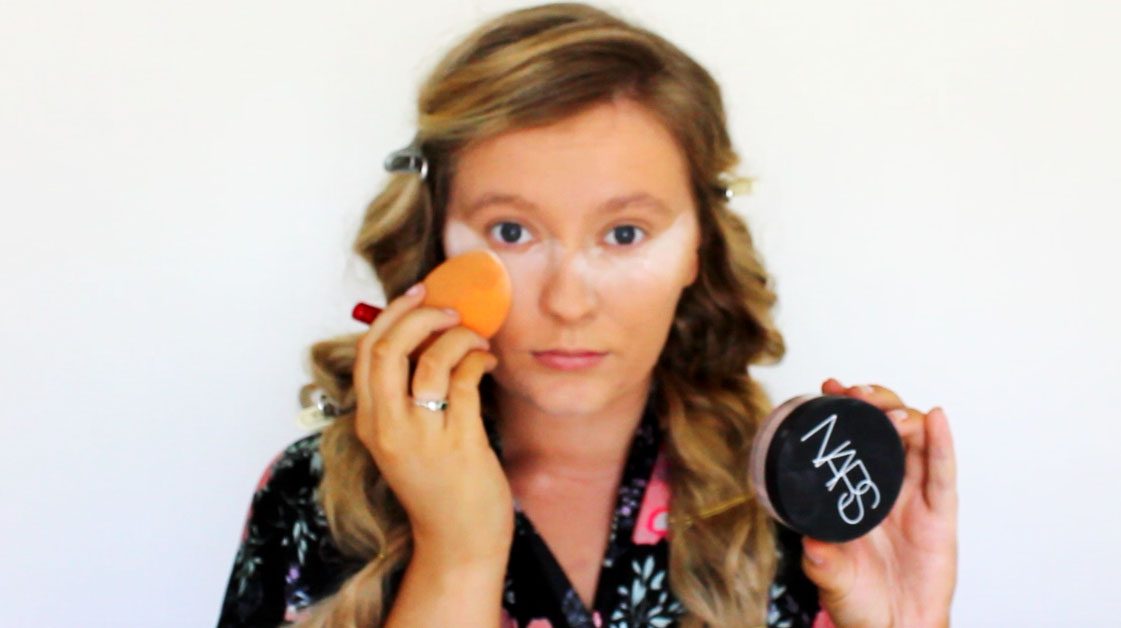
Baking isn’t an essential step, but I find it really useful when I’m creating a winged eye or using lots of eyeshadow.
It’s pretty simple- just grab A LOT of loose translucent powder (I used Nars’ Light Reflecting) on a damp sponge, and pack it on where you placed the concealer.
I like to drag it across underneath my eye and wing it out to my cheekbone to create a guide for the shape of my eyeshadow and to catch any fallout.
Step 4: Brows
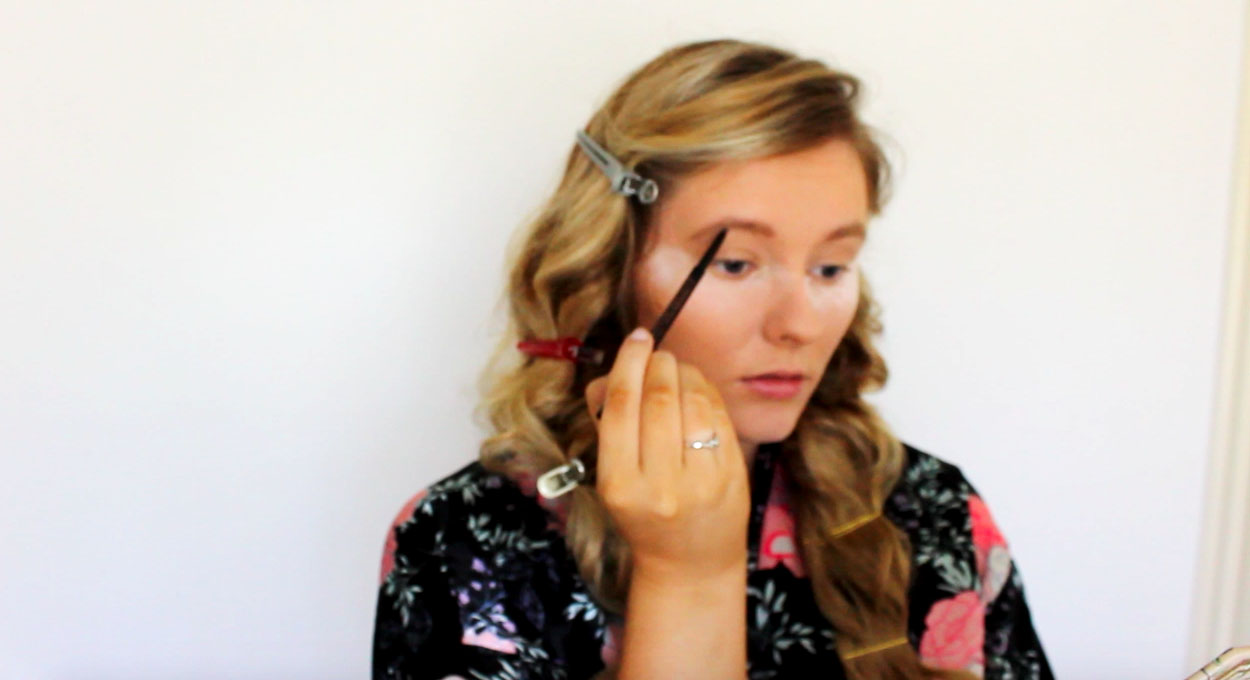
Again, anything goes for brows here.
I’ve been into a soft and natural look lately, so I opted to lightly fill mine in with the Anastasia Beverly Hills Brow Whiz in Blonde.
Step 5: Eyeshadow
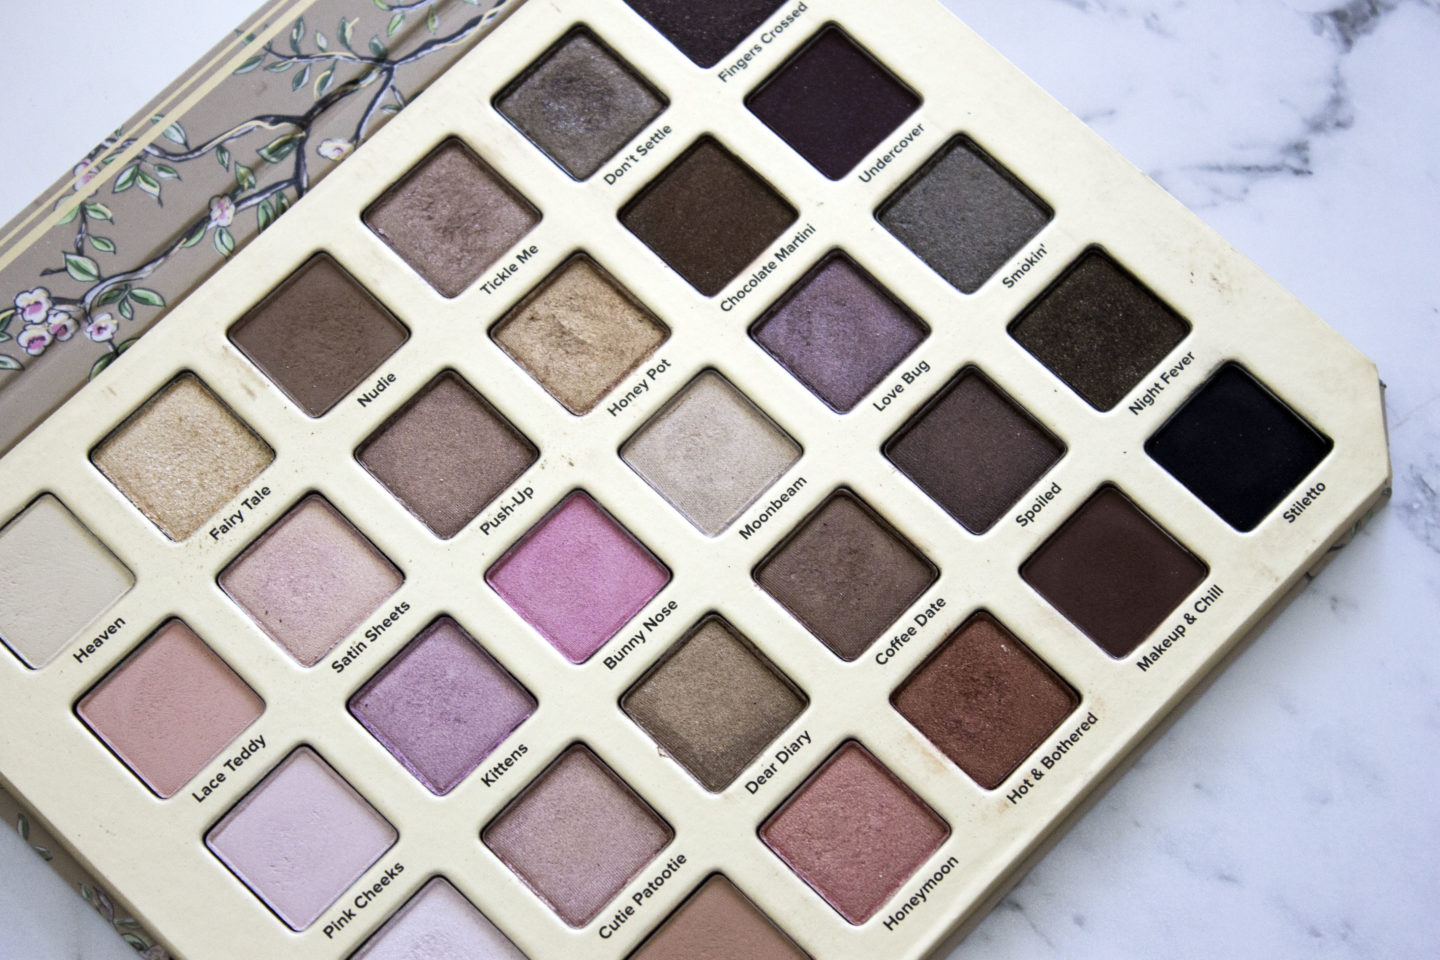
Following the ‘warm tones’ trend of 2017, I opted for the Too Faced Natural Love Palette to create this look. However, if you aren’t into warm tones or gold, feel free to substitute them for something a little cooler or silver.
I started by taking ‘Honey Butter’ on a Mac 217 and blending it through my crease and outwards to create a winged shape and draw my eyes further apart. To add extra dimension, I then did the same with ‘Nudie’, but kept it concentrated to the lower part of the crease.
On a pencil brush, I then ran a TINY amount of ‘Makeup & Chill’ over the outer third of my crease, the inner part of the wing, and back down to my lash line, before blending with a clean fluffy brush. I then blended a mixture of all three colours on my lower lash line- about 3/4 of the way in.
To finish, I packed ‘Honey Pot’ onto my lids with a flat shader brush, lightly blending it into the other colours, before popping ‘Fairy Tale’ onto my inner corners.
Once you’ve finished with the shadows, brush away the baking powder with a big powder brush, and set the remainder of the face.
Step 6: Liner and Lashes
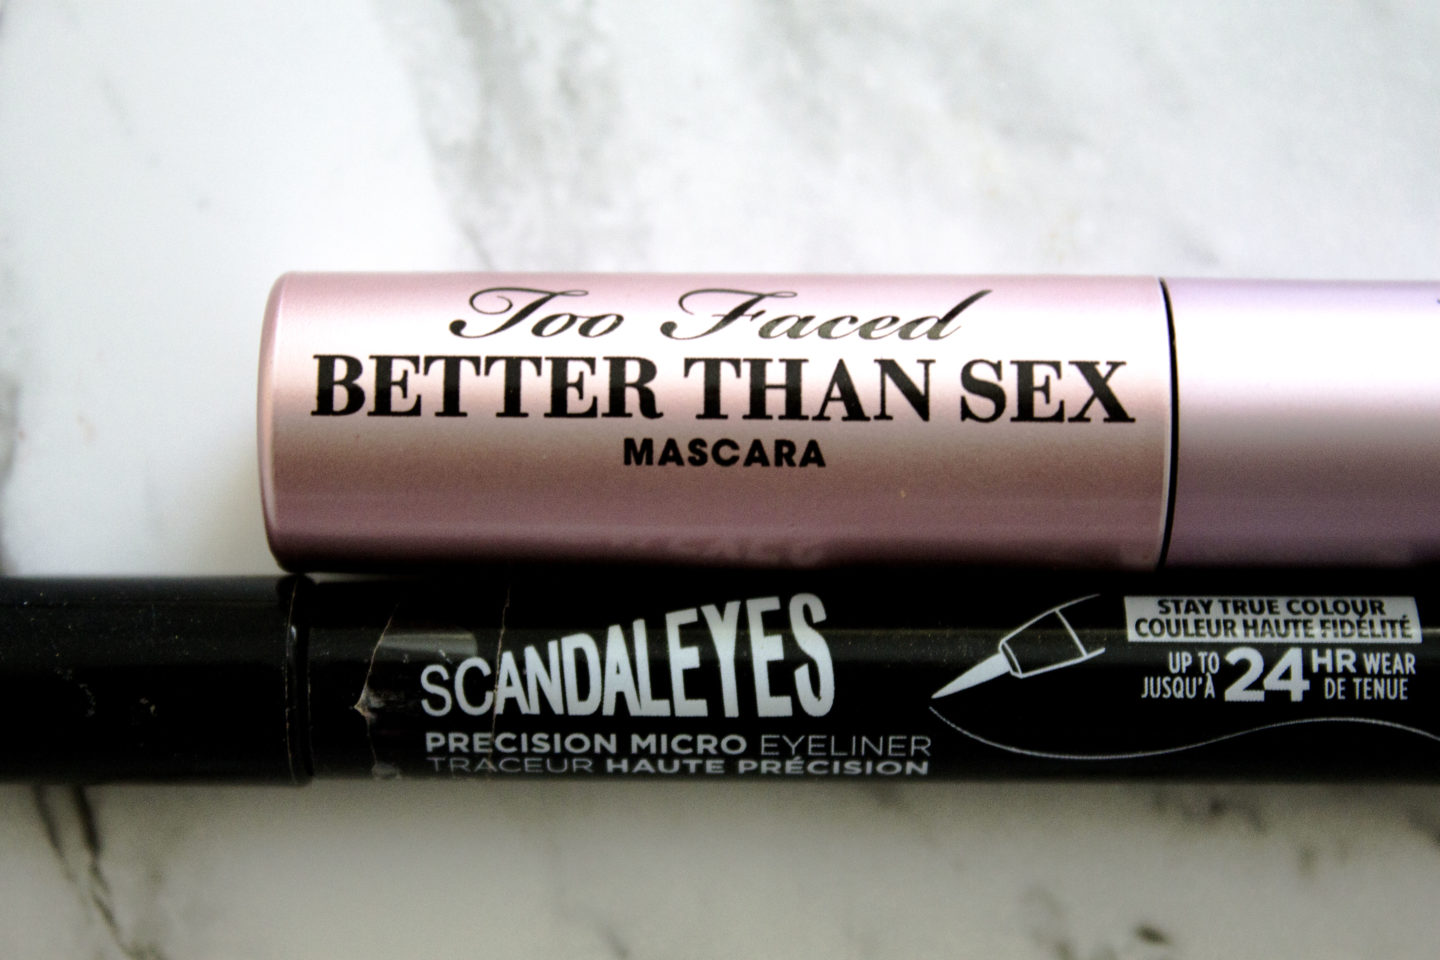
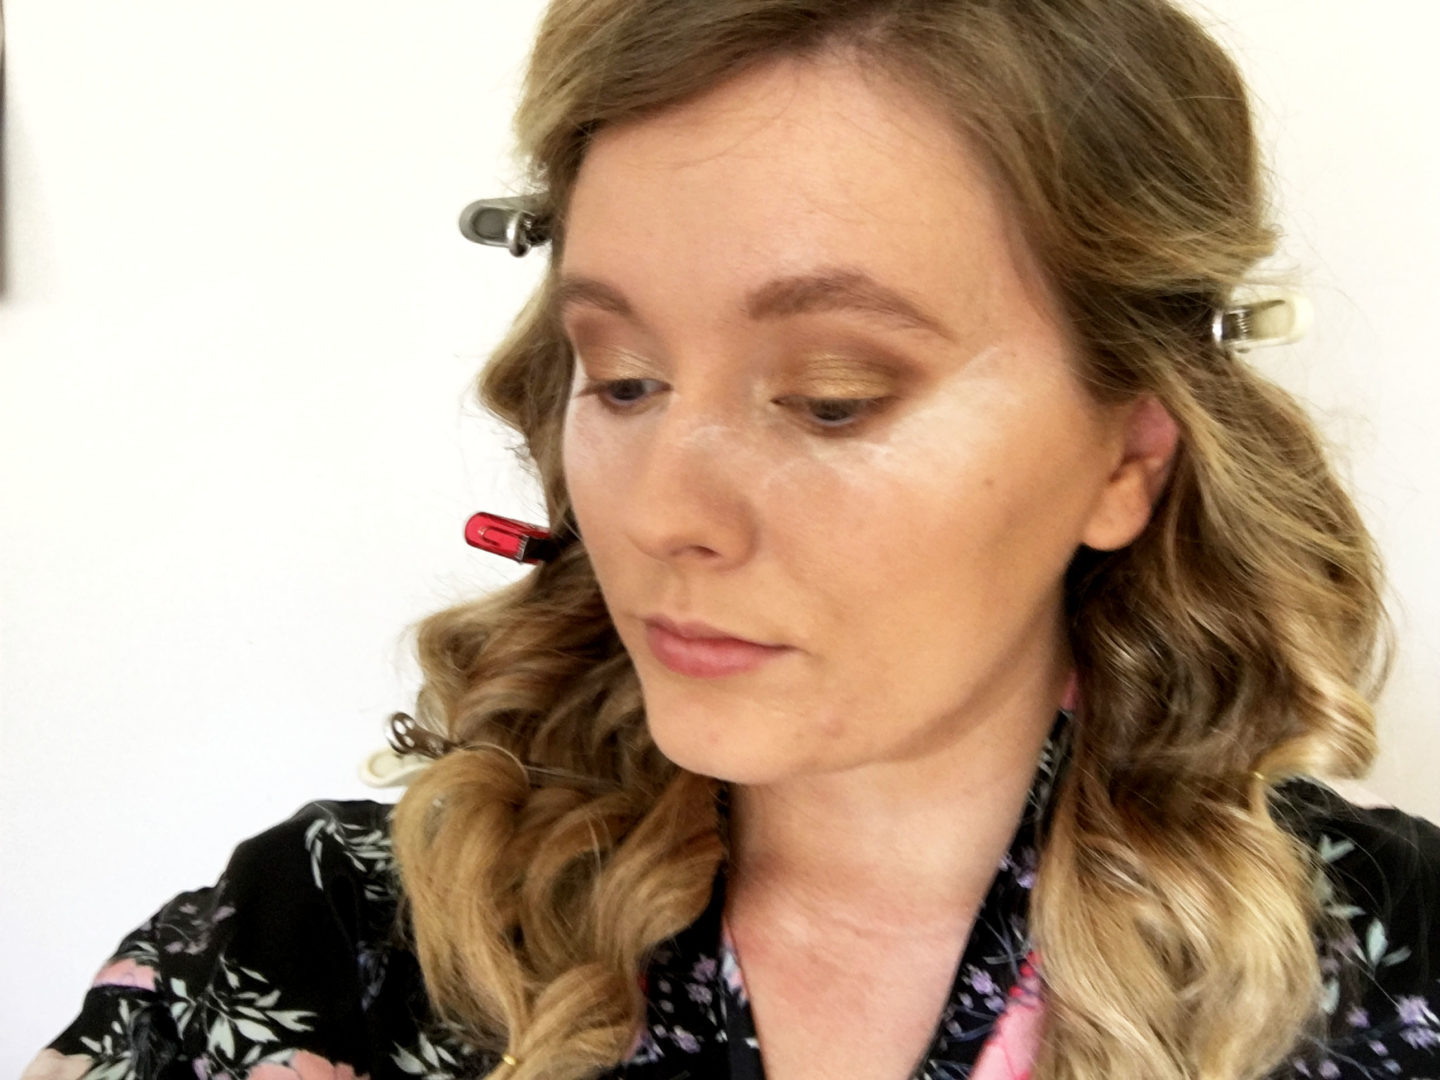
Winged liner takes quite a bit of practice, but if you’re confident with it, draw a thin line of a black liquid liner across the lash line and a fine wing at the outer corners- I used the Rimmel Scandaleyes Micro Eyeliner. If you aren’t comfortable with doing this but still want some definition, lightly smudge a liner pencil or a black eyeshadow into the lash line.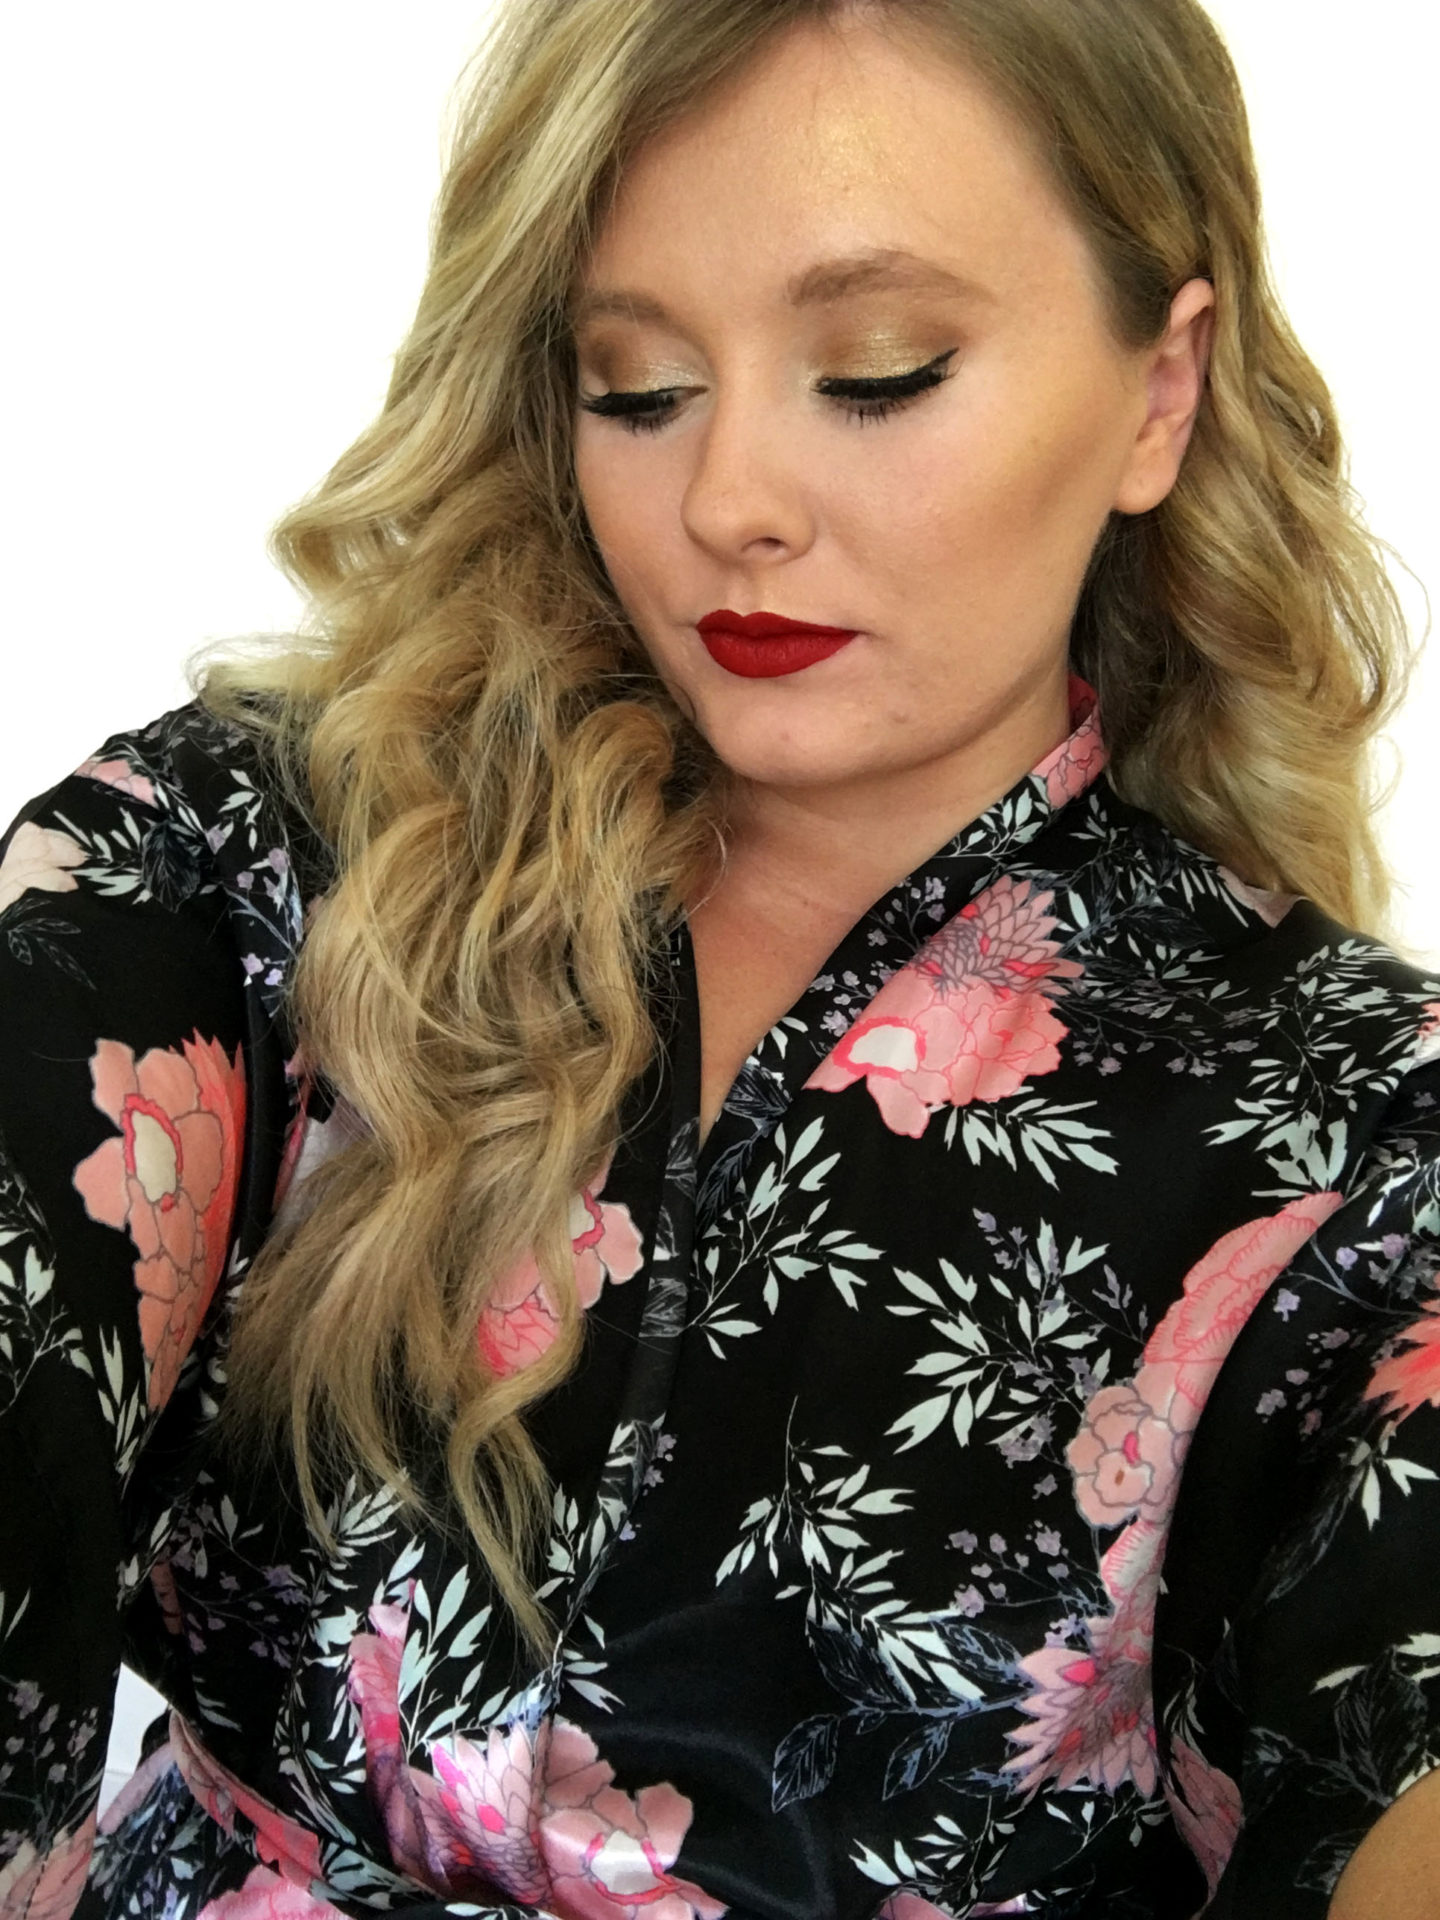
I then whacked a TONNE of the Too Faced Better Than Sex Mascara on my top and bottom lashes to amp up the drama. As always, any mascara will do, but products dedicated to volume rather than length will pack the most punch.
I also popped on a pair of Ardell Demi Lashes which are my absolute favourites for subtle winged eyes like this. They’re natural, wispy and draw the eyes outwards to create the illusion of more space between them. If you have rounder eyes or aren’t into winged styles, the Ardell Wispies are also a great choice.
Step 7: Face
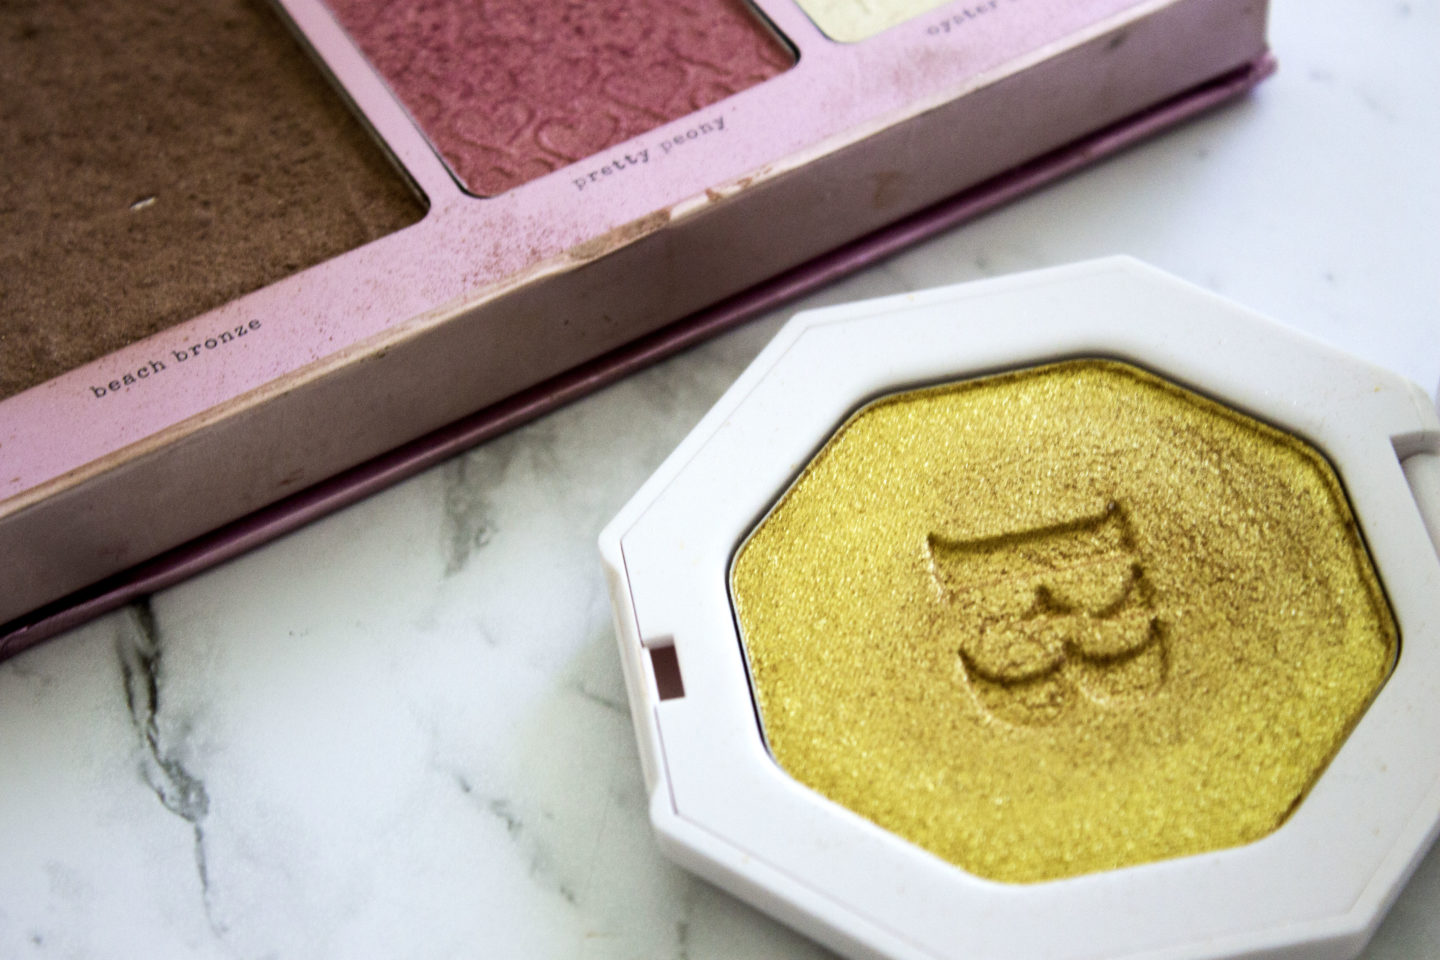
To add shape, dimension and colour back to the face, I started by bronzing with ‘Beach Bronze’ from the Tanya Burr Cosmetics Rosy Flush Cheek Palette. I then popped a tiny bit of ‘Pretty Peony’ on the apples of my cheeks- if you despise blush like I do, this is PHENOMENAL.
For the glow, today I used the Fenty Beauty Killawatt Freestyle Highlighter in ‘Trophy Wife’. I applied this to the tops of my cheekbones, brow bones, nose, and a tiny bit to my cupids bow.
Step 8: Lips
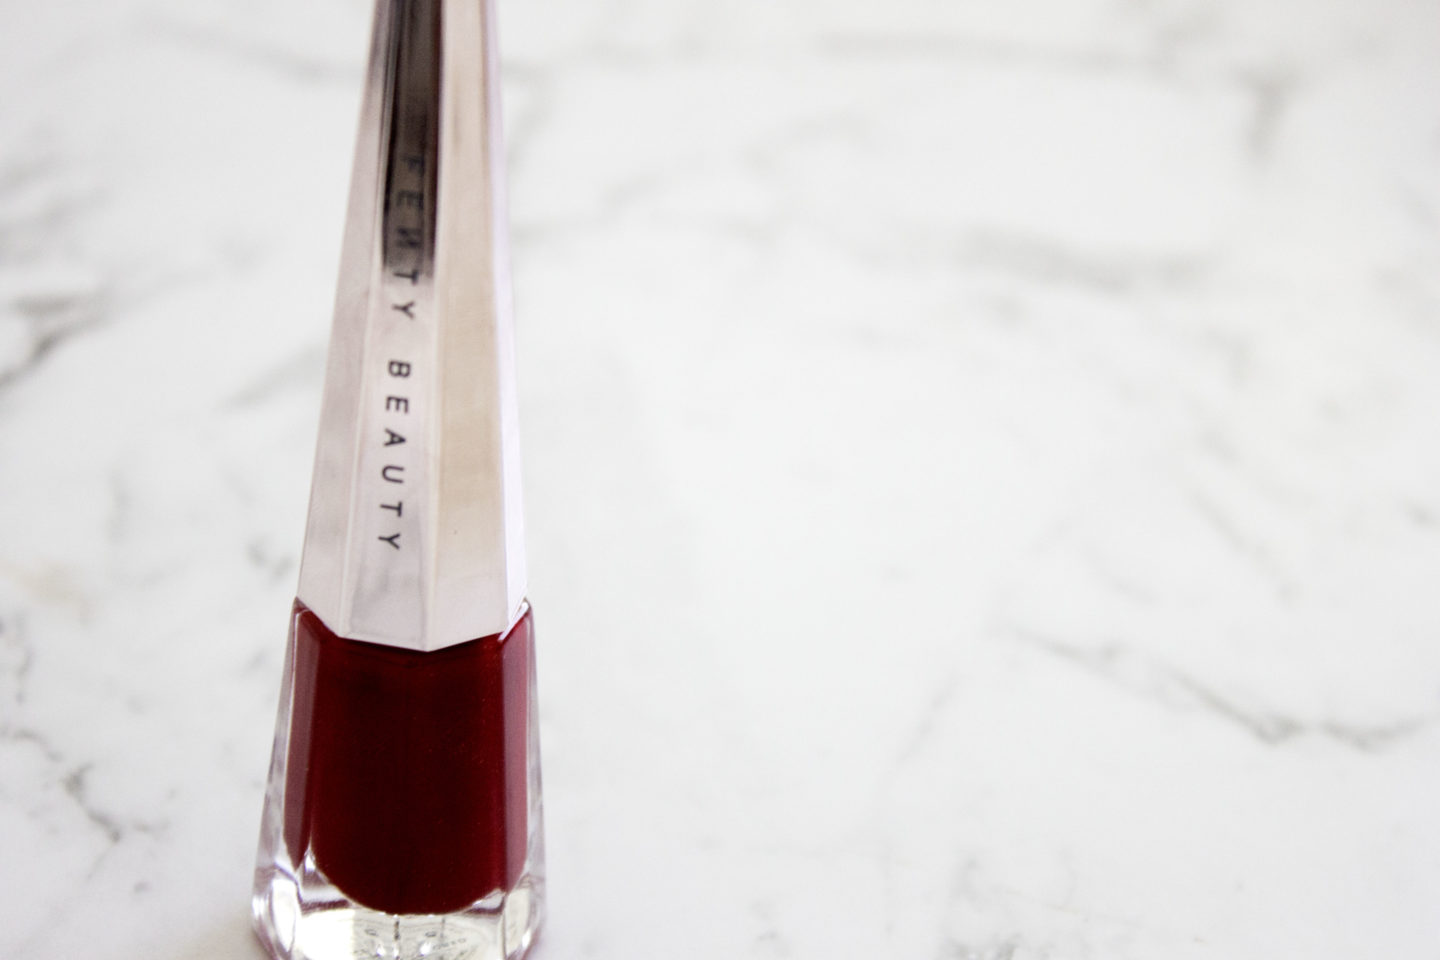
For the lips, any red you have will do, but if you’re looking for a great one, do check out Fenty Beauty’s Stunna Lip Paint in Uncensored.
This red has been specially designed to suit LITERALLY every single skin tone, so no matter what, it will look incredible. The formula is also extremely long wearing, yet comfortable and velvety, and as far as liquid lipsticks go, it’s VERY easy to apply as the wand makes creating a defined edge possible in a single swipe- so much so that you don’t even need a lip liner.
Step 9: Work it
And you’re done!
As always, if you recreate this look, tag me (@claire_ince on Instagram) as I’d love to see!
Until tomorrow, 😉
