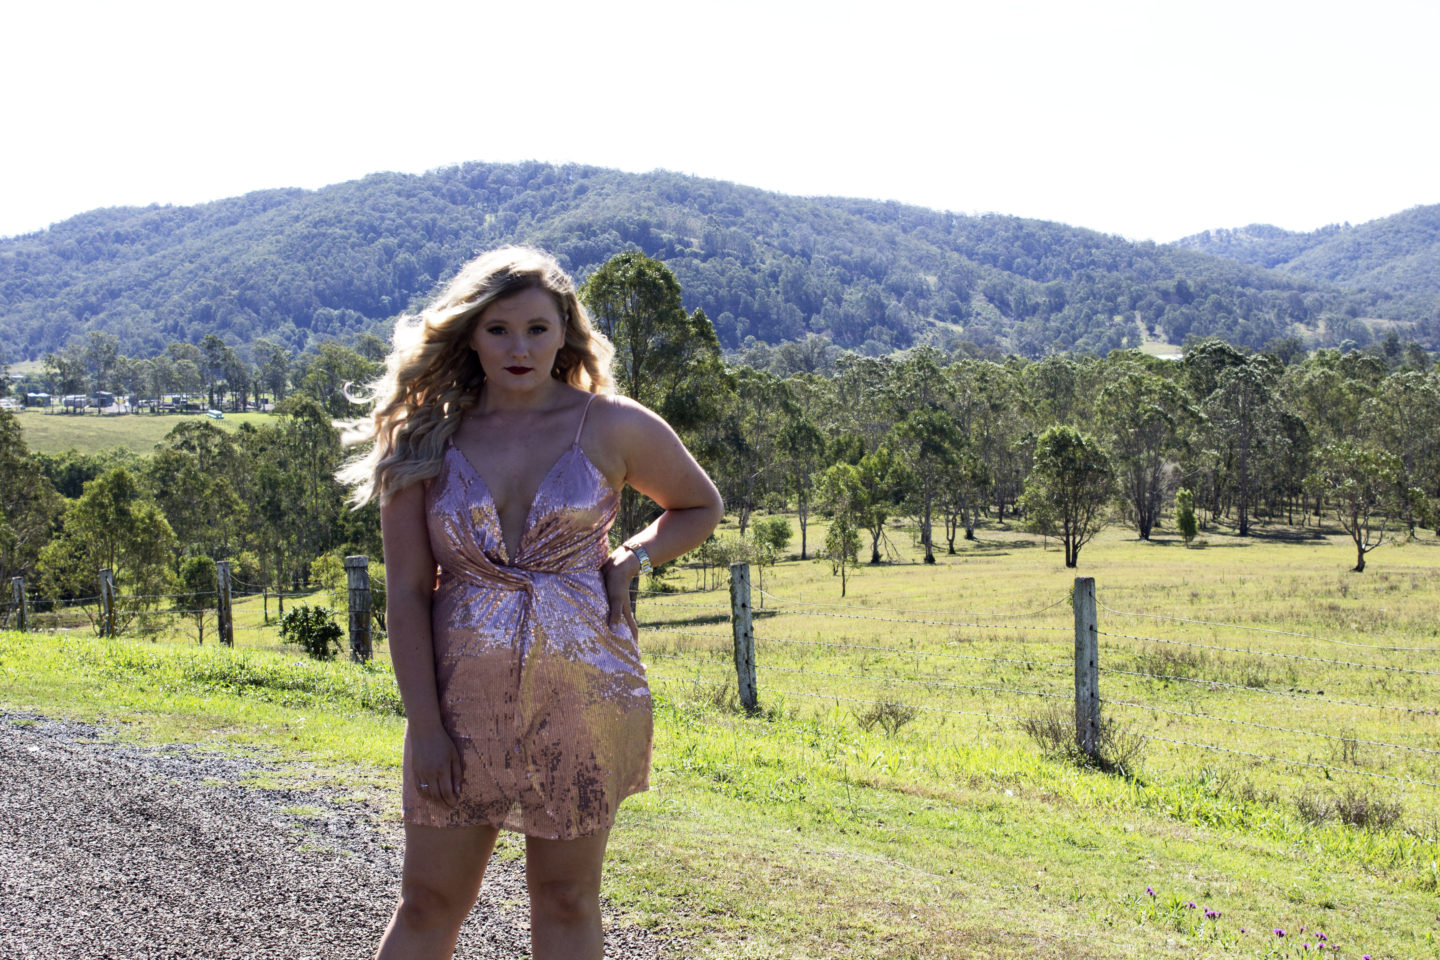
Vintage waves always come to mind when I think ‘glamour’. They instantly jazz up any outfit and can completely change the vibe.
However, sometimes they can be a little much and hard to pull off, so today I thought I’d modernise them a little bit to make them wearable.
The process of creating this look is a little tricky, but I found a super easy method by hair stylist extraordinaire and one of my many style icons, Lou Teasdale. I’ve tried and tested her method pretty heavily and it’s never once failed me, but I have made a couple of changes to suit my personal style. Unfortunately I can’t seem to track down her original post, but I did find the image which you can see here. If anyone happens to have a link to the original, please leave a comment below so I can add it in.
Step 1: Prep
On me, the finished curls tend to look best on freshly washed hair but if you choose to do this, you do sacrifice a bit of hold.
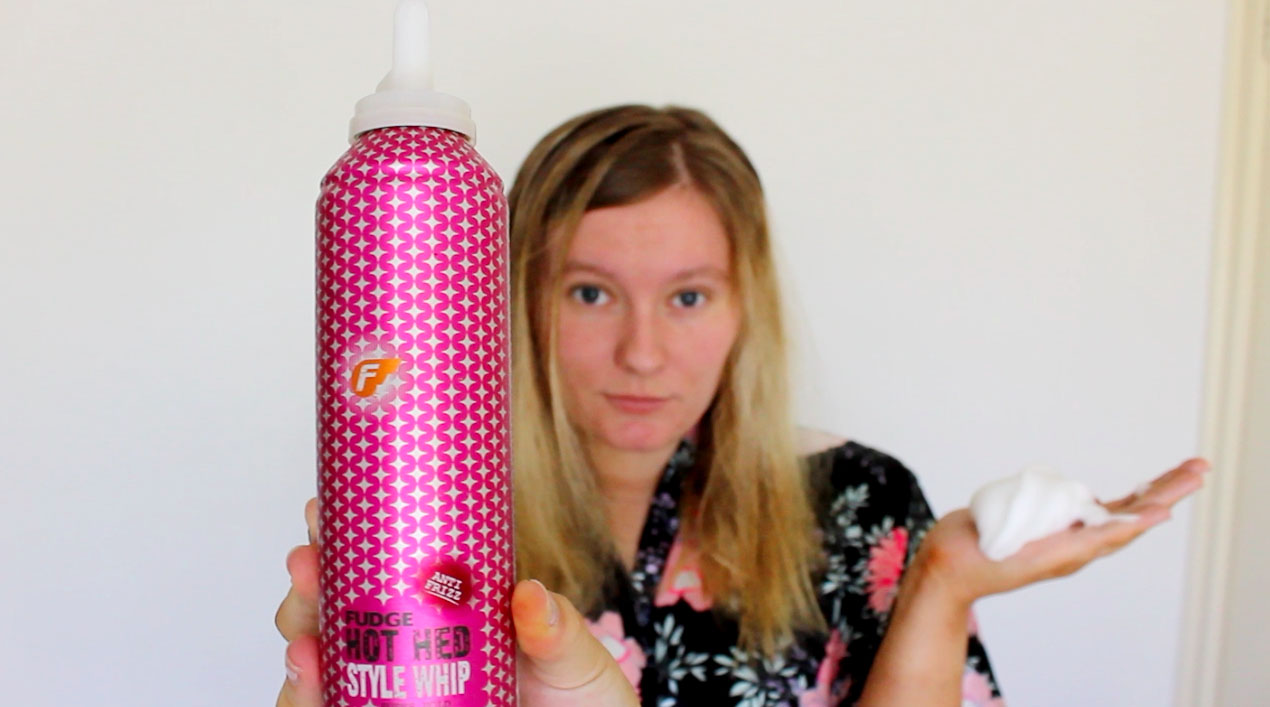
I like to work a bit of the Hot Hed Style Whip by Fudge into my hair to add some grit and moisture. I basically let it air dry until it’s slightly damp, work it through, and blow dry it the rest of the way.

This will work on most hair lengths, but it definitely works the best on long hair.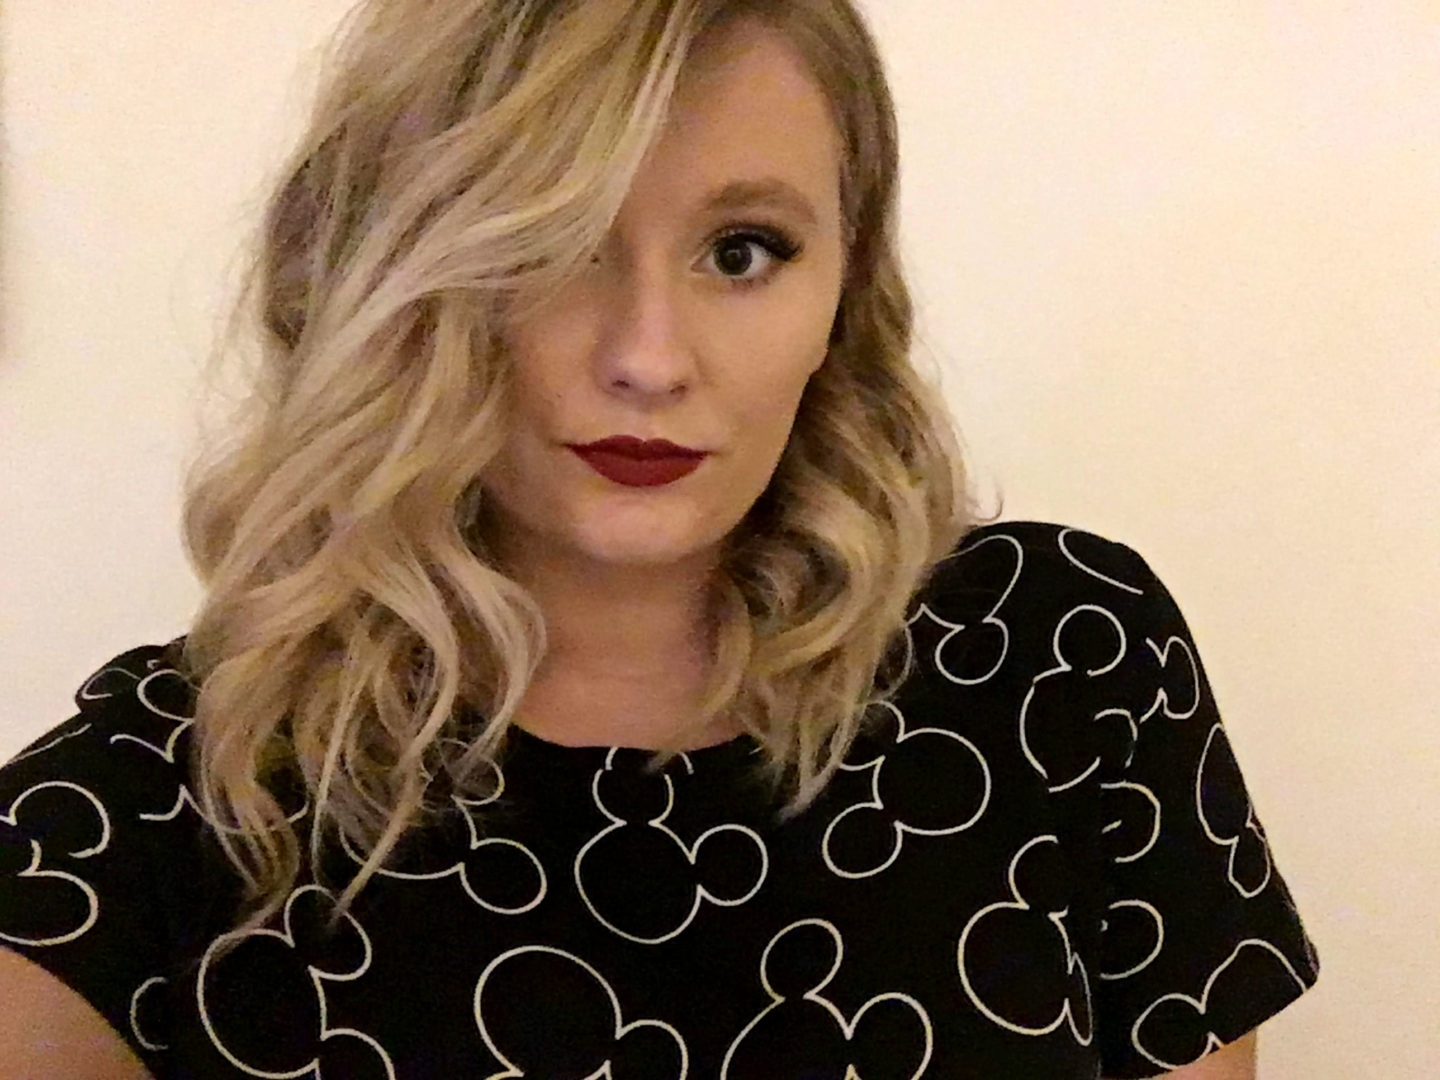
This step is TOTALLY optional, but I decided to add extensions to lengthen my hair. You can also see the finished product without them in the image on the right.
Mine are the Hair Rehab London 18 inch Luxe Volume Clip ins in the shade ‘Coachella Blonde’ for reference.
Step 2: Curl
The curling method in this one is pretty similar to that in my last tutorial, however this time, there is one CRUCIAL difference.
I start by lightly spraying each section with a small amount of the Fudge Skyscraper Hairspray to add some hold, then I grab a 1 inch section and ribbon wrap it around a 1 inch curling wand AWAY from the face.
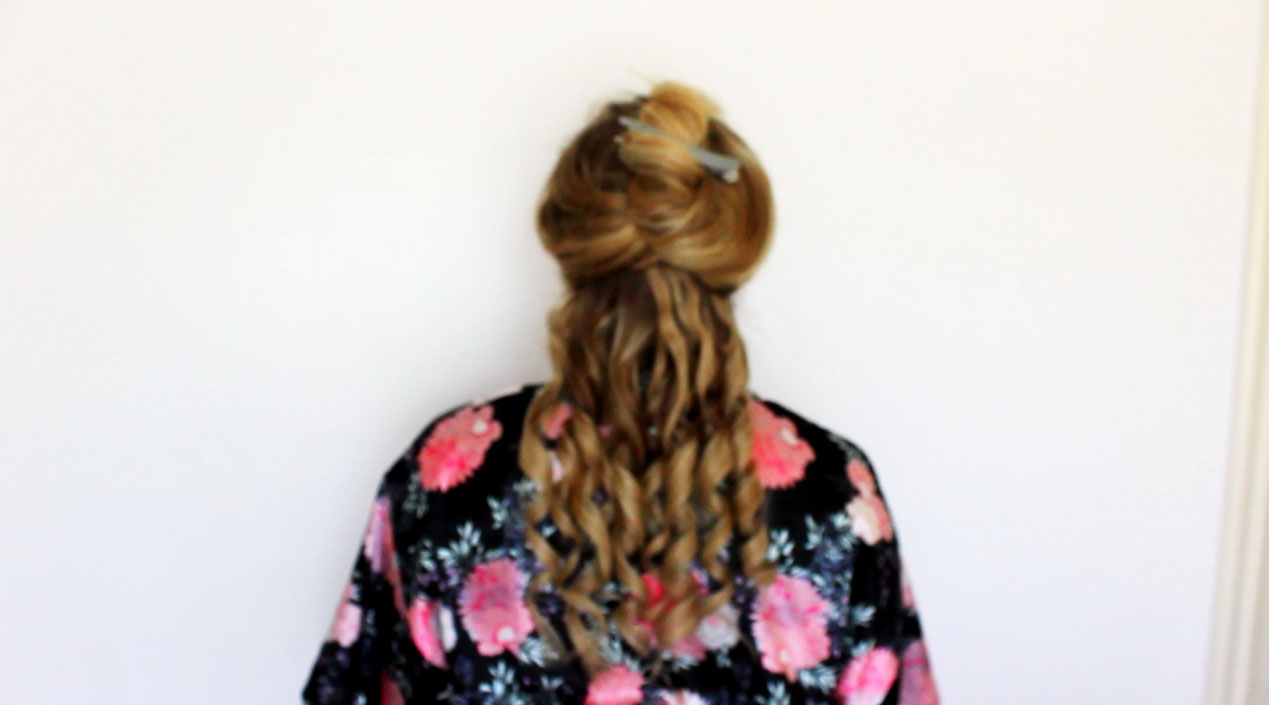
Rather than alternating the direction this time, it’s really important to make sure that every curl is going away from the face, as rather than having volume and texture like the last method, you want them all to clump together and turn into waves rather than spiral curls.
As you can see in the above image, all of the ‘dents’ in the curls line up perfectly, so it’s also pretty important to make sure the curl starts in the same place on each section.
Step 3: Cool
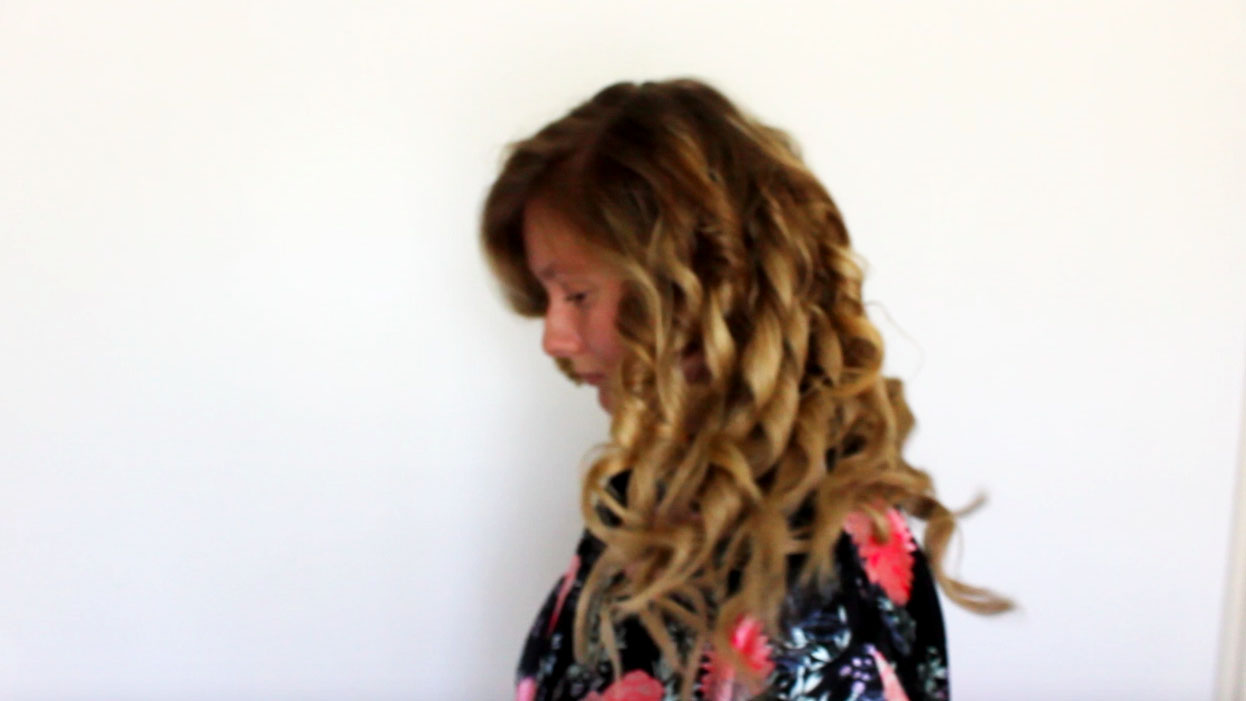
Next, load up the hair with hairspray and leave it to COMPLETELY cool.
The time this takes will vary depending on your hair’s thickness and length, but 20-30 minutes is a good ballpark figure.
Step 4: Brush

After the curls have cooled and set, grab a regular paddle brush and go to town.
This is how to get that super ‘soft’ look and make the curls begin to clump. Don’t keep brushing until it’s straight, but keep going until you start to get the ‘wavy’ look.
NOTE: If you’re wearing extensions, be VERY VERY careful.
Step 5: Clip

Perhaps the most crucial step, is clipping the waves to give them the ‘vintage’ look.
To do this, grab some sectioning clips and place them in the dents/dips in the waves to hold them together.
If you don’t have these, bobby pins can work, but they tend to create creases so be warned.
I like to leave the bottom dent free of clips so that it stays a little straighter for a modern touch, but whether or not you do this is completely up to you.
Step 6: Set
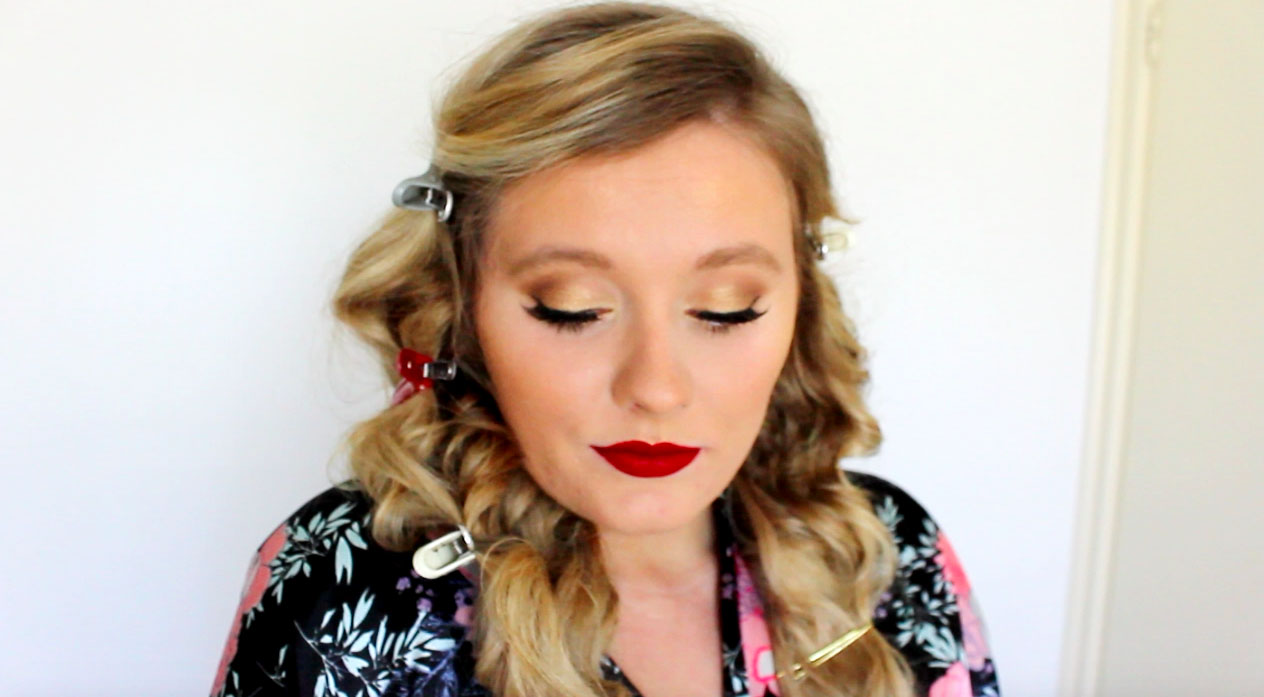
You want to leave the waves to set in the clips at this point. Respray them with hairspray and leave them to sit for as long as you possibly can- 1hr minimum, but ideally longer- especially if your hair doesn’t hold a curl very well.
I like to use the time to catch up on some Netflix and do my makeup- there’s a tutorial coming for this particular look in a few days, so stay tuned for that 😉
Step 7: Finish

Lastly, release the waves from the clips, lightly brush through them again, and give them another light spray.
For a slightly more modern look, I like to bring it all over one shoulder and tuck the opposite side behind my ear. You could also add clips for a more dressy look or a bandana if you’re going edgy- it’s completely customisable.
As always, if you recreate this look, PLEASE tag me (@claire_ince on Instagram) as I’d absolutely love to see!
Until tomorrow, 😉
