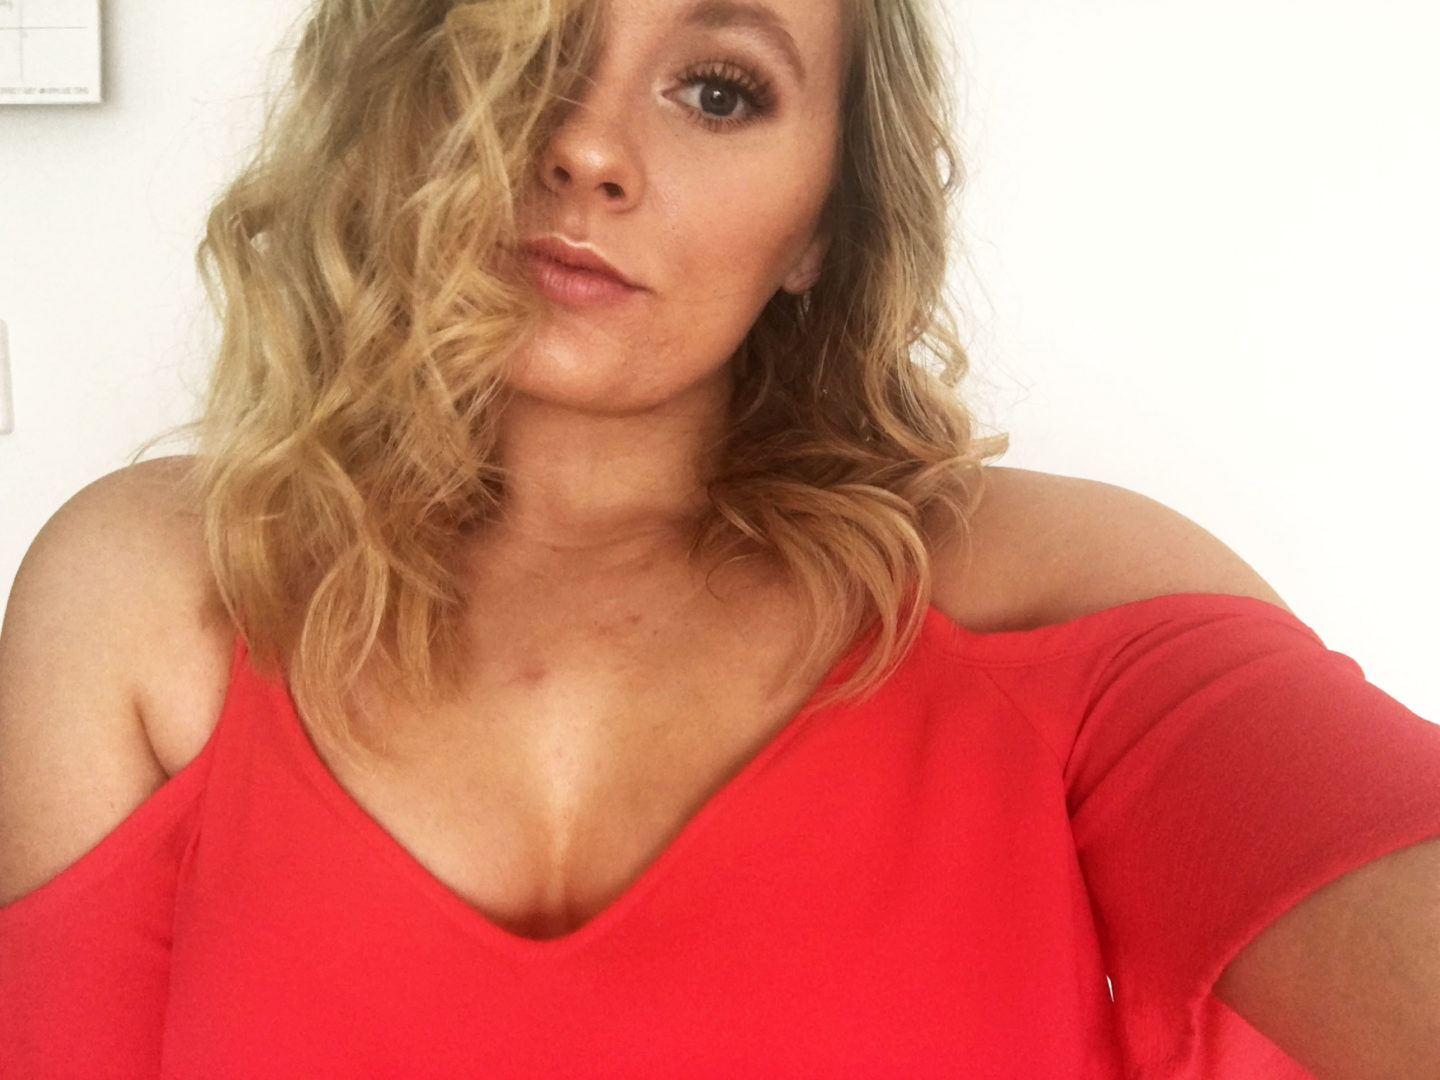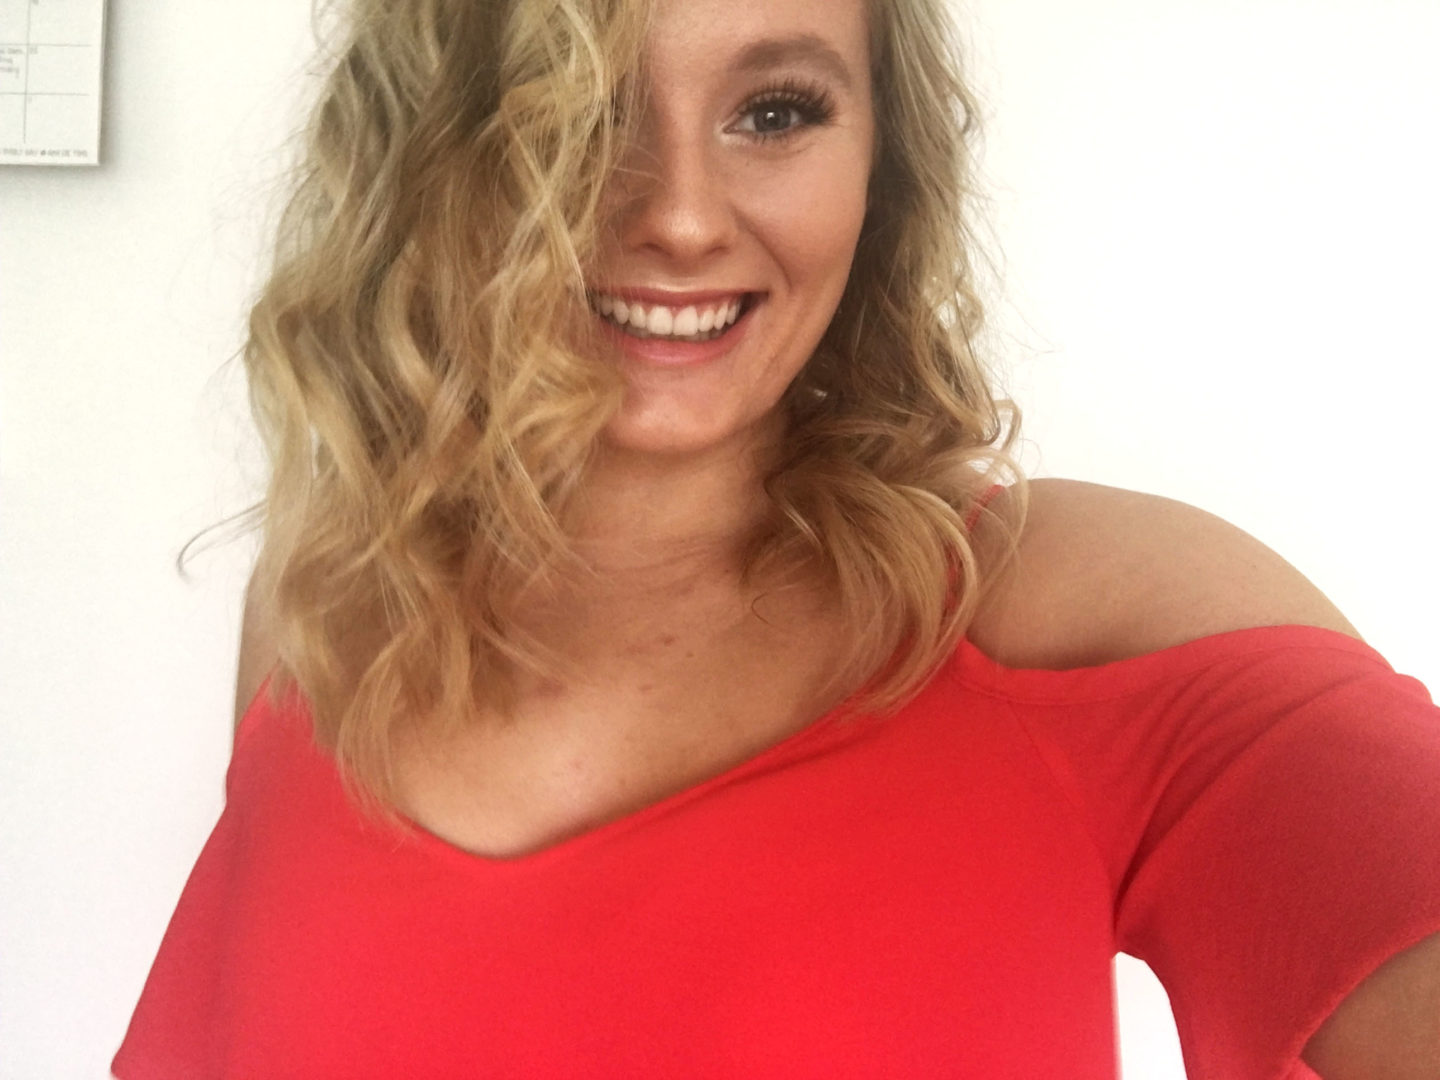
What I call the “Champagne Glow” look, is one that is universally flattering. If there’s ever a time where I don’t know what to wear, this is the go-to vibe.
In this tutorial, I’ve amped up my ‘everyday’ makeup to create something that’s a little more glamorous, totally customisable, and crazy simple to recreate- beginners, this one’s for you!
Base
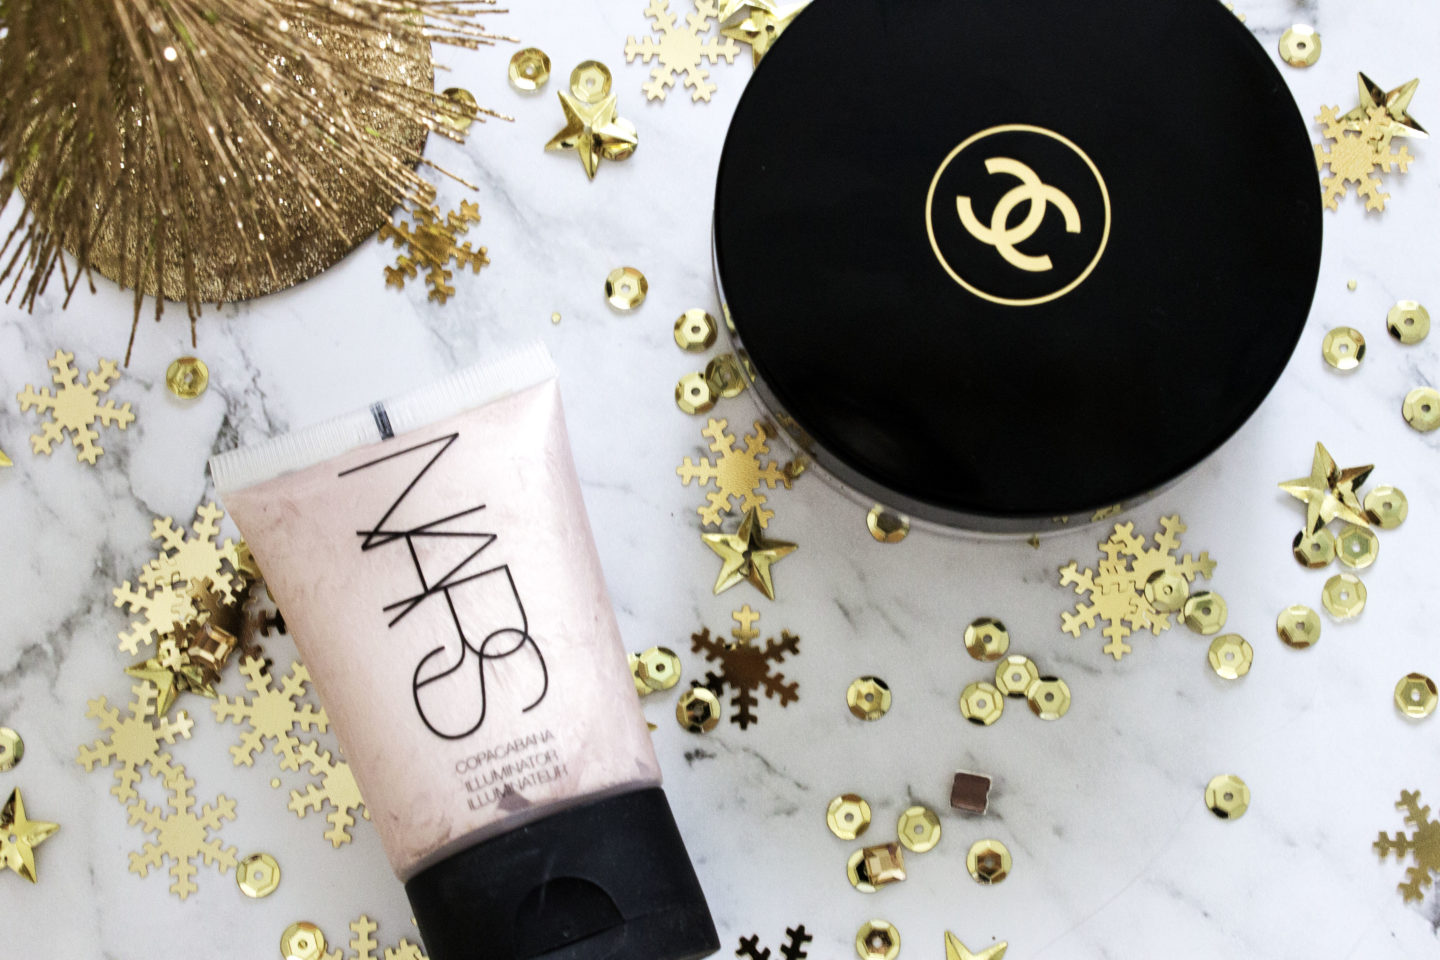
A soft, luminous base is paramount for this look.
Start out by applying a moisturiser of your choice evenly over the face and neck and allow it to sink in for a couple of minutes. If there will be flash photography at your event, be sure to avoid any SPF to eliminate flashback.
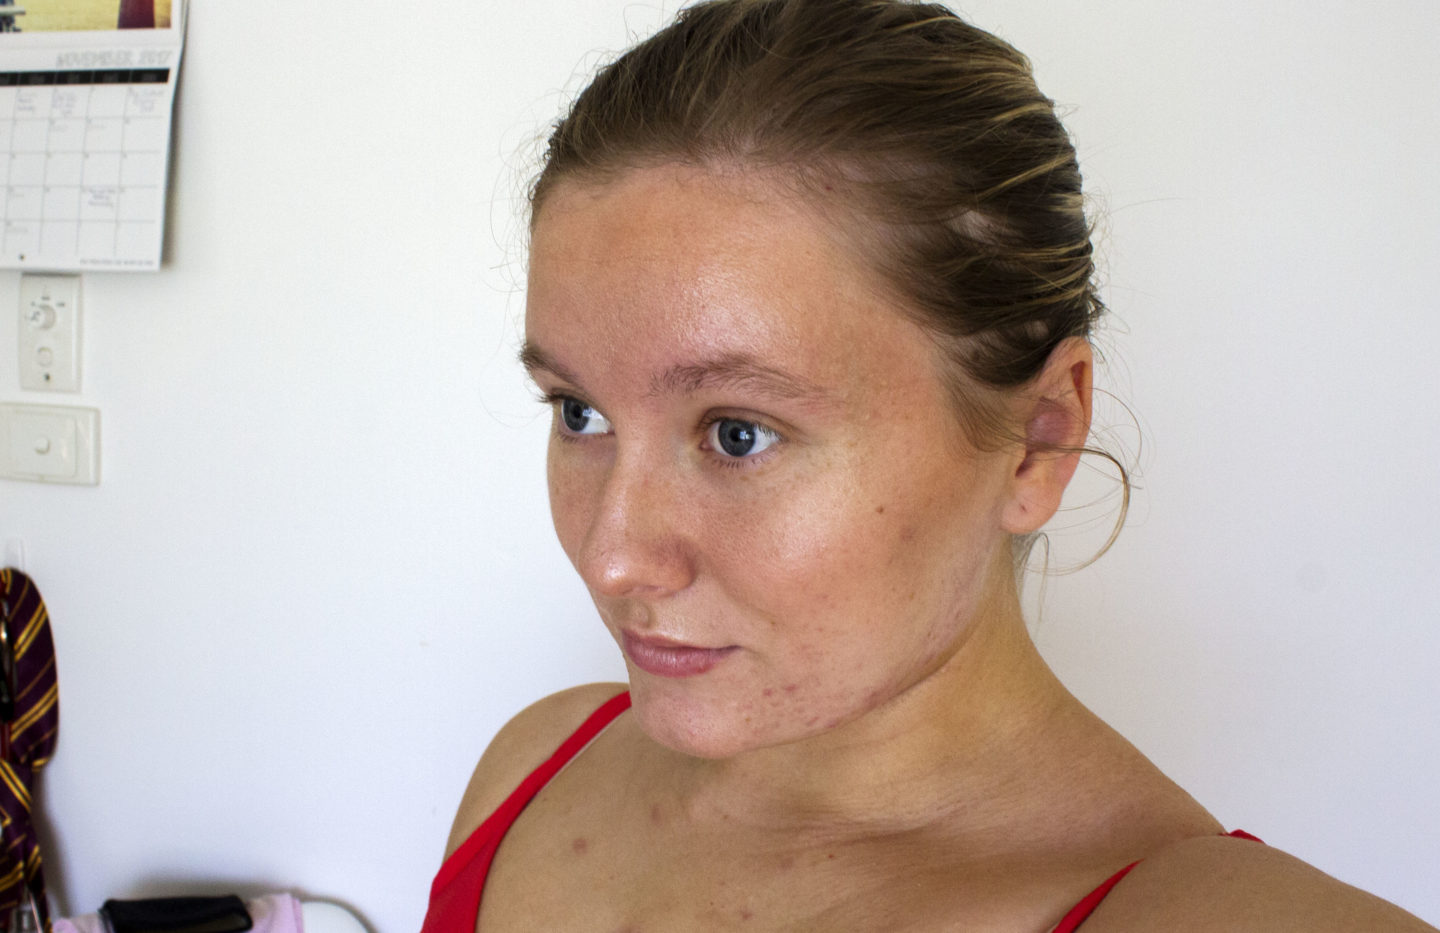
Next, I like to add warmth and define my face with a cream bronzer. Today I buffed a good amount of the ever-so-luxe Chanel Soleil Tan de Chanel across the top of my forehead, temples, cheekbones, nose and jawline. This is my favourite bronzer shade for anyone with warm toned fair skin, but I would definitely avoid it if you have cooler undertones.
Lastly, I buffed Nars’ Copacabana Illuminator onto the tops of my cheekbones, down the centre of my nose, forehead, brow bones and cupids bow.
I also applied my eye primer at this stage.
Foundation

I wanted to keep my foundation quite light and fresh for this look, so I opted for powder. You can use anything you like, but products with a more radiant finish will give the best effect.

As I used powder, I started off by applying the Rimmel Match Perfection Concealer under my eyes and on any blemishes, and blended with a Zoeva Concealer Buffer Brush.
I then swept the BareMinerals Original Foundation (medium beige) lightly over my face, buffing it in for extra coverage.
I also used a small amount of the BareMinerals Mineral Veil setting powder on the centre of my face to reduce shine, and under my eyes to set the concealer.
Brows
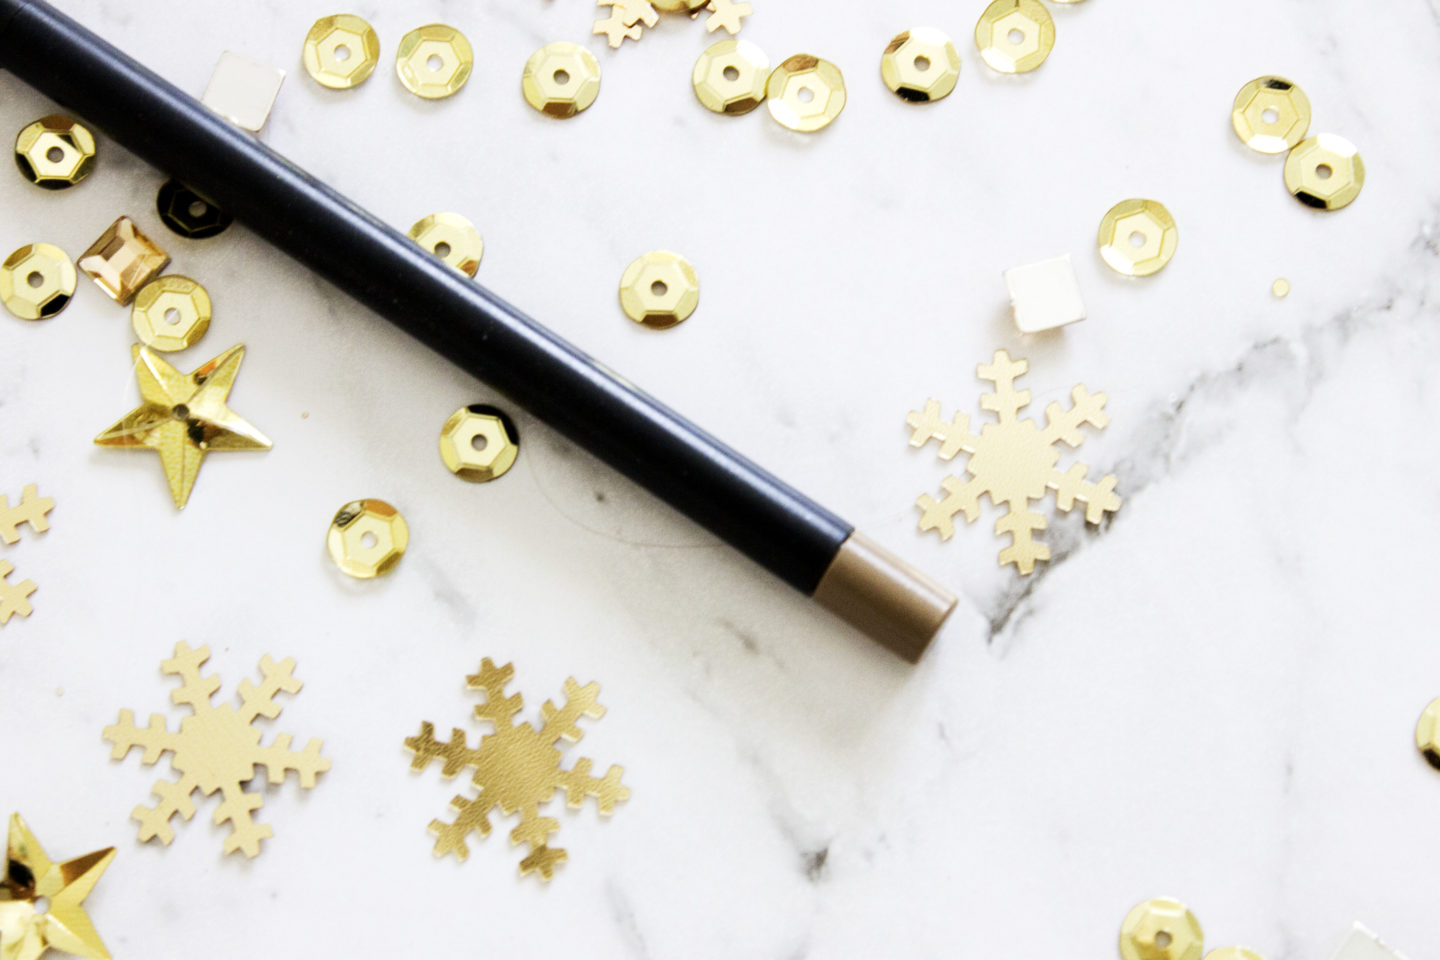
Any brow look will work here, but I chose to keep mine light and natural to keep the attention on my eyes. I simply followed my natural shape with the MAC ‘Eye Brows’ pencil in Fling.
Eyeshadow
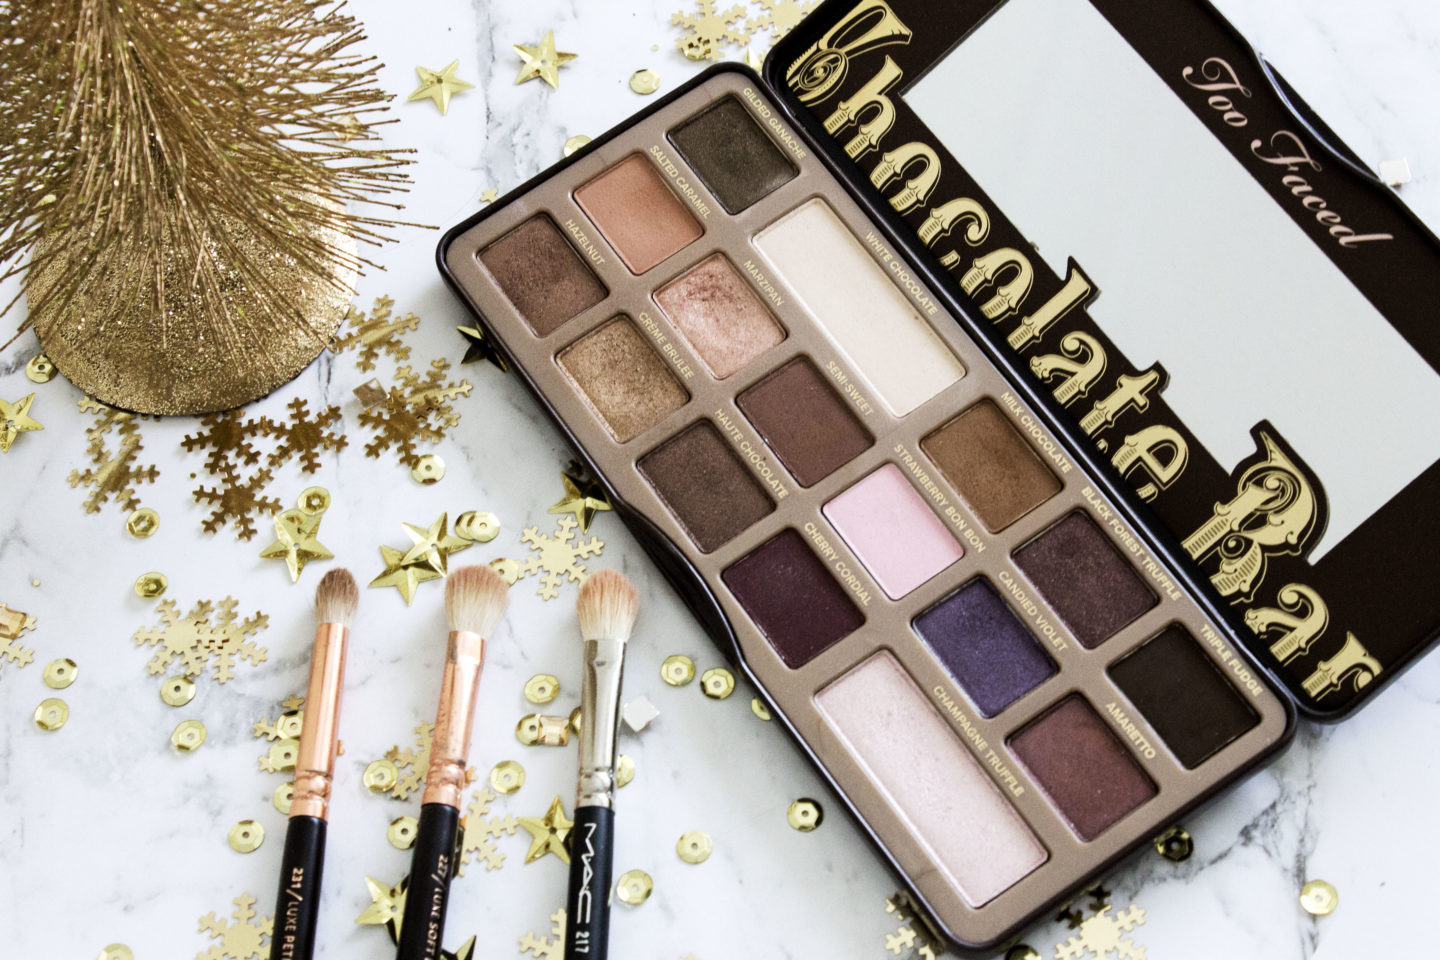
Too Faced’s Chocolate Bar Palette is always my go to for neutral looks, but any neutral shadows you have will do the trick.
I started out my working Salted Caramel into my crease with a MAC 217 brush. I also created a slightly winged shape at the edges to emphasise my almond eye shape and make them look a little bigger.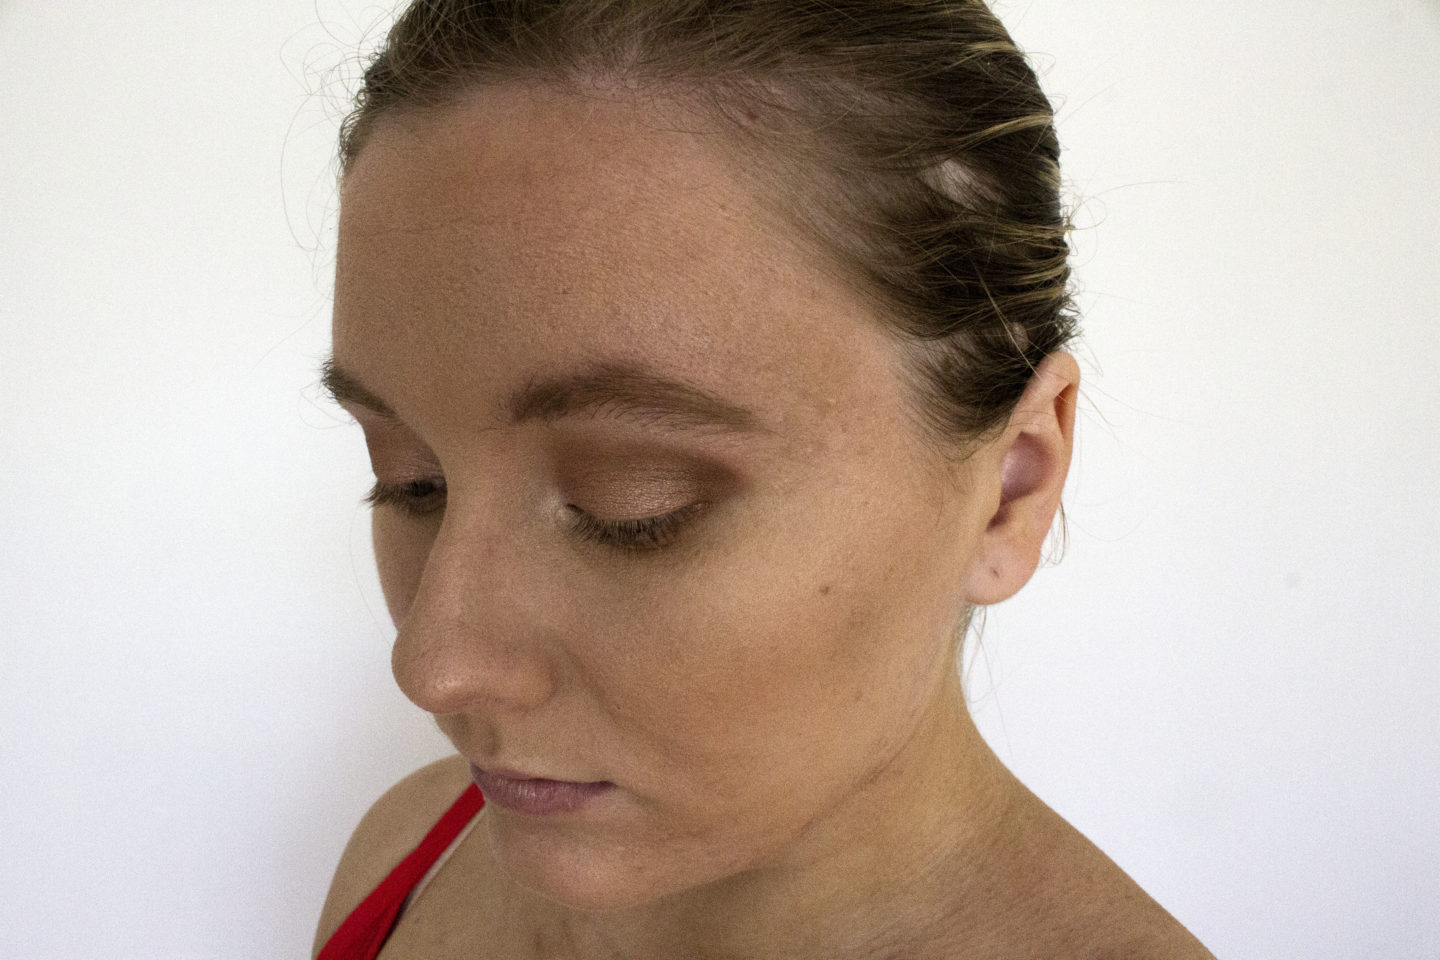
I then buffed Milk Chocolate into the outer half of my crease with a Zoeva 221 brush, and connected the colour to my lash line. I ran a tiny bit along my lower lash line, connecting it to the winged shape on the upper lid.
Next, I took Marzipan on the 217 and swept it over my entire lid, softly blending it into the other colours. I then used the Zoeva 227 brush to softly blend all of the edges.
Lastly, I popped a tiny amount of Champagne truffle in my inner corners/tear ducts and underneath the brows.
Lashes
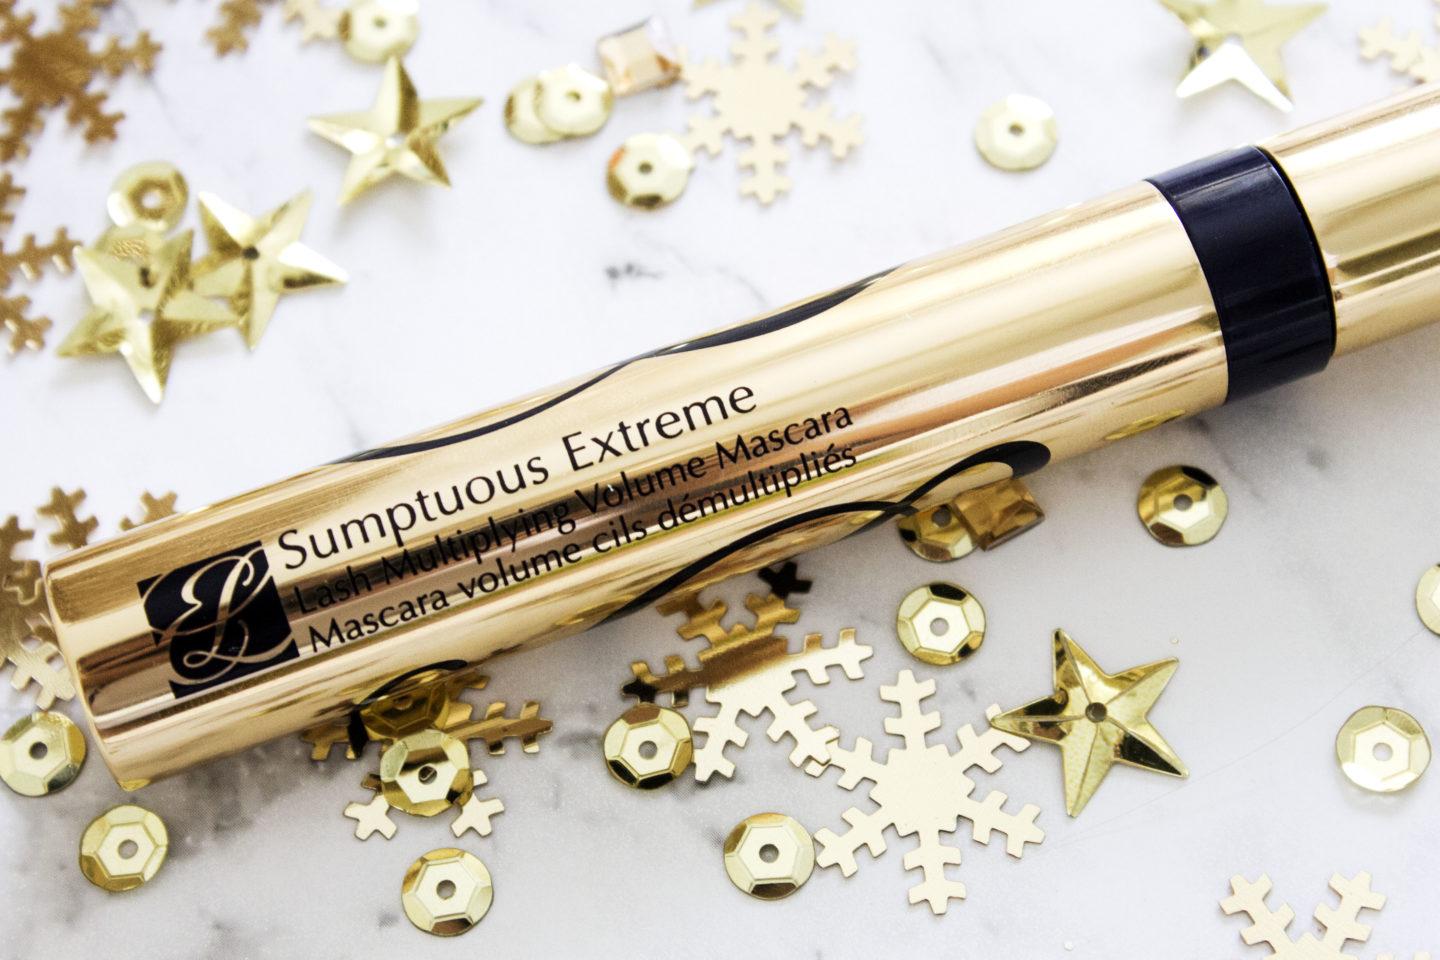
I wanted to keep my lashes long and fluttery for this look, so I first used the Estee Lauder Sumptuous Extreme mascara to define them.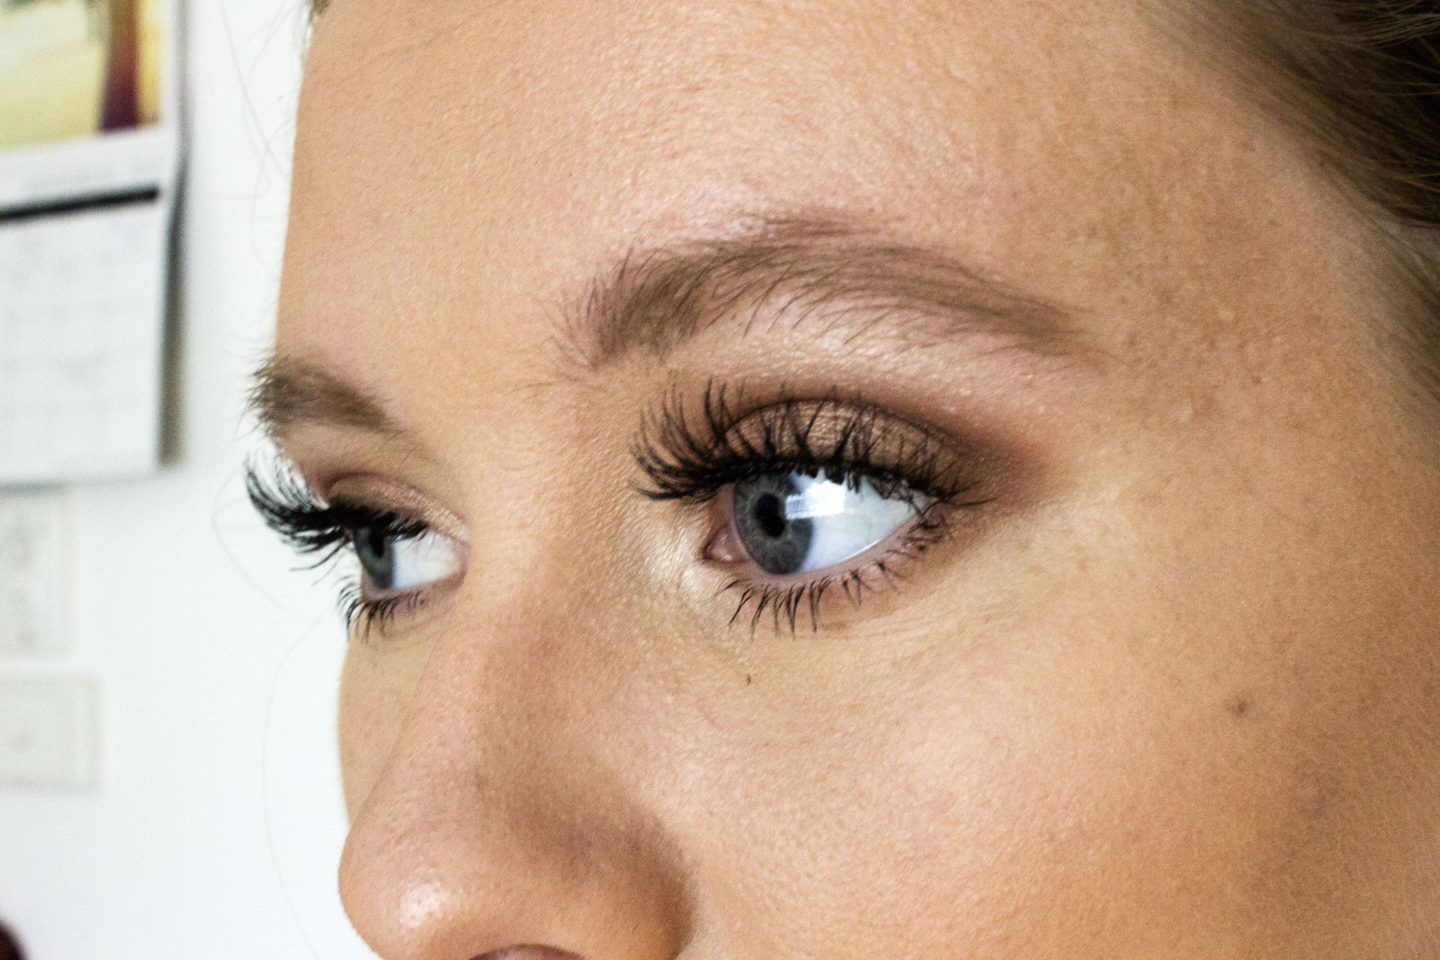
Adding falsies is completely optional, but I felt that they really amped up the look and took it from everyday to ‘HOLLA-DAY’. I chose the Ardell Wispies which are my all time favourites. They’re long, wispy, lightweight and have a super natural shape- not to mention crazy affordable.
Skin
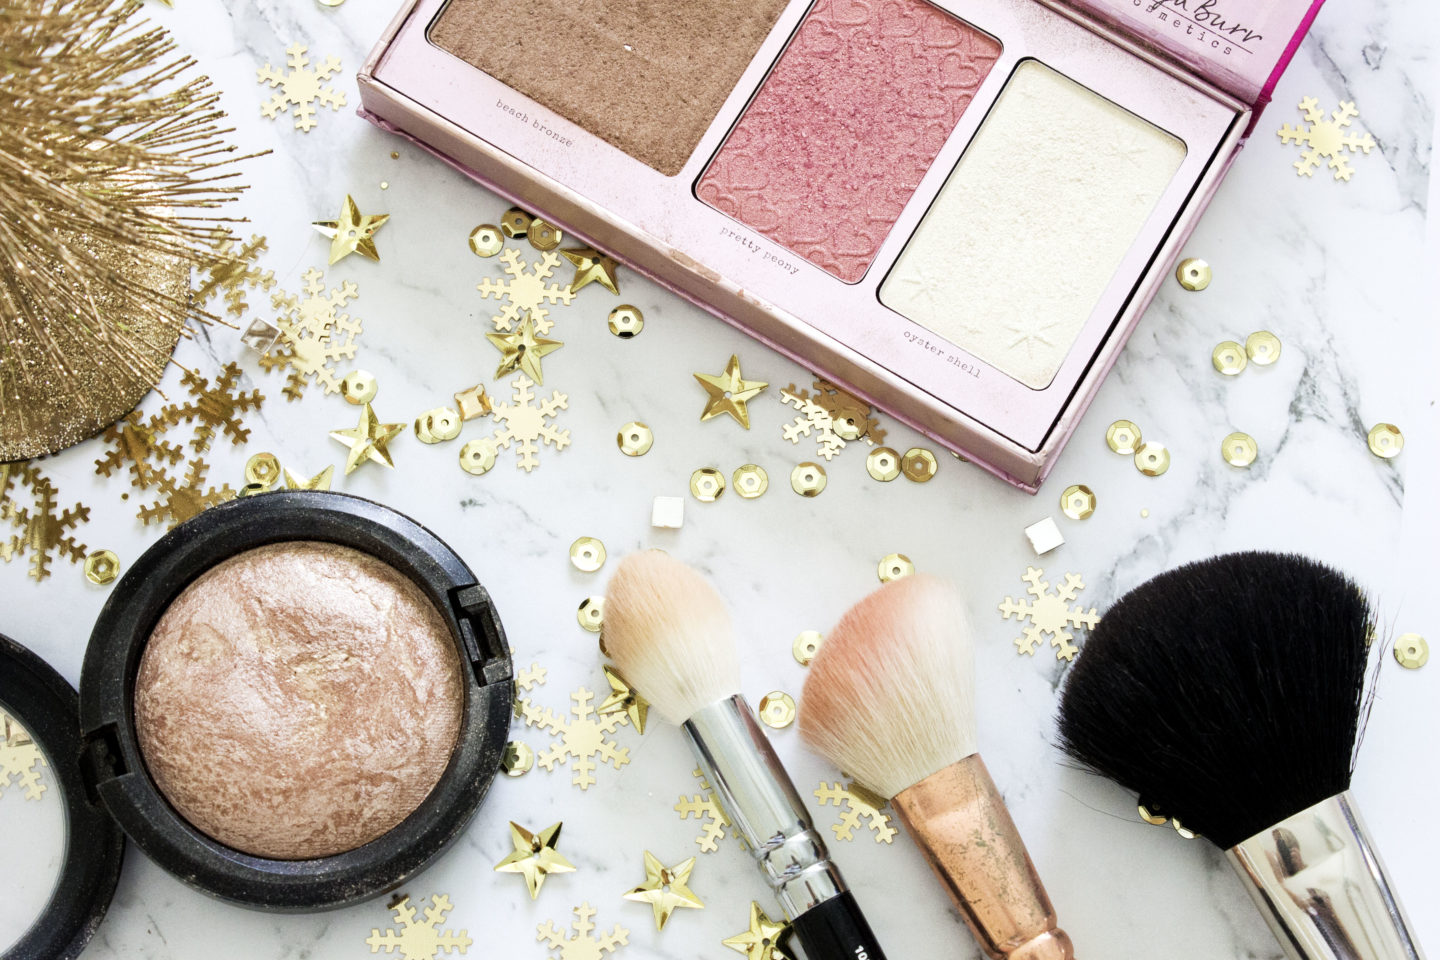
To add some more dimension and radiance to my face, I started by using the Tanya Burr Cosmetics Rosy Flush Cheek Palette.
I began with re-emphasising my bronzer with ‘beach bronze’ on a Napoleon Perdis Finishing Powder brush, and applied a small amount of ‘pretty peony’ on the apples of my cheeks with a Zoeva Luxe Sheer Cheek brush.
To finish off the skin, I dusted plenty of MAC’s Mineralise Skinfinish in Soft & Gentle onto the high points of my face with a Zoeva Luxe Highlight Brush.
Lips
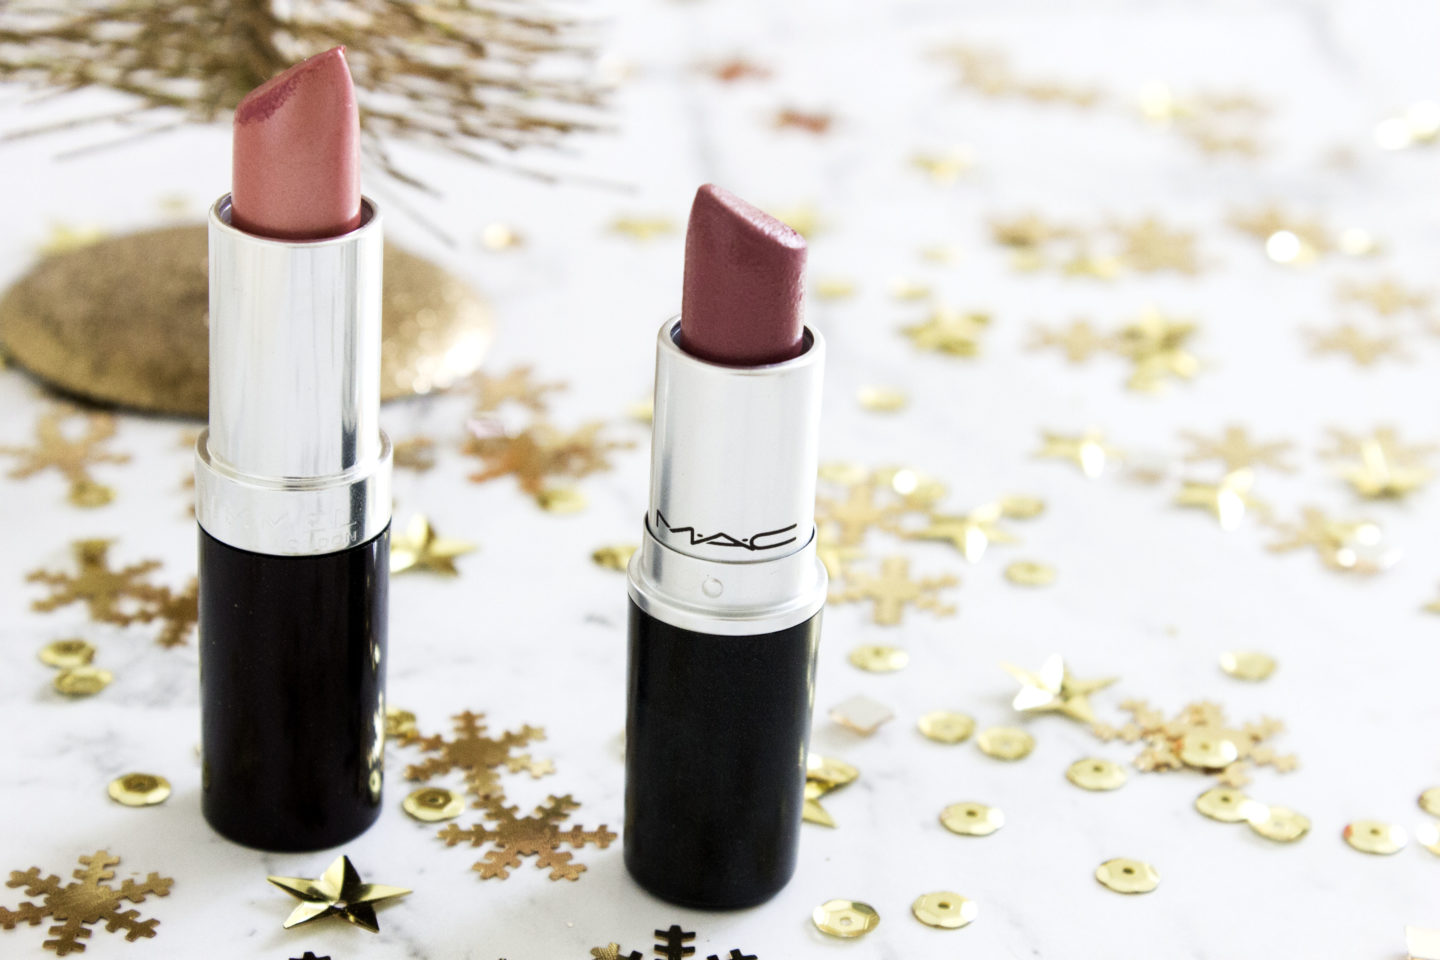
Basically any colour will work with this look- nude, pink, brown, red, purple- you name it.
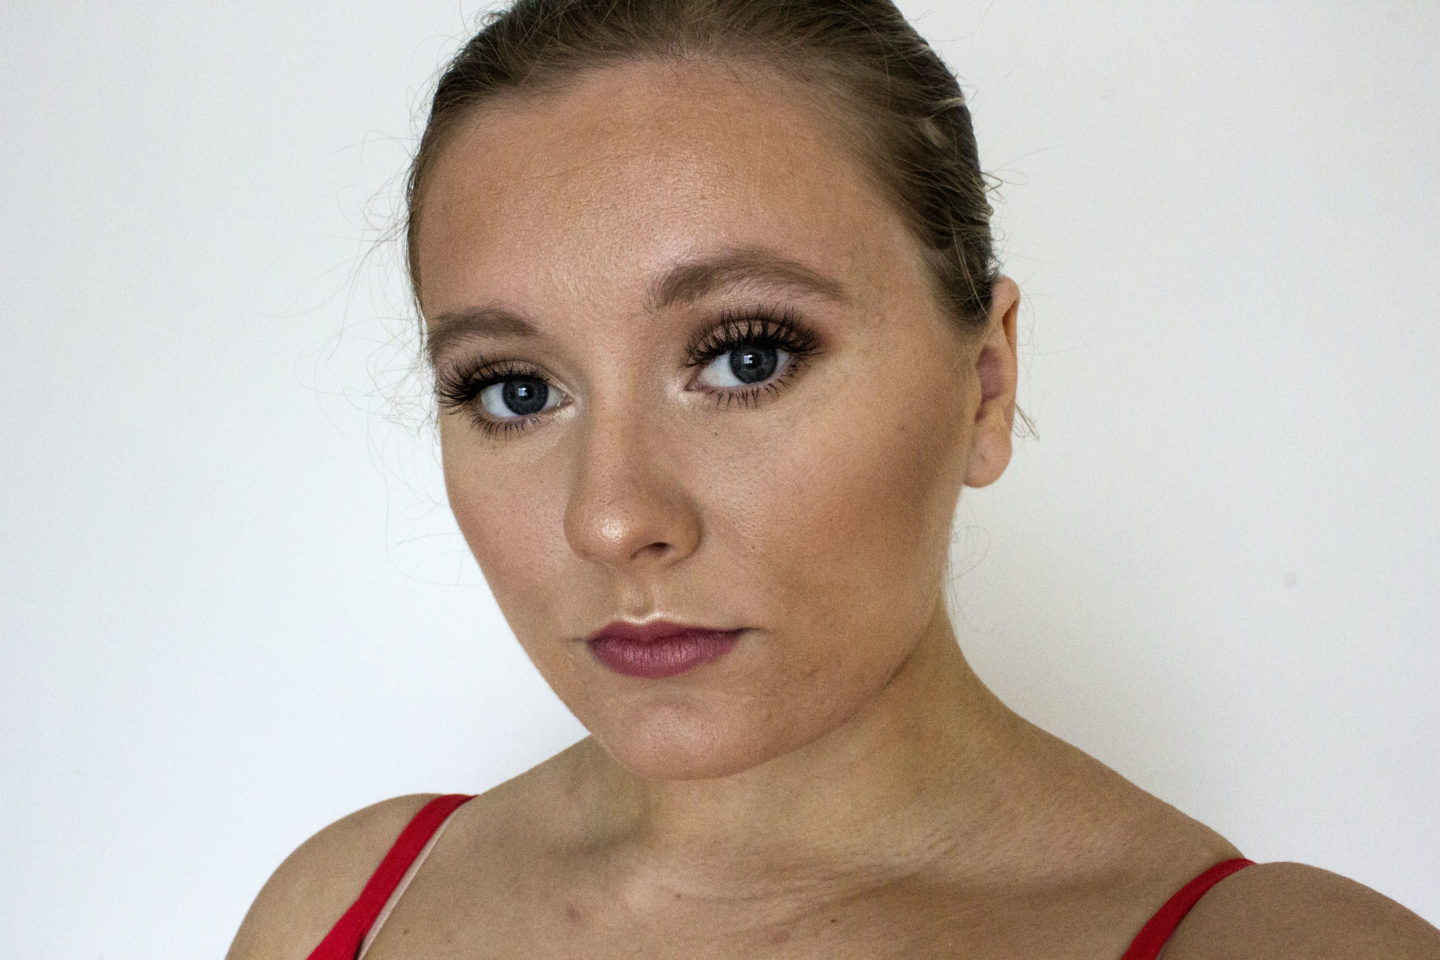
Today I decided to keep it fresh, so I started by using MAC’s ‘Brave’ all over my lips, and popped Rimmel’s Nude Pink on the centre for some dimension.
If you recreate this look, be sure to tag me (@claire_ince on Instagram) as I’d LOVE to see it!
See you tomorrow 😉
