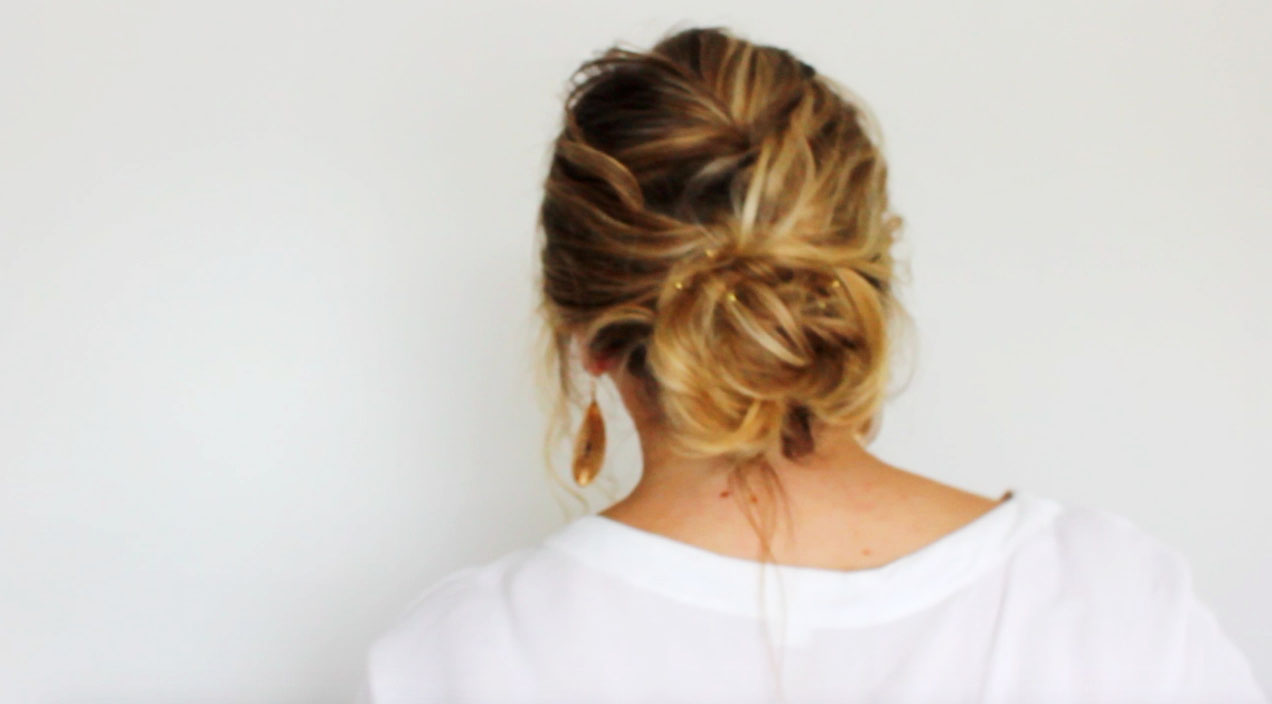
I don’t know how to introduce this tutorial without saying how utterly easy this updo is.
Everyone seems to look at styles like this and assume they take hours of intricate work, when in actual fact, they are incredibly easy.
This updo will work on pretty much any hair length, thickness or texture, and you don’t need to grow a third arm to do it.
Tools
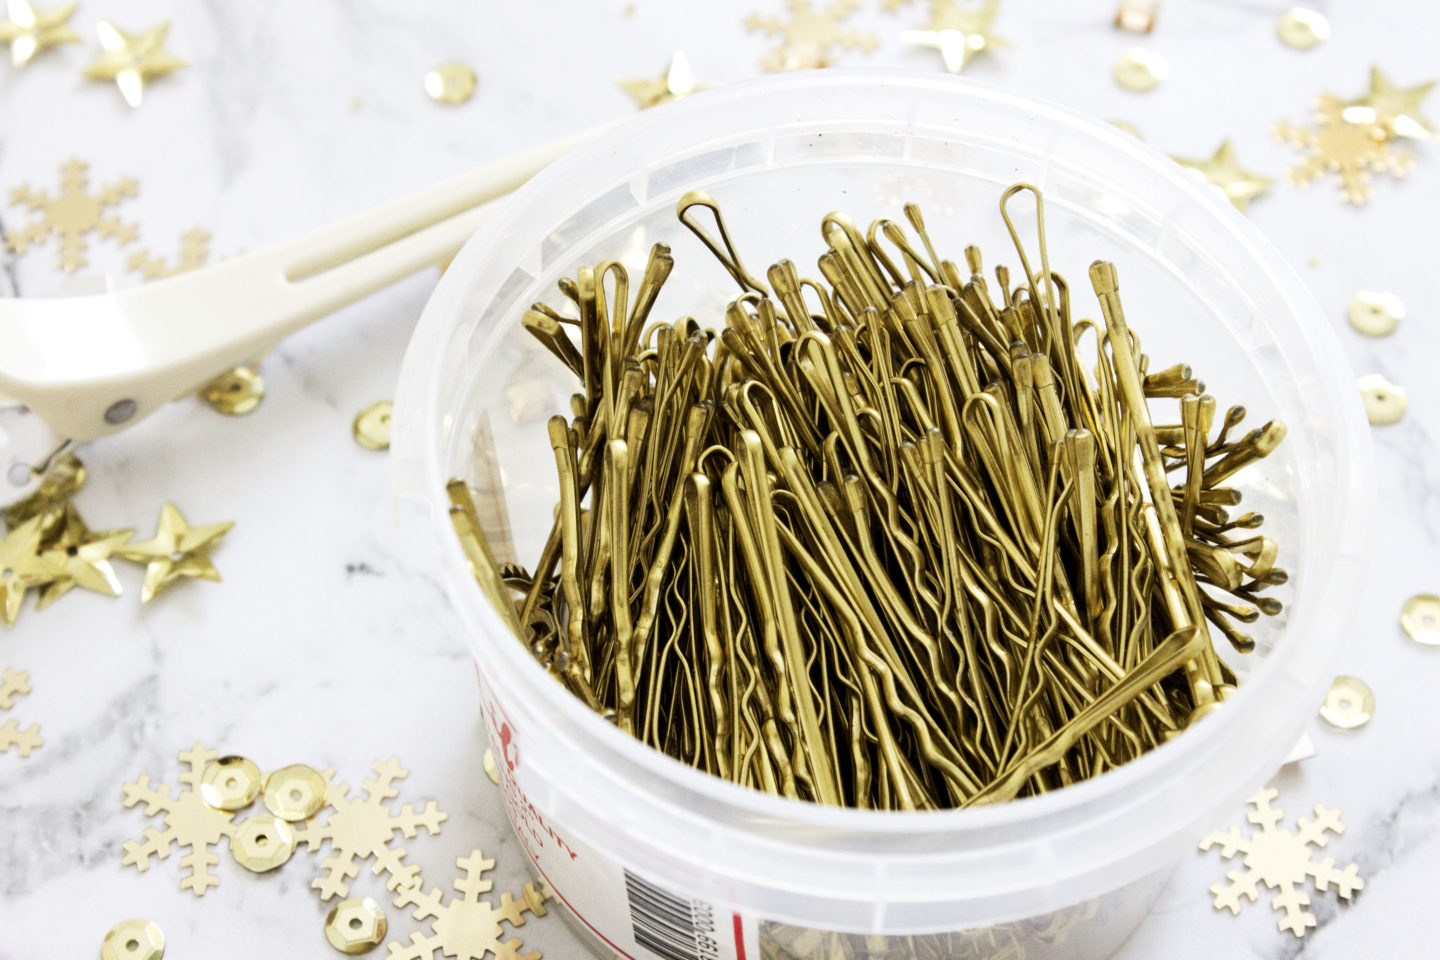
You’ll only need two things for this tutorial.
- A buttload of bobby pins.
- A hair tie or clip for sectioning.
Step 1: Texture
As I said earlier, you can do this with absolutely any hair texture, but said texture will define the type of look you’ll get in the end.
Pin straight hair= Sleek and ‘perfect’
Curled hair= Whimsical and undone
Salt Spray= Beachy and messy
Natural curls= Voluminous and wispy
Today, I started by doing my normal curl routine which you can read about here.
Step 2: Section
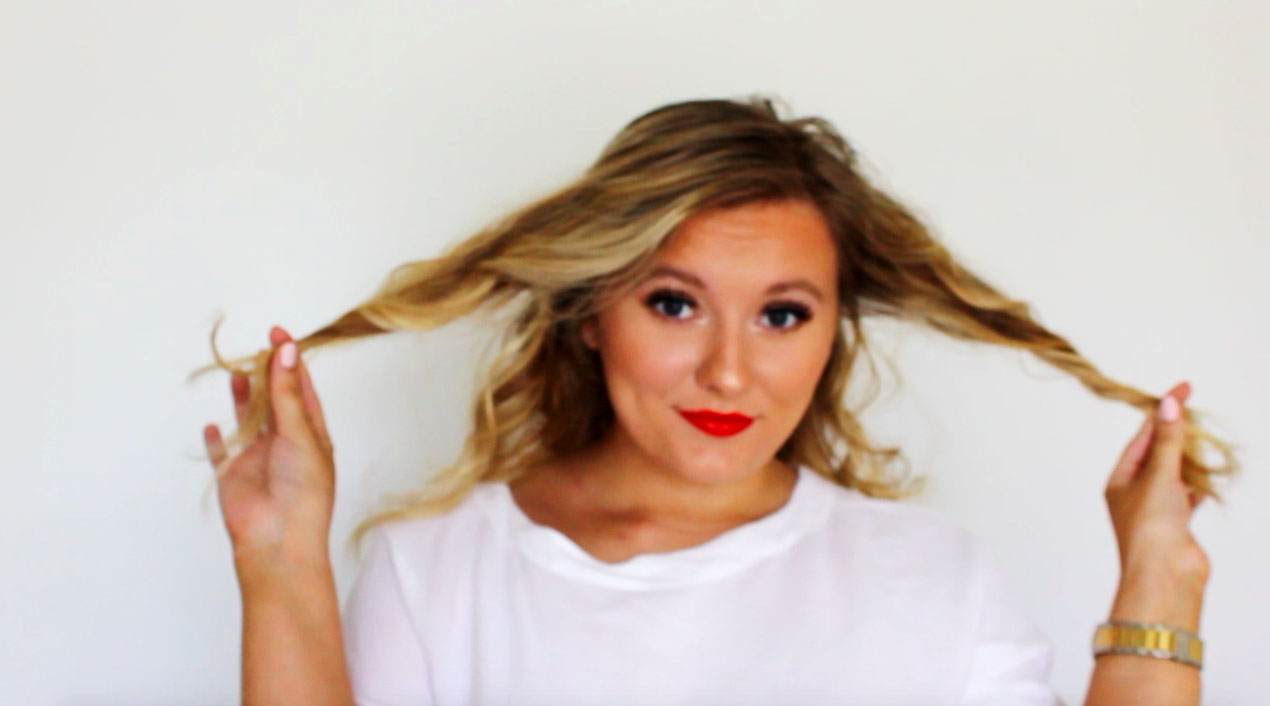
Firstly, part your hair wherever you’d like- I’m partial to a side part.
Next, create two sections around your face, by pinning away all of the hair in front of your ears.
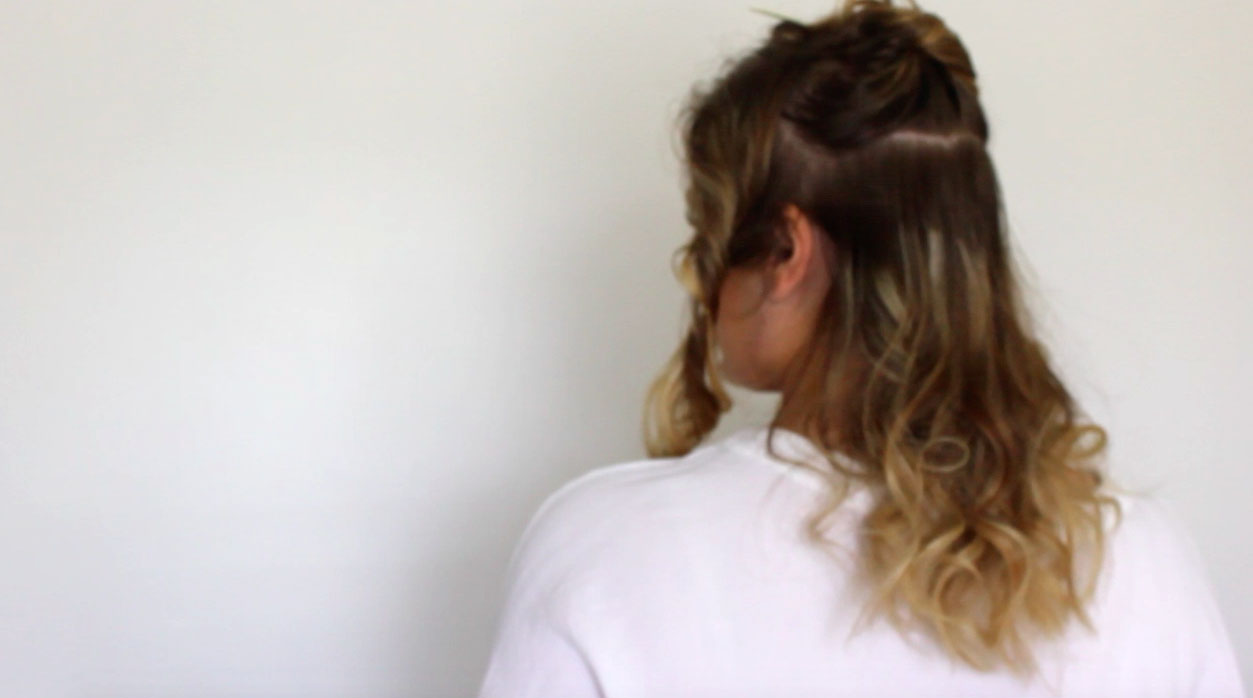
Lastly, split your hair in half from ear to ear, and clip the top half away.
Step 3: Bun
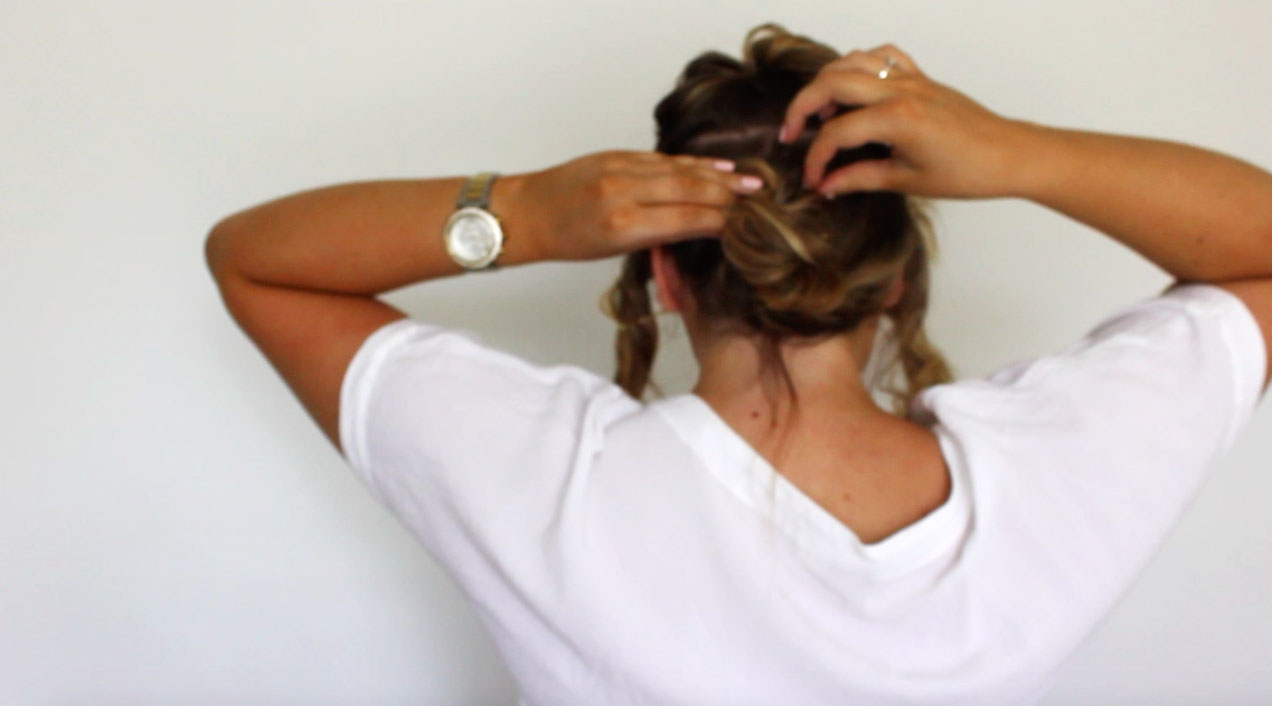
The first step in creating the updo is to pin the lower half into a bun.
There’s countless ways you can do this, but I like to loosely twist the section and wrap it around itself. Then just pin around the edges, making sure to hide the pins inside the bun.
Step 4: Tease and Twist
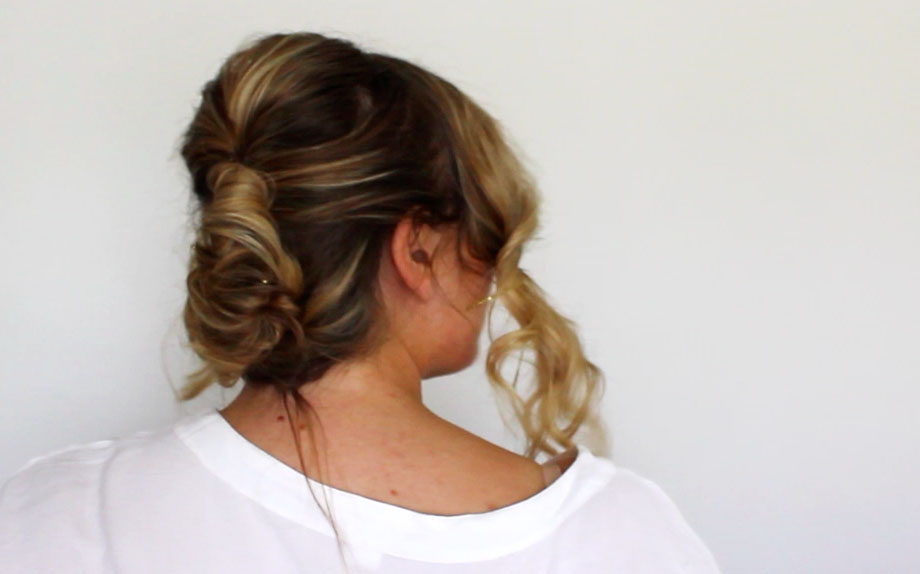
Next, let the top half down.
Again, you can secure this in any way you like, but I find a twist to be the easiest.
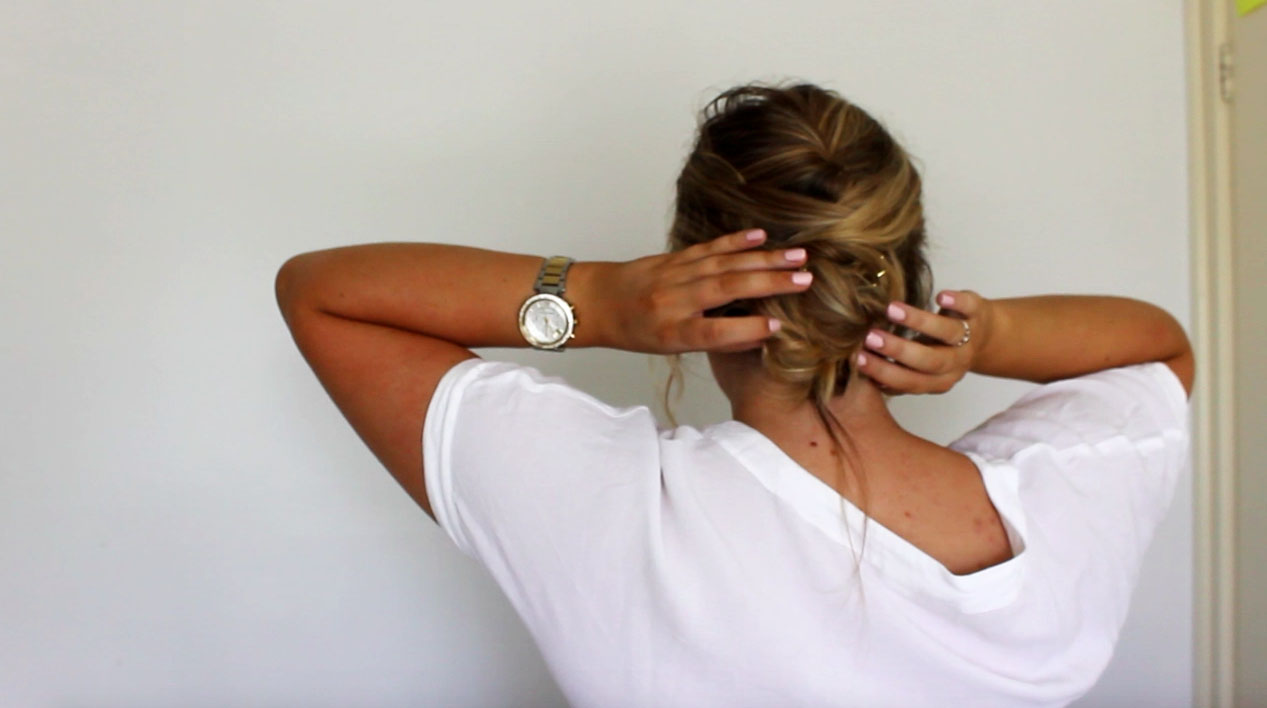
I started by lightly backcombing the roots and smoothing the section straight back from the part. I then twisted the section, anchored it to my head and pushed up lightly to create extra volume, and pinned it in place- meeting with the bun.
I then simply wrapped the loose ends around the bun and pinned them in place.
Step 5: Front
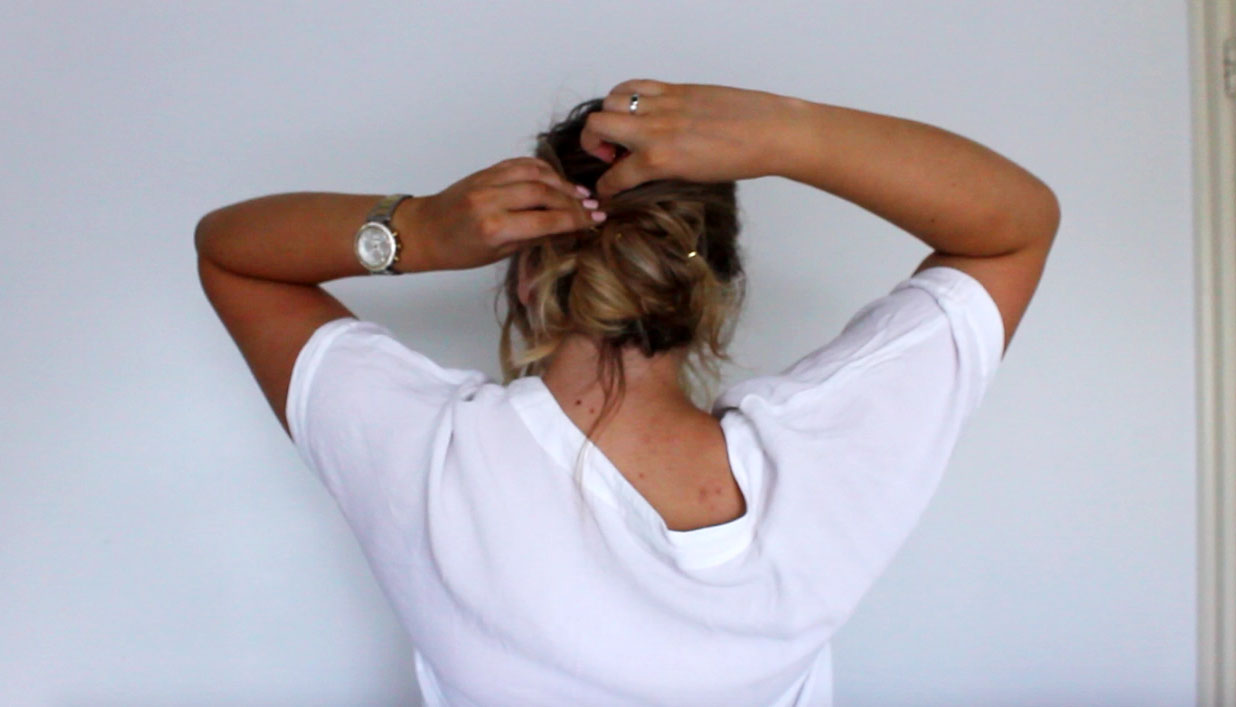
Next, let out the front pieces.
Again, you can do anything you want with them, but I like to leave a couple of pieces loose at the front to create a softer look and frame my face.
I then created a ‘criss cross’ at the back of my head. To do this, I took the bottom half of one side, and crossed it over to the opposite side and pinned next to the twist to cover the gap. I then just alternated each side until it was all pinned, and then pinned the loose ends around the bun. At this point, it’ll look something like this:
Step 6: Finesse

This step is totally optional, but I like a slightly messy look, so I finessed my do’ by gently pulling on random sections to puff them out and create a bit of dimension.
Step 7: WORK IT
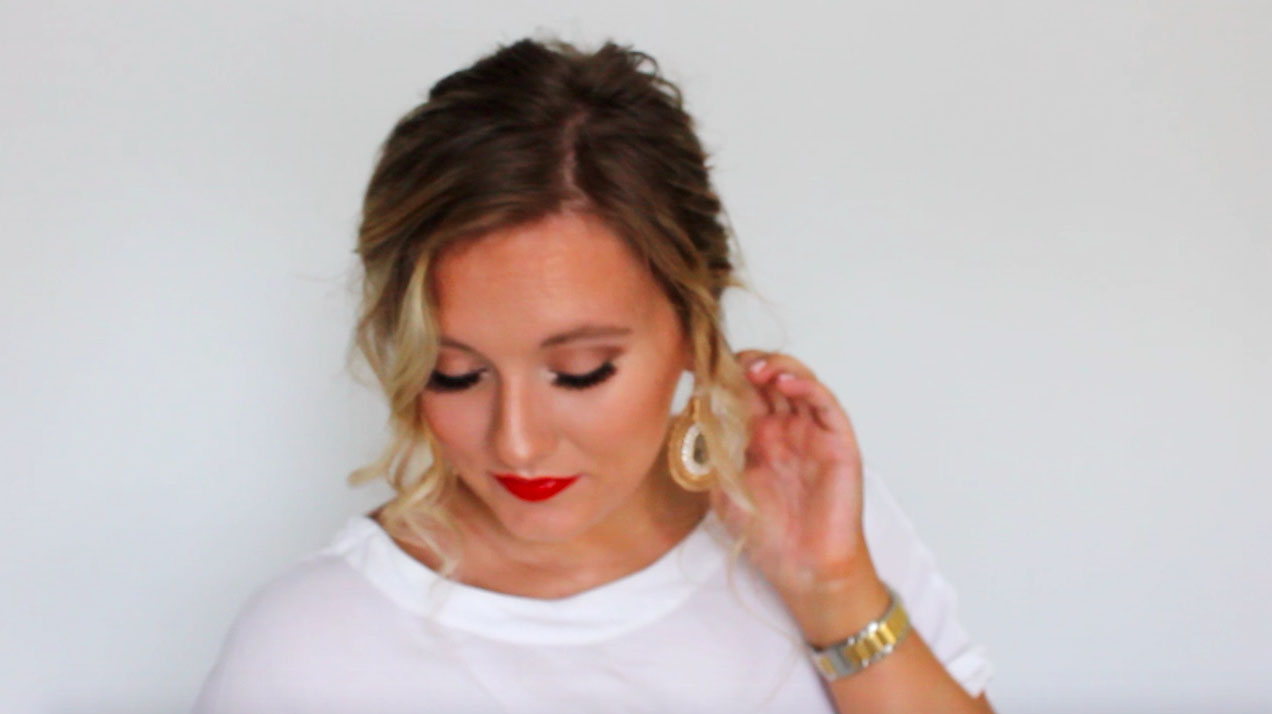
Hey Presto! Done.
If you recreate this look, make sure you tag me (@claire_ince) on Instagram, as I’d absolutely love to see your recreations!
Until tomorrow,
