Since the awkward days of 2012, I’ve consistently been asked the same question:
“How do you curl your hair like that?!”
5 years later, I’m finally teaching you.
First and foremost, I’m definitely not an expert. I’ve simply found a way of doing this that takes virtually no time, lasts for days, and basically never fails me.
Tools
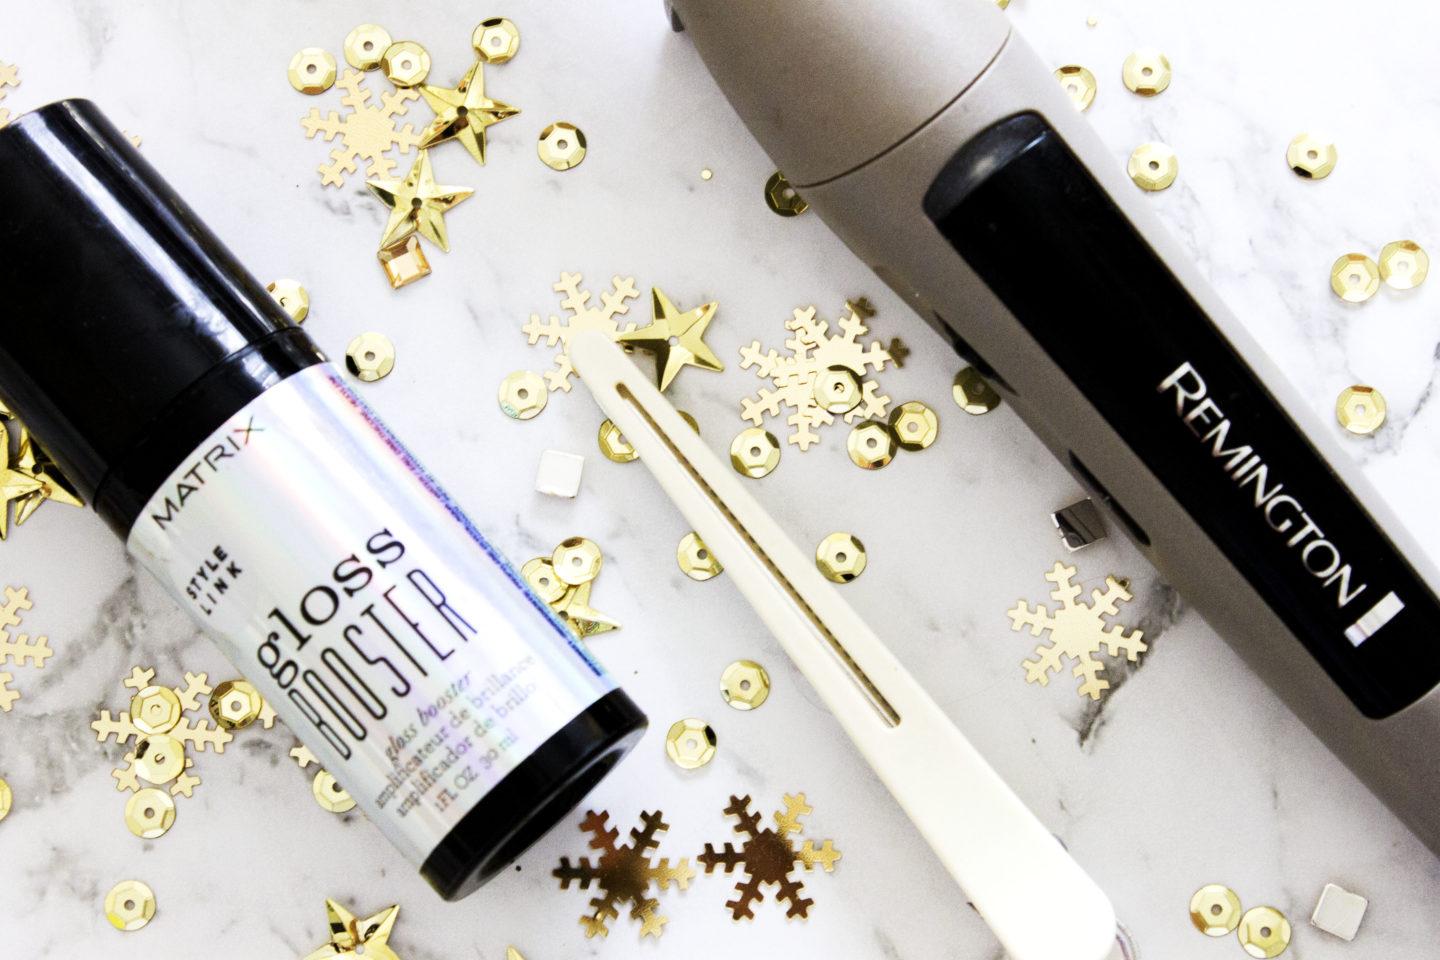
To achieve this look, you’ll need three basic tools.
- A 1 inch curling iron. No clamp, no bells and whistles- it’s basically just a ceramic cylinder that gets hot. I got mine from Kmart for $30 about 5 years ago.
- A clip or hair tie to section with.
- A product of your choice- most people pick hairspray but I despise it and this method stays in so well that I don’t need it. You could also opt for salt spray if you want a more beachy look, but for Christmas time I love this Matrix Gloss Booster for a slightly more polished look.
Step 1: Texture
The beauty of this method is that anyone can do it, regardless of texture.
However, I do find that having a little grit works wonders, so try to get in as much texture as you can before you begin.
I like to wash my hair the night before and let it air dry, then sleep on it to give it some oomph- technical term, I know.
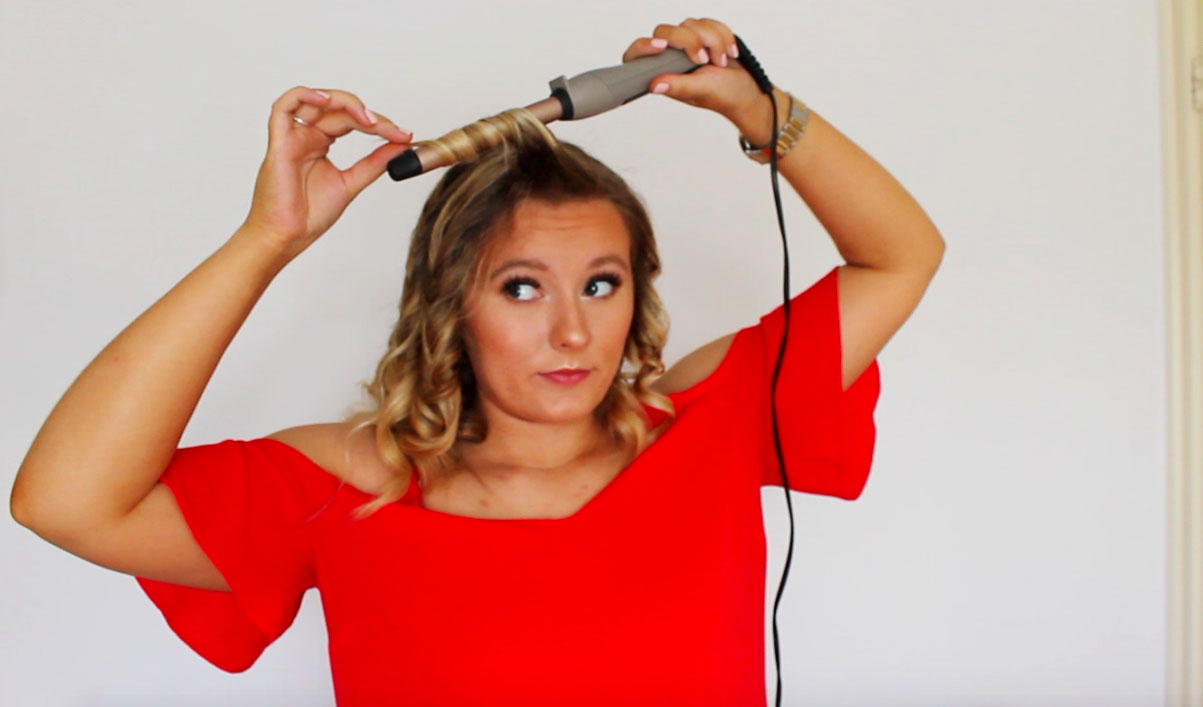
Step 2: Curl
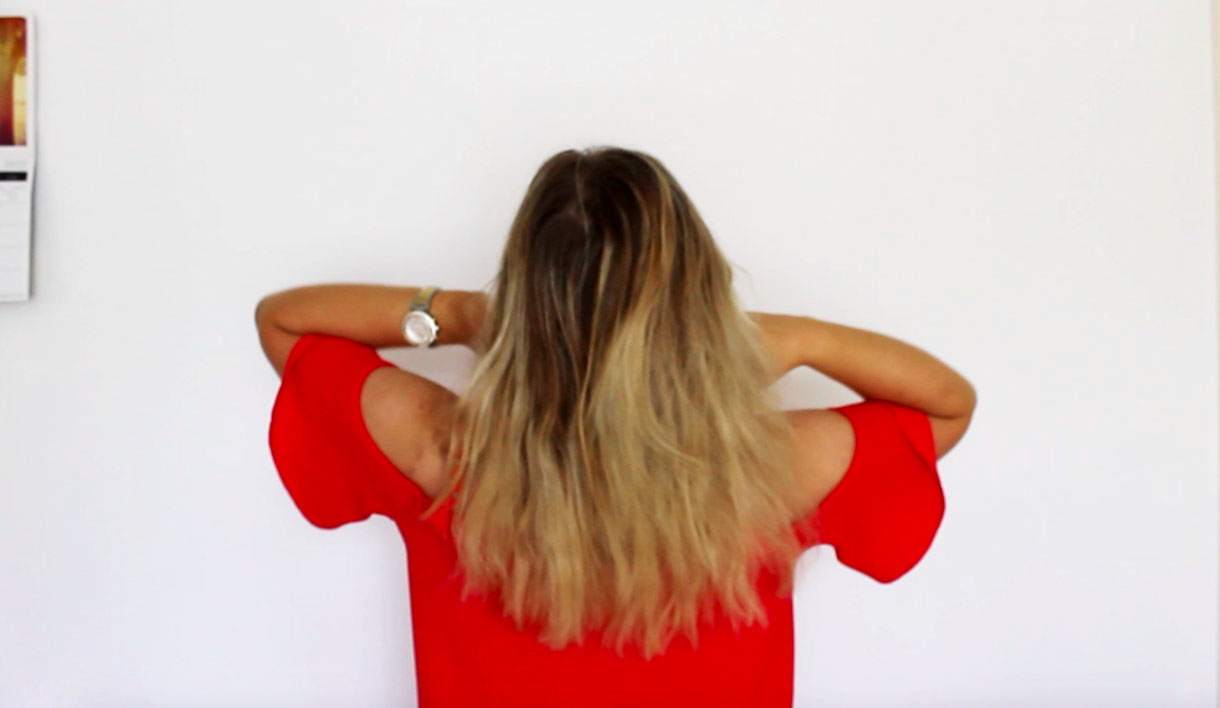
I start by splitting my hair in half as I have quite a bit of it, then I split it in half again and pull it all to the front of my shoulders.
To get the most volume, I like to alternate the direction that I wrap my hair around the barrel, as this stops the curls from clumping together.
The secret to getting it to last without hairspray is ribbon wrapping. To do this, simply make sure the section is FLAT against the barrel from top to bottom, and don’t let it twist around itself. I then just hold it on the barrel for about 5 seconds, let it down and DON’T TOUCH IT.
One of the main questions people ask me is how I get my front pieces to ‘sweep’ back and sit the way they do. In all honestly, it’s pretty simple.
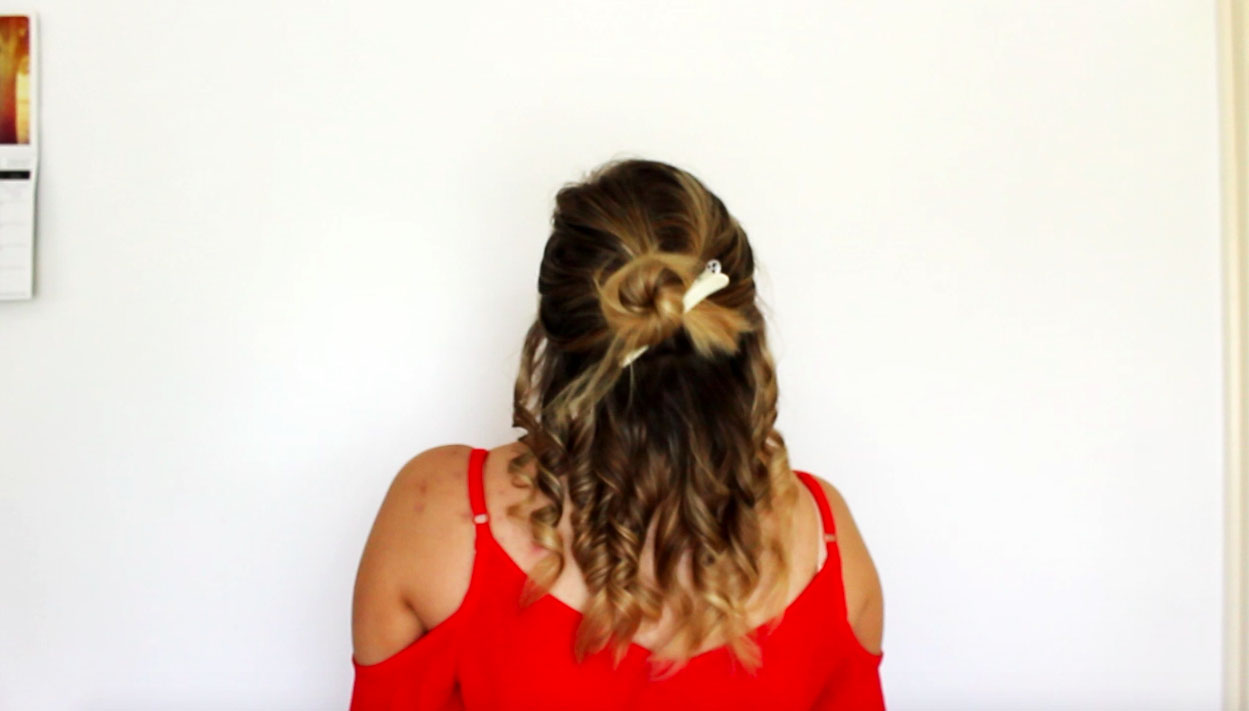
On the top section of my hair I do the same thing as the bottom- ribbon wrapping and alternating the direction- but I start the curl a little lower down so it’s pretty much straight at the roots.
The most important part for achieving the swoop, is to make sure the 3 sections closest to the front are all curled AWAY from the face or ‘backwards’- it’s that easy.
Step 3: Cool
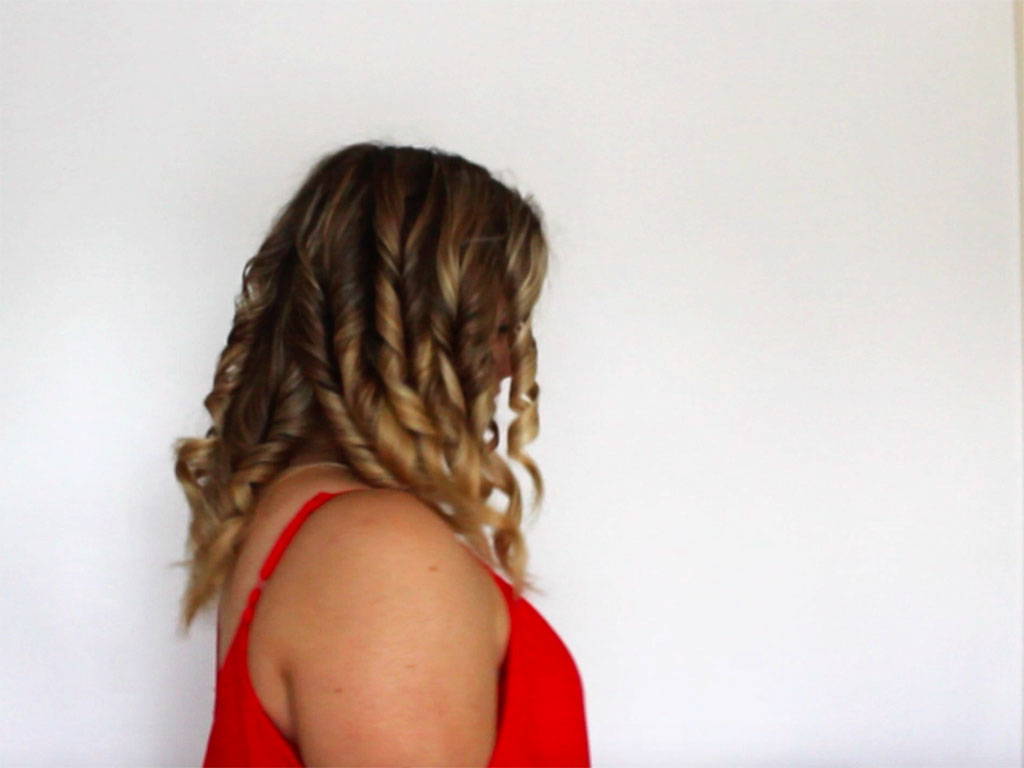
Next, it’s UBER important to allow the curls to completely cool down before proceeding.
This allows them to completely set in the ribbon position, and helps them to last for days- but don’t worry, you won’t look like a poodle for long.
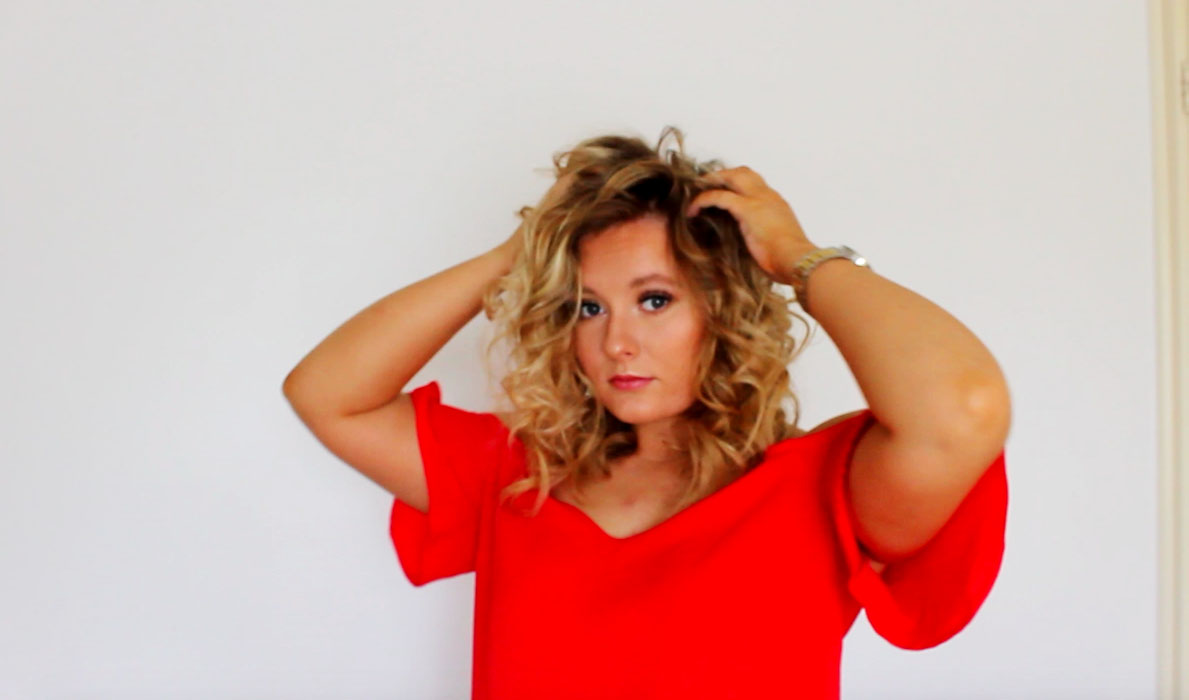
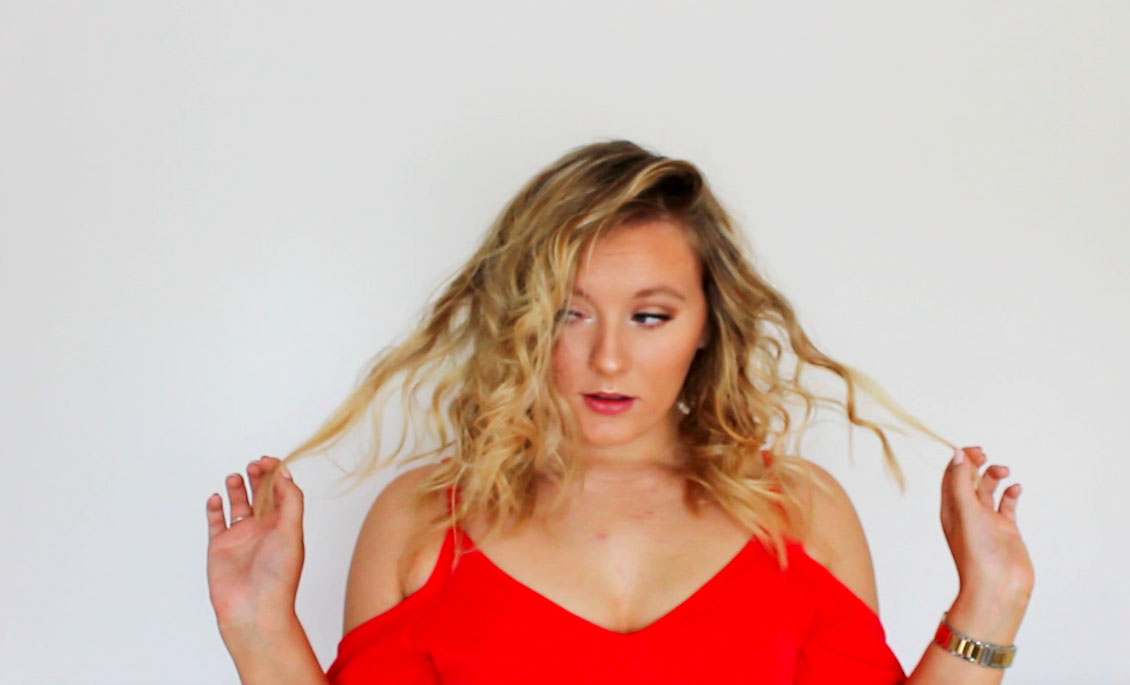
Step 4: SHAKE SHAKE SHAKE SEÑORA
Rather than combing or brushing out the curls to separate them, I find flailing wildly all over the place to be the best way.
So put on your fave head-banging song and get to it.
Step 5: Product
Because I wanted my curls to be a little smoother and shinier, I used a shine boosting product to make them look healthy and bouncy.
I simply took a pea sized amount, warmed it up in between my hands and very gently smoothed it through.
If you use hairspray, this is where you’d use it.
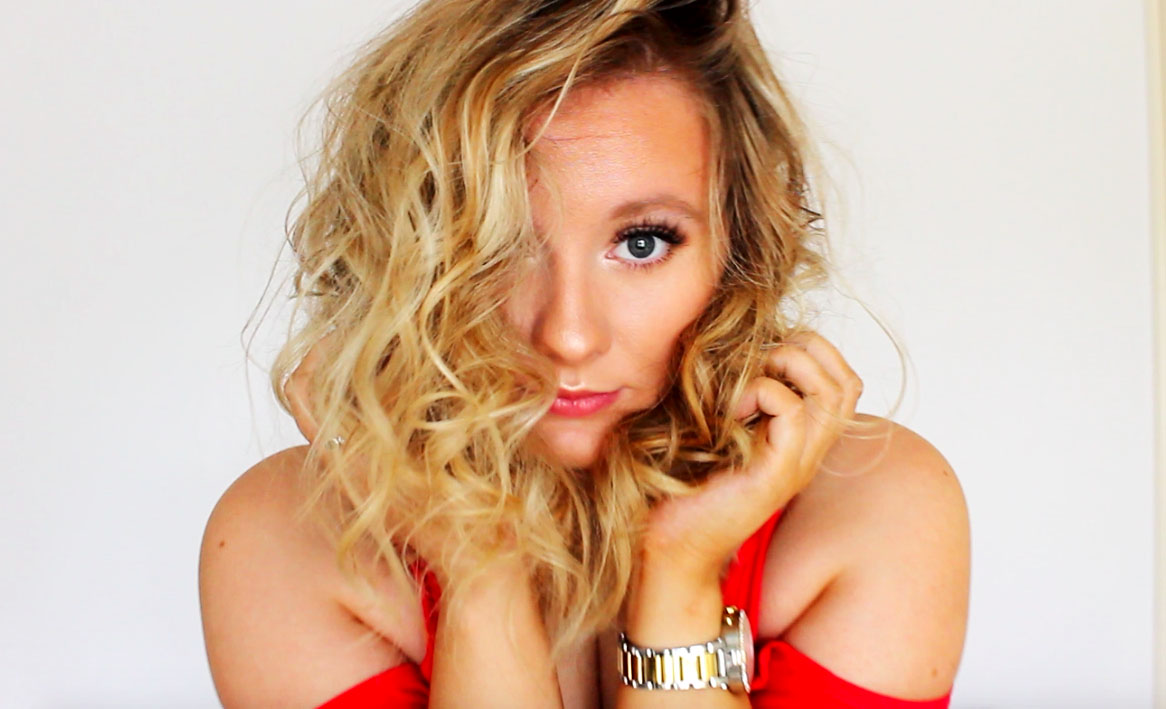
Step 6: ROCK IT
And you’re done… so WORK IT!
If you recreate this look, be sure to tag me (@claire_ince on Instagram) as I’d really love to see it! Have fun 😉
