Welcome to Blogmas
Hello!
If you aren’t already aware, I will be participating in a well known blogging tradition this year; one post every single day from December 1st-24th. Blogmas is something I’ve wanted to do since I started reading blogs back in early high school, and after all of the devastation that 2017 has brought the world, I figured there was no better time than now.
If you’d like to join in on the adventure, I have a two small things to ask of you:
- Make sure you’re following my social media- all of the links are in the menu above this post.
- Sign up to my newsletter by entering your email address at the bottom of this page.
Between these, you’ll never ever miss a post- and trust me, you definitely don’t want to.
DIY Wreath
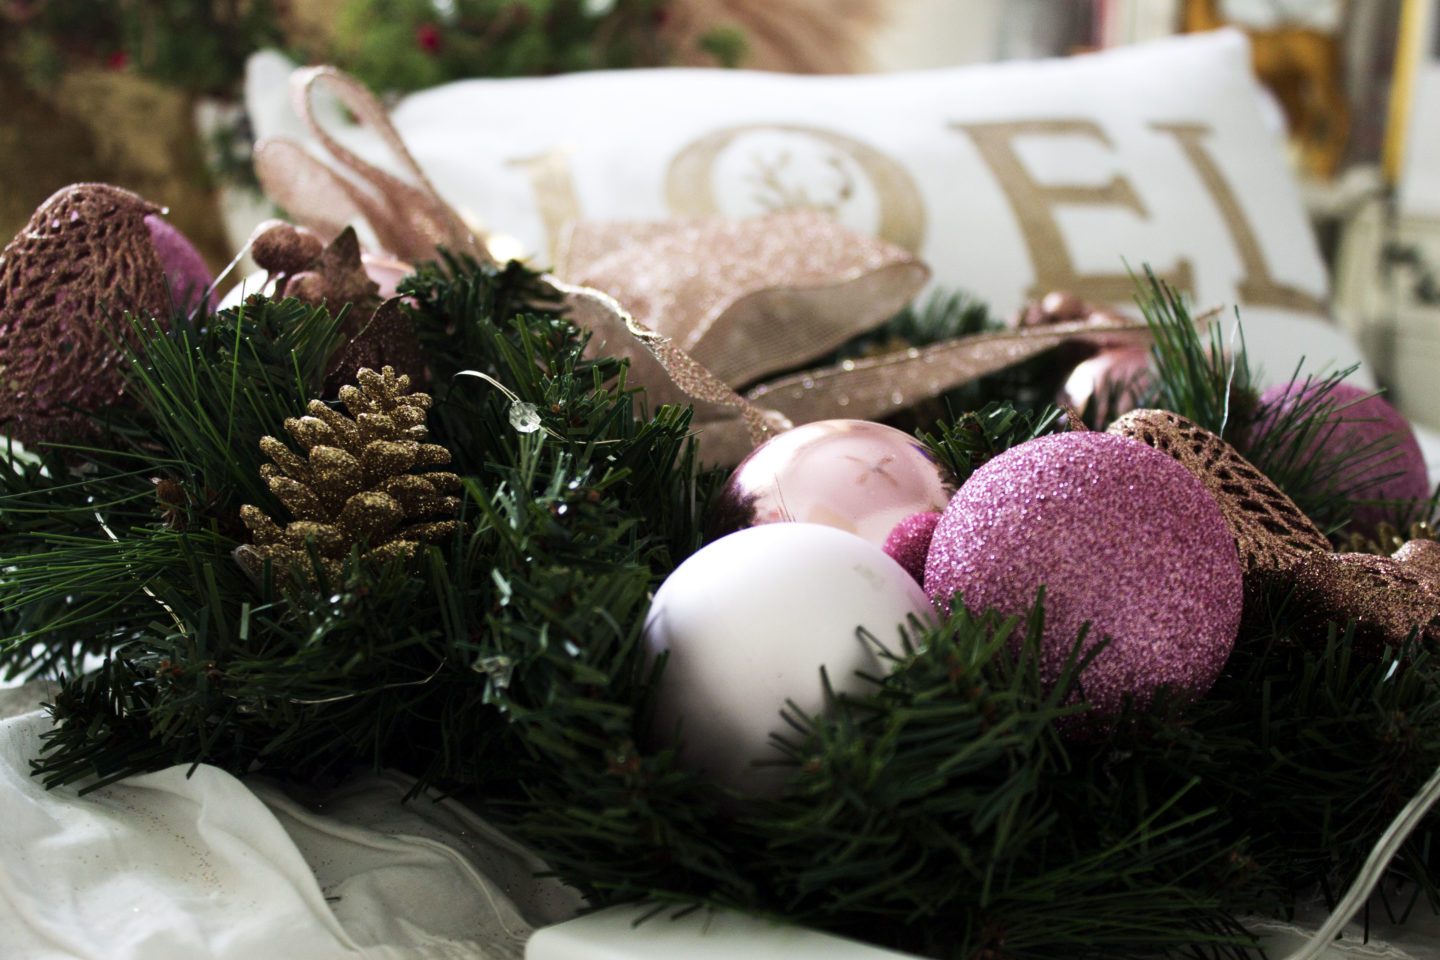
Alongside trees, wreaths are probably the most basic, ‘must-have’ items when it comes to decorating for Christmas, but in my experience they can be a little problematic.
This year, I decided to change up the colour scheme in my room and my old wreath did absolutely nothing for the new theme. I went on a wild witch hunt for a suitable one to replace it with, but failed miserably.
It quickly became apparent that the best way for the new theme to work, would be to MacGyver up my own. I found this to be the solution to every problem I’d encountered as it allowed me to achieve the EXACT look I wanted, and it was also considerably more cost-effective than buying one pre-made- mine came in at under $30.
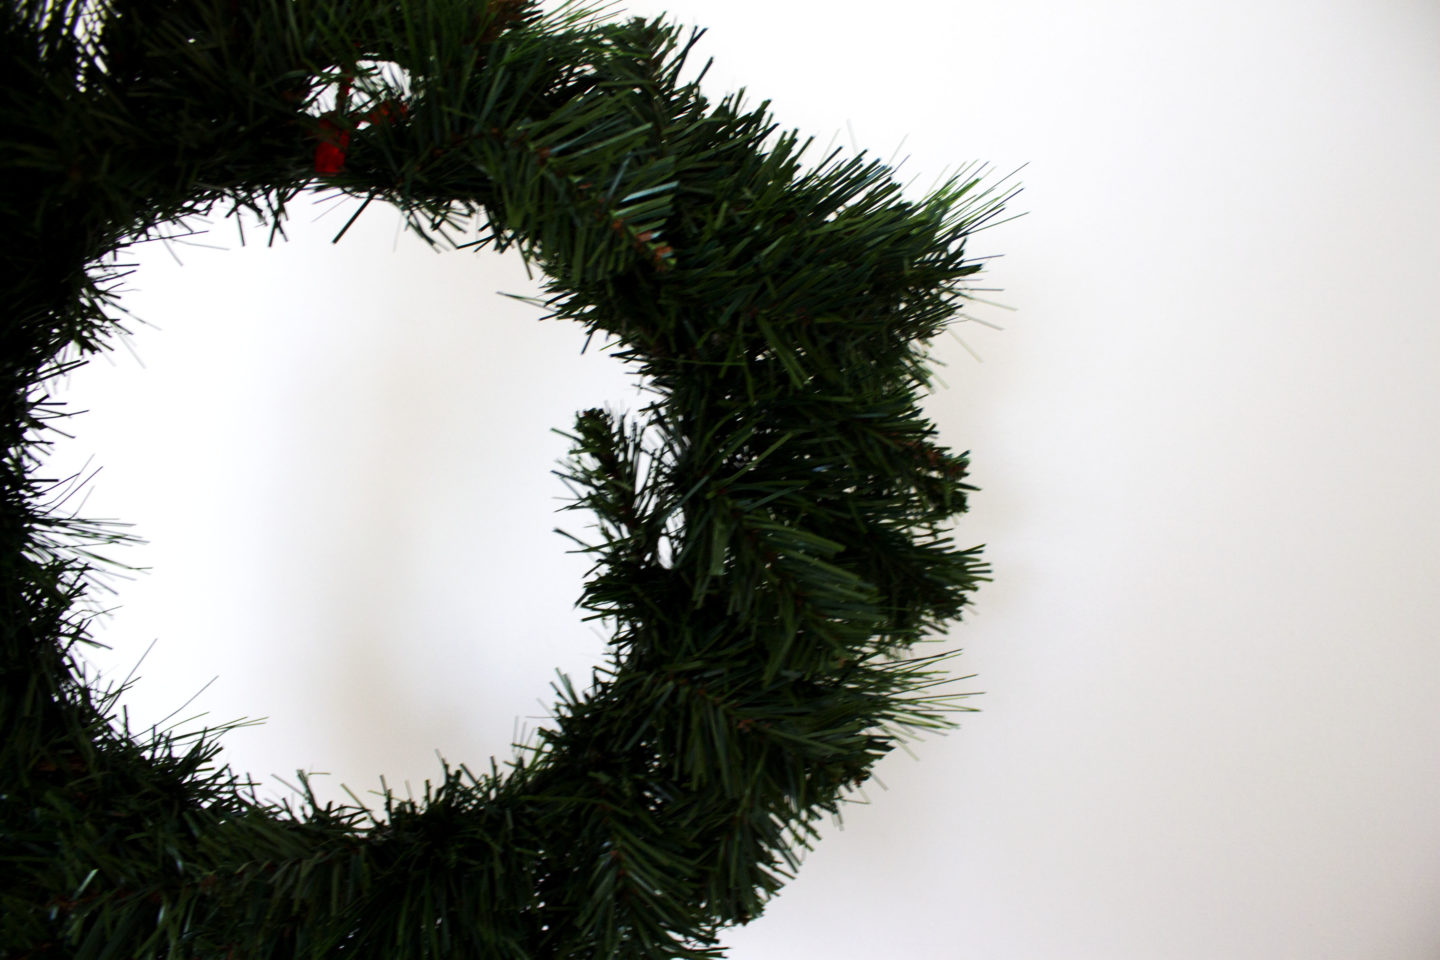
There are quite a few ways that you can go about this. Styrofoam wreaths are a great option if you have a white tree or don’t particularly want any ‘foliage’, and there are a million and one ways of using them- just ask Pinterest!
This year, I wanted more of a traditional feel so I decided to go down the green route. I found this one at Kmart for only $5.
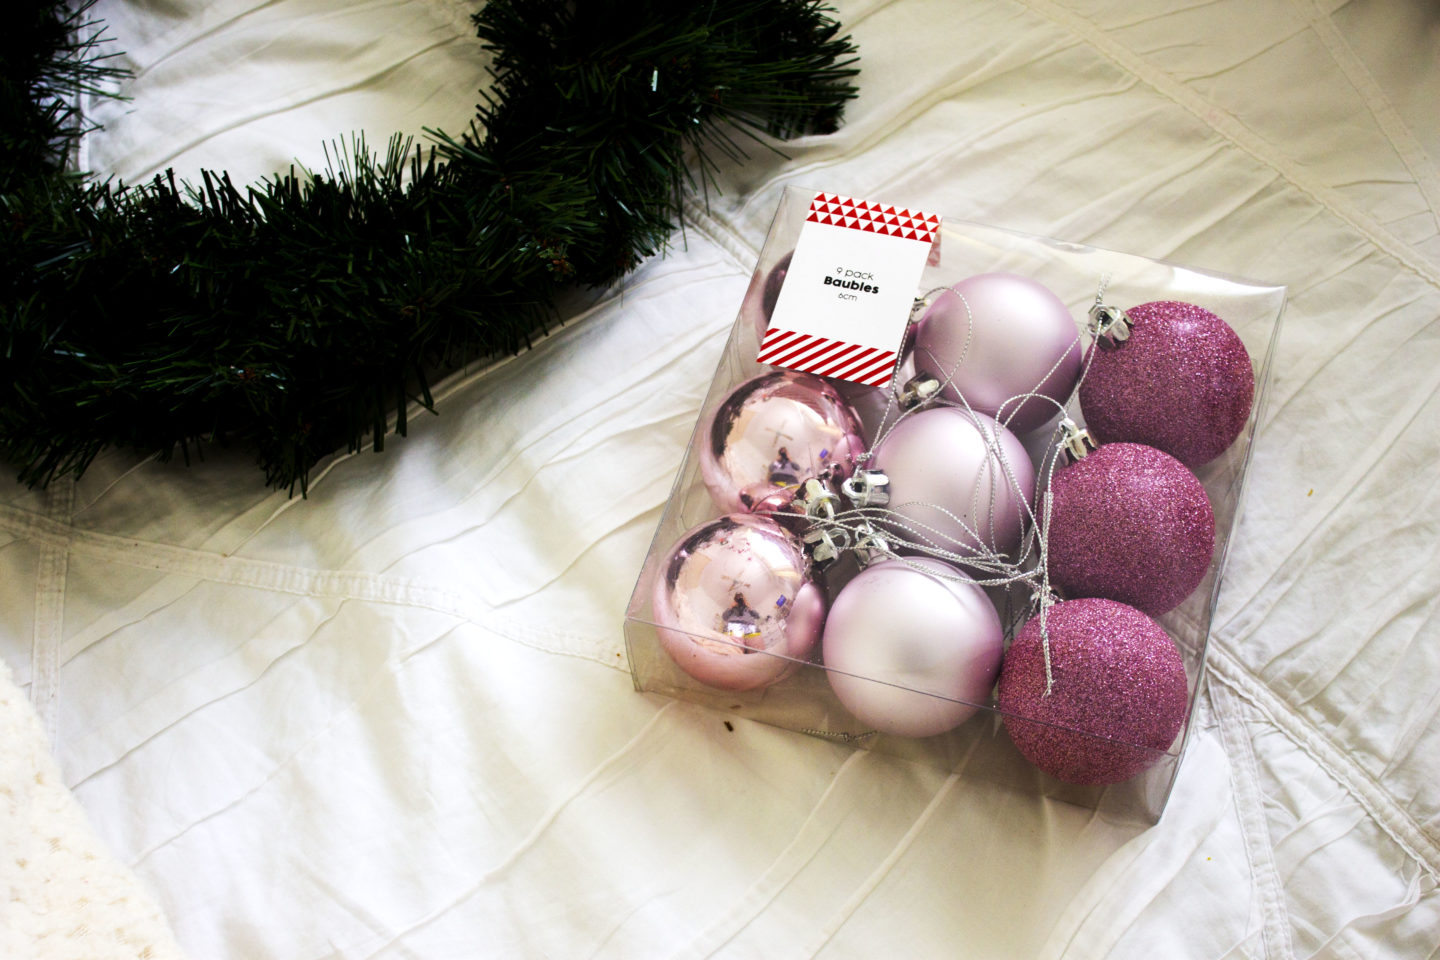
You can decorate the wreath with anything you want, but baubles are an affordable starting point.
I picked up these pink ones at Target for $6.
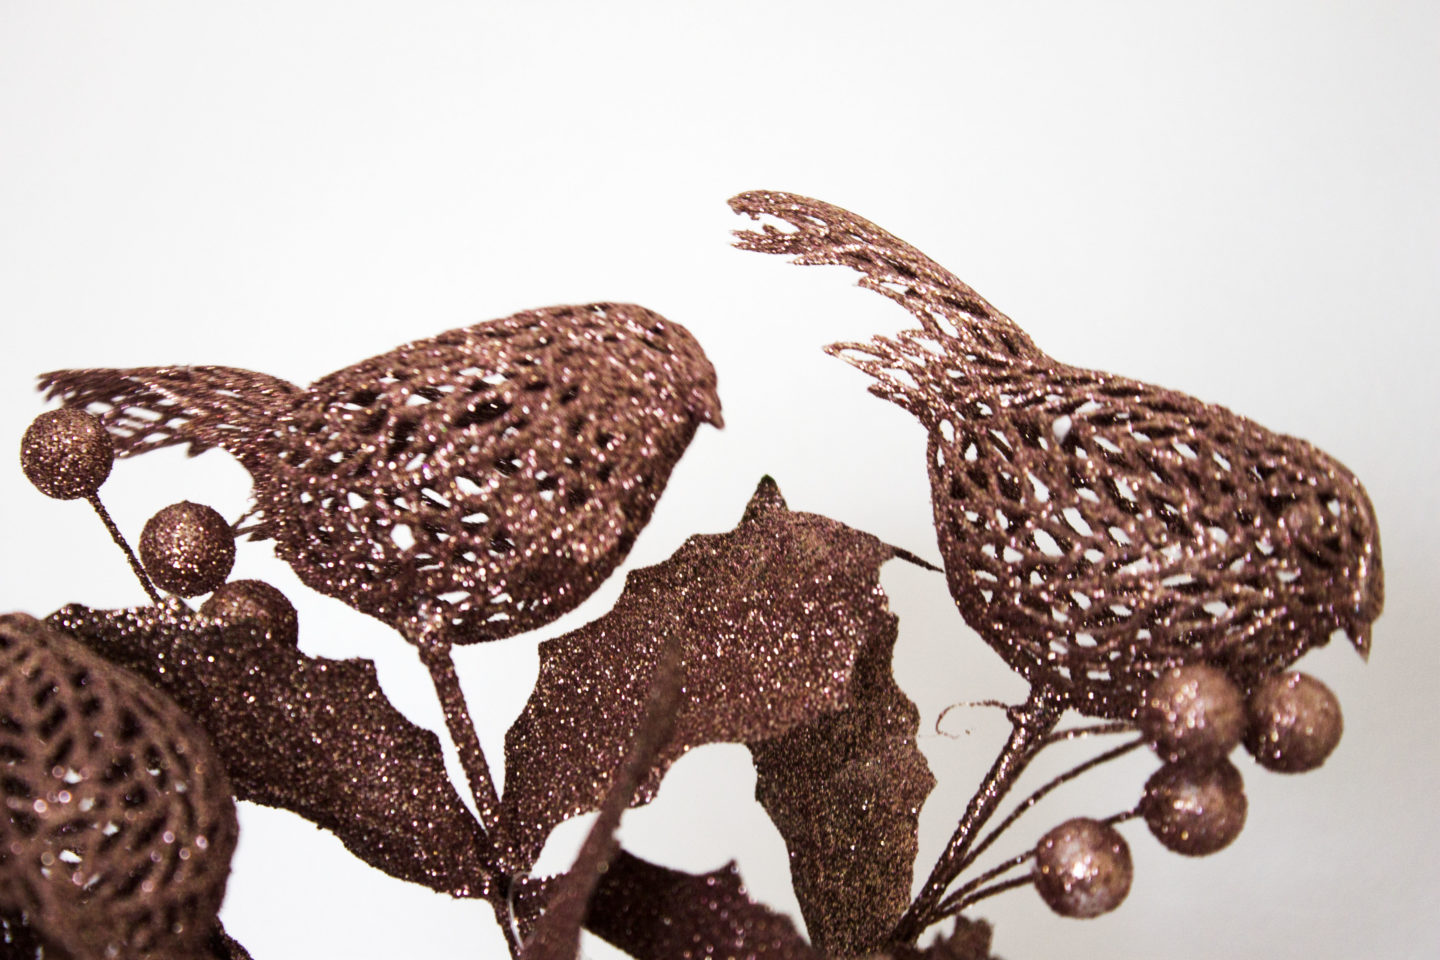
Picks are another great option as they’re super easy to attach and can give the wreath a slightly more high end feel.
I grabbed three of these pink birds from Spotlight for $3 each.
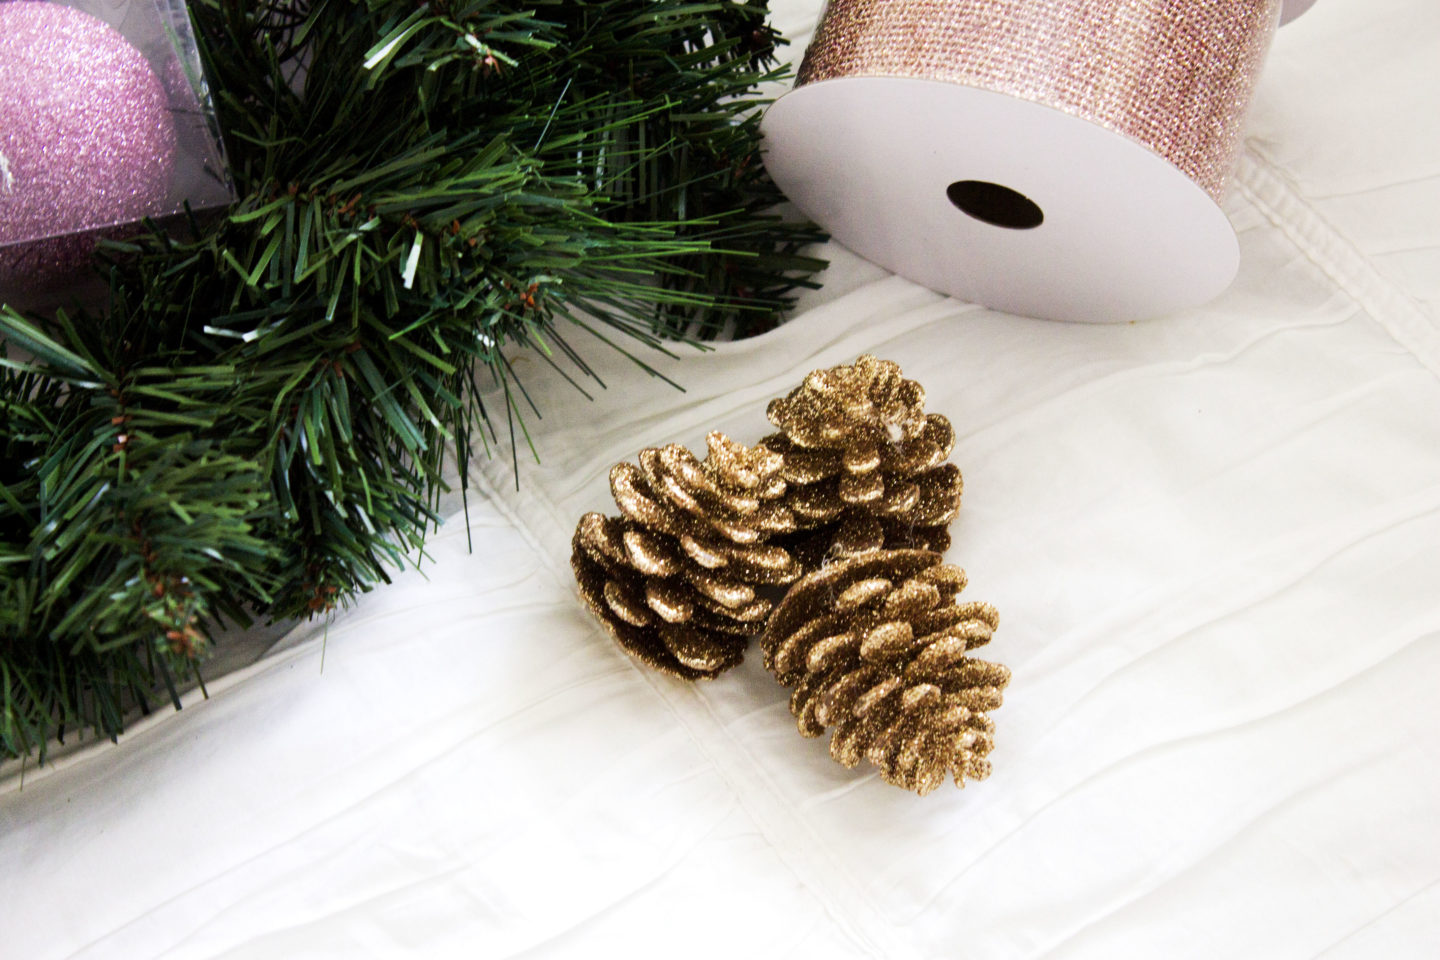
Pinecones are quite a ‘traditional’ touch and can add a slightly more rustic feel. Mine are tree ornaments that I’ve had for a few years, but you can easily find these in any craft store; or if you’re brave enough… you could always venture outside and find your own.
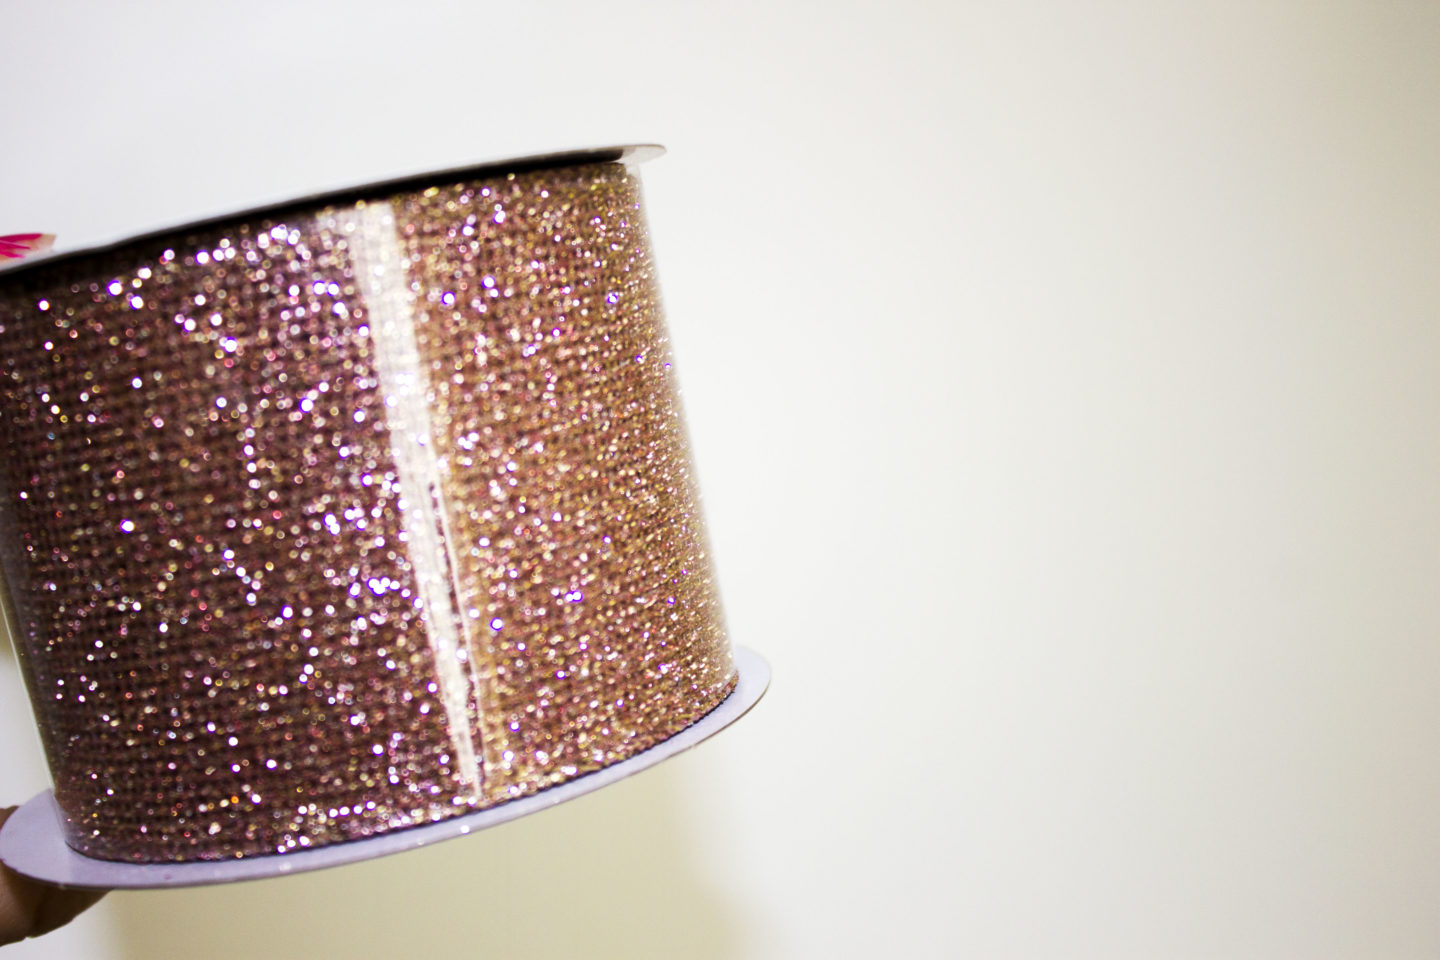
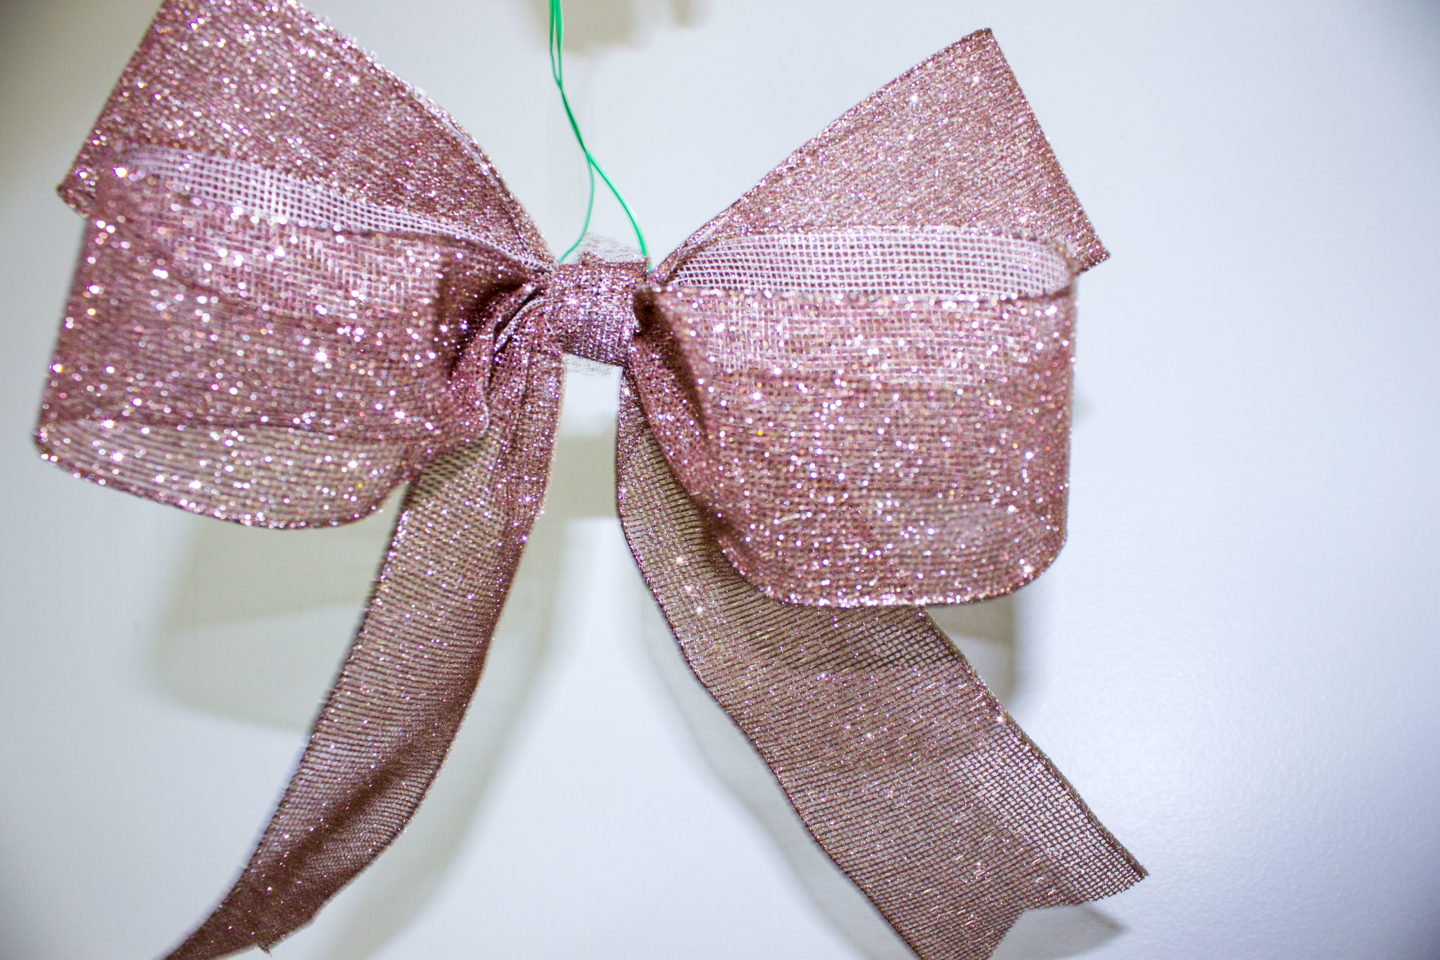
Ribbon is totally optional but I really wanted a massive, over the top bow on mine. I grabbed this amazing glittery ribbon from Forever Christmas in Mayfield, which was $19.95 for 5 metres.
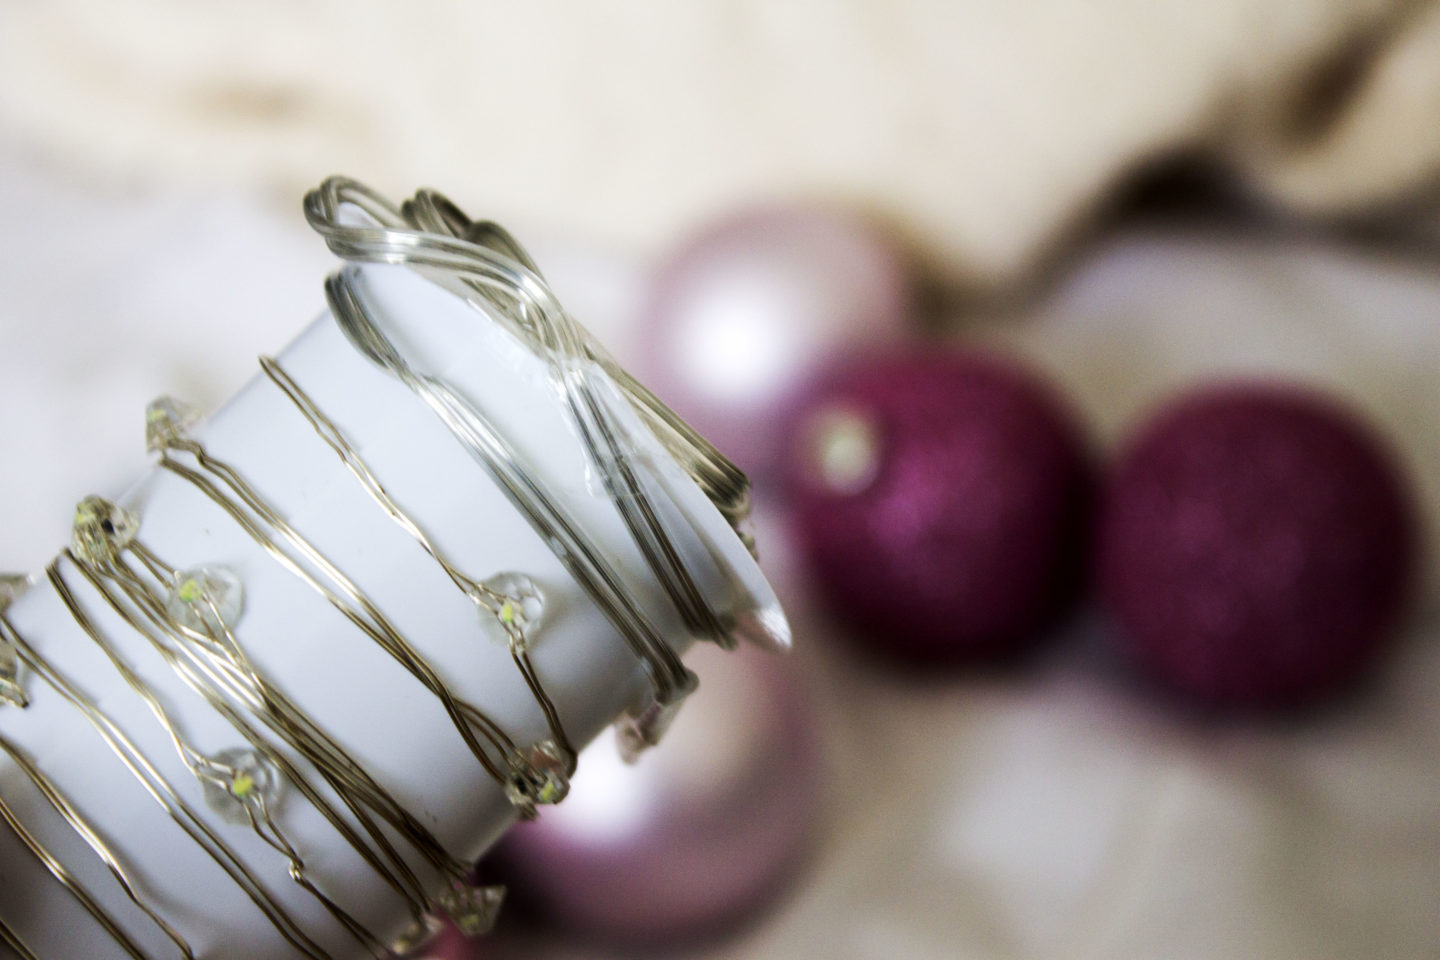
Battery operated lights can also be a great touch if you want to get a little fancy. I used these silver wire ones but I wouldn’t recommend them as they snapped within half an hour and no longer work. #CLAIREFAIL.
The process here is pretty self explanatory- simply lay all of the items on the wreath and shuffle things around until you’re happy with the placement.
If you’re choosing to use ribbon, I highly suggest that you tie your bow and place it first so that you don’t need to rearrange things to fit it in later.
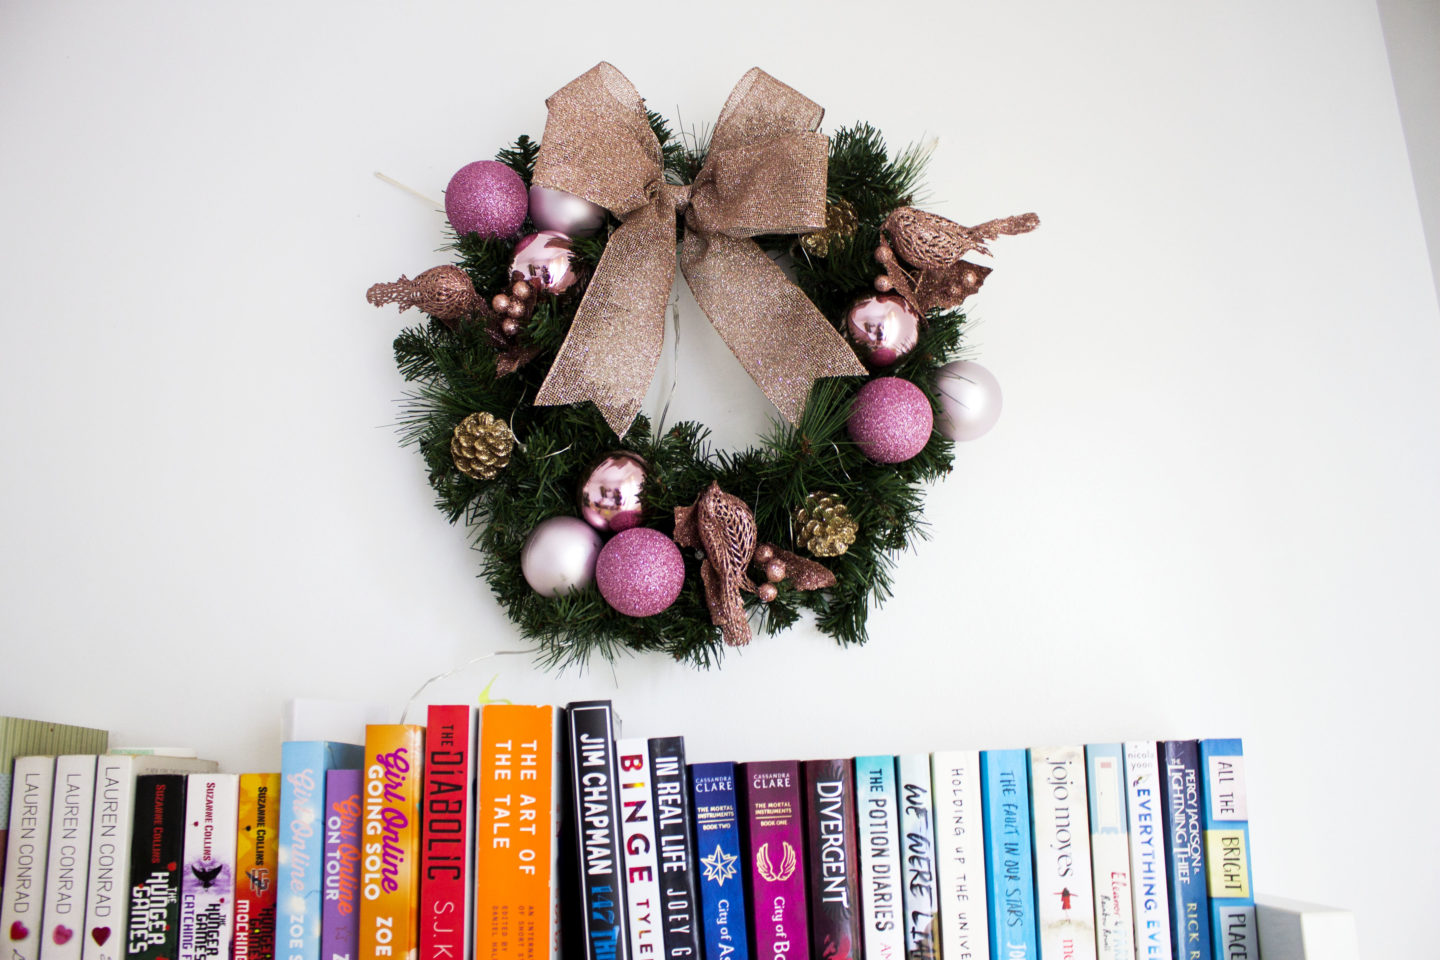
There’s no right or wrong way to place things, but I quite like the ‘undone’ clustered look rather than anything too structured and uniform. Forming a bit of a pattern also tends to be more aesthetically pleasing.
After you’ve decided on the placement just hot glue everything in place and hey presto! You’re done.
This only took me around half an hour to complete and I now have a unique piece of art that I can change up whenever I need to.
Until tomorrow, 😉

That’s my girl, taught you well, Christmas is the most wonderful time of the year 💜
Author
TRUE